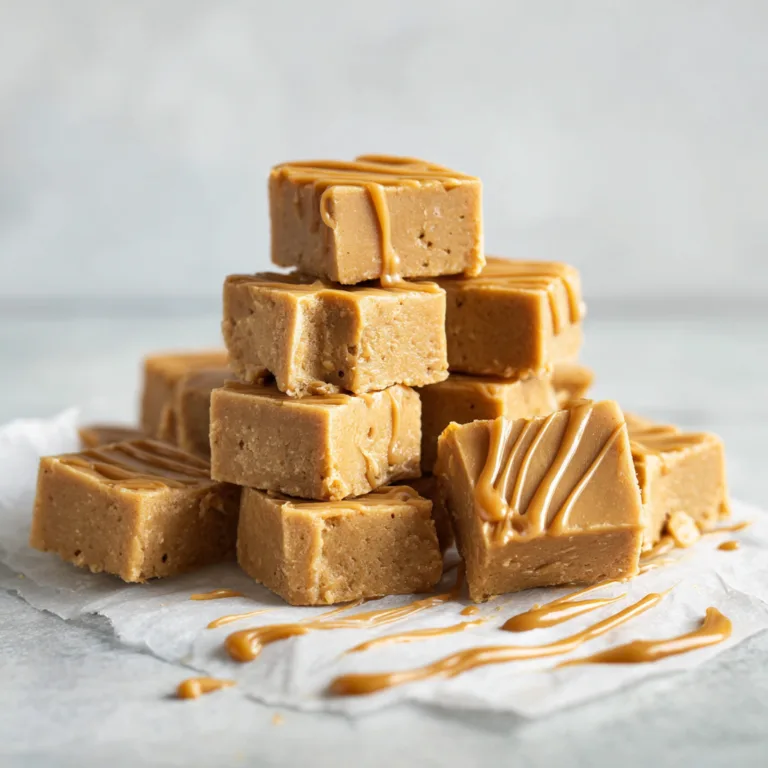
5-Ingredient Peanut Butter Energy Balls: The Ultimate No-Bake Snack That Actually Keeps You Full
There’s something magical about recipes that do more with less. Fewer ingredients, fewer steps, fewer dishes — yet somehow, more flavor, more energy, and more satisfaction. That’s exactly why 5-Ingredient Peanut Butter Energy Balls have become a modern pantry hero.
Whether you’re a busy parent racing between school drop-offs, a meal-prep fan looking for grab-and-go snacks, or someone who just wants something sweet without turning on the oven, these peanut butter energy balls check every box. They’re rich, chewy, naturally sweet, and packed with slow-burning energy that keeps you fueled for hours.
And the best part? You only need five simple ingredients, most of which you probably already have in your kitchen.
Why Peanut Butter Energy Balls Are So Popular
The rise of no-bake snacks isn’t a trend — it’s a lifestyle shift. People want food that’s fast, nourishing, and flexible. Peanut butter energy balls sit right at the intersection of convenience and nutrition.
Here’s why they’ve earned their cult following:
- No baking required — perfect for hot days or busy schedules
- Naturally sweetened with honey
- Protein-rich and fiber-filled, thanks to peanut butter and oats
- Freezer-friendly and ideal for meal prep
- Customizable for dietary needs and flavor preferences
Unlike overly processed snack bars, these energy balls are made from recognizable ingredients. You can pronounce everything. You can tweak everything. And you can trust exactly what’s going into your body.
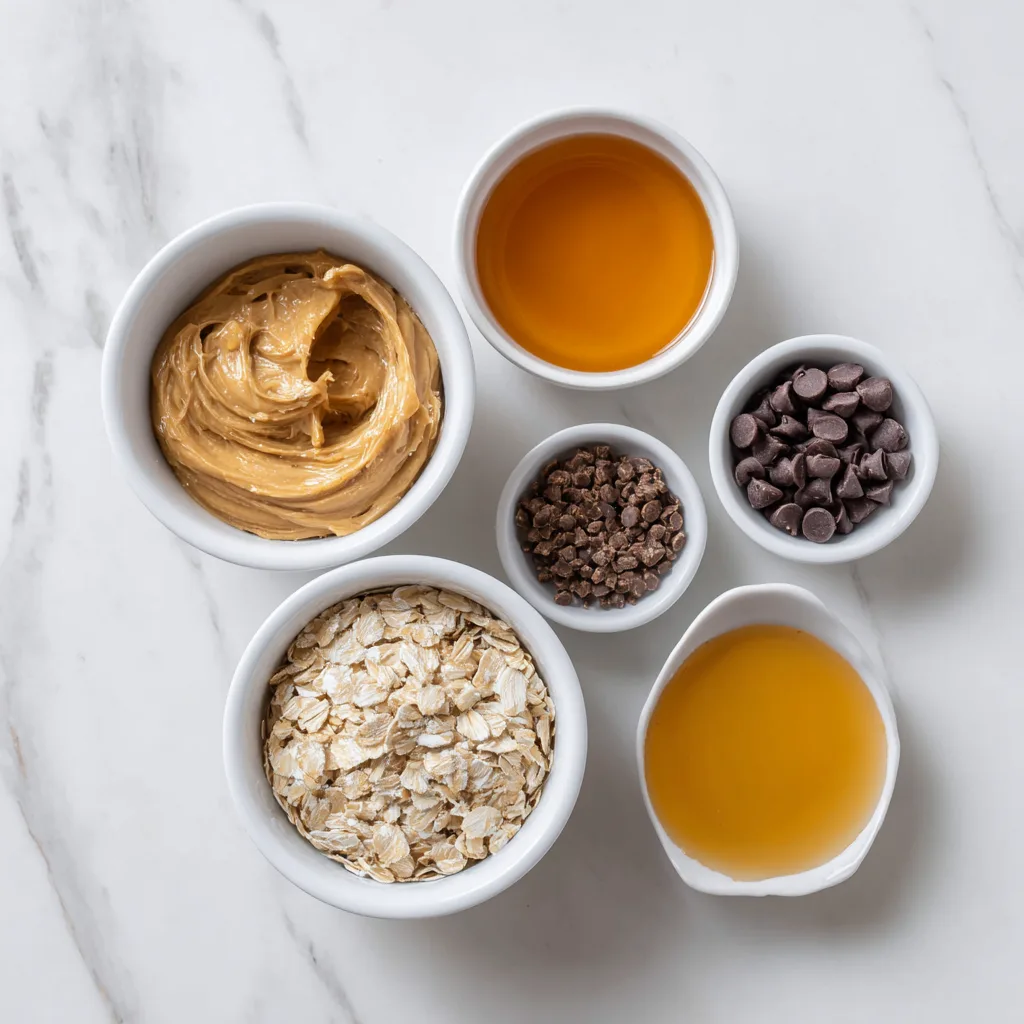
Ingredients You’ll Need
Simple ingredients are the backbone of this recipe, but each one plays an important role in texture, flavor, and nutrition.
Ingredients:
- Creamy natural peanut butter
- Old-fashioned rolled oats
- Honey
- Vanilla extract
- Mini chocolate chips
That’s it. No flour. No butter. No refined sugar. No baking soda. Just pure, satisfying goodness.
Step-by-Step Instructions
1. Mix the base
In a medium mixing bowl, stir together the peanut butter, honey, and vanilla extract until smooth and fully combined. The mixture should look glossy and thick.
2. Add the oats
Fold in the rolled oats, mixing until evenly distributed. The dough will begin to thicken and hold its shape.
3. Stir in chocolate chips
Gently mix in the mini chocolate chips. Make sure they’re evenly dispersed so every bite has a little chocolate.
4. Chill the mixture
Place the bowl in the refrigerator for 15–20 minutes. This helps firm the dough and makes rolling easier.
5. Roll into balls
Using a tablespoon or small cookie scoop, roll the mixture into evenly sized balls.
6. Set and store
Arrange the energy balls on a lined baking sheet or plate. Chill for another 10 minutes, then transfer to an airtight container.
That’s it. No oven. No stress. Just snack perfection.
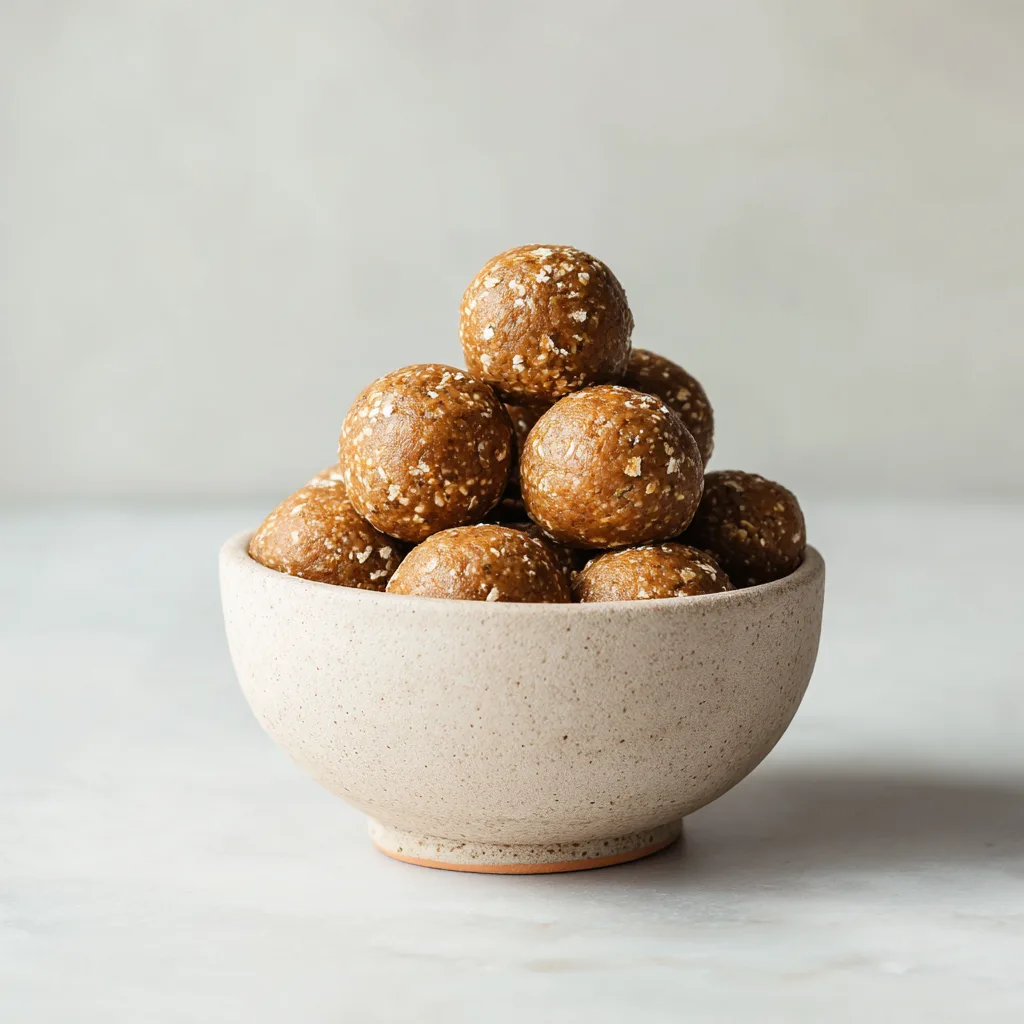
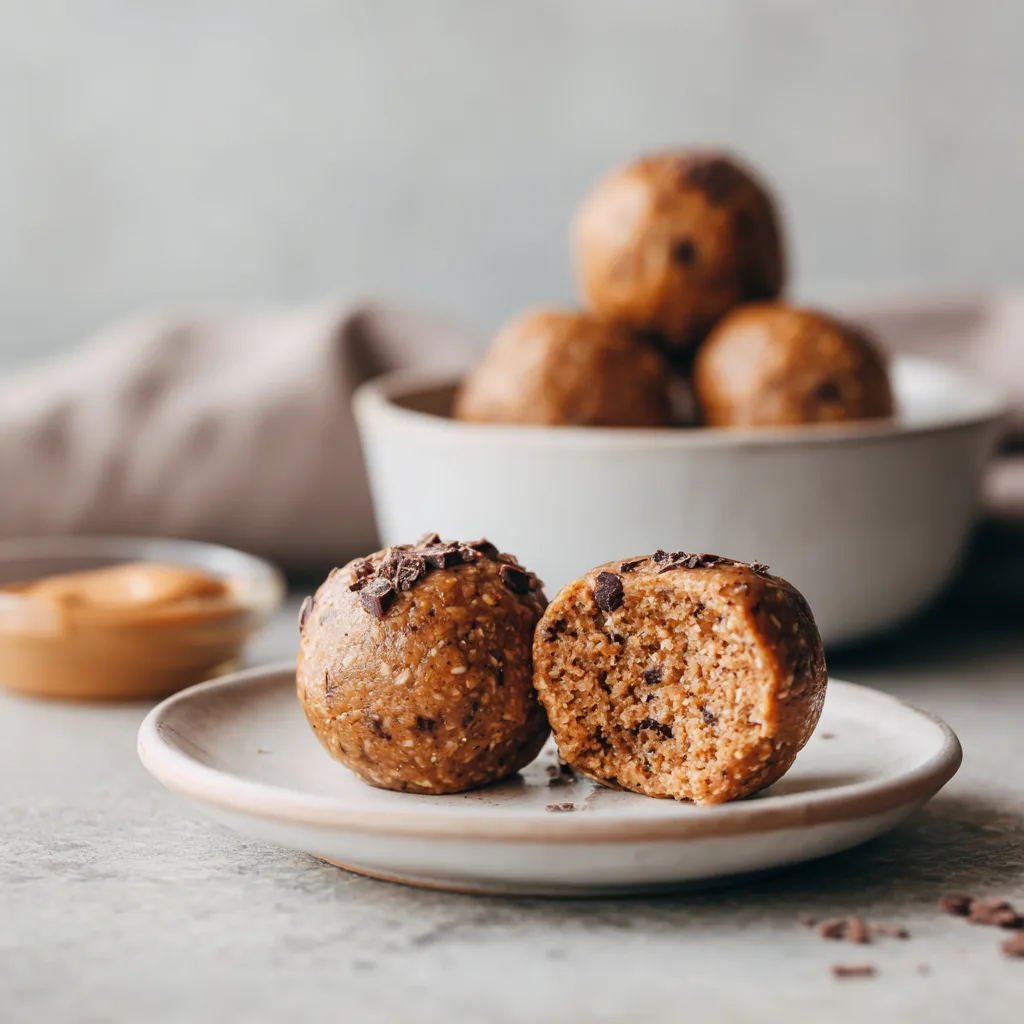
Texture and Flavor: What to Expect
These peanut butter energy balls are soft but sturdy, chewy without being sticky, and perfectly balanced between sweet and nutty. The oats give structure, the peanut butter adds richness, and the honey brings gentle sweetness without overpowering the flavor.
The chocolate chips melt slightly in your mouth, creating little pockets of indulgence that make these feel like a treat — even though they’re absolutely snack-worthy.
Nutritional Benefits
One of the reasons these energy balls are so satisfying is their nutrient balance.
- Healthy fats from peanut butter help keep you full
- Complex carbohydrates from oats provide steady energy
- Natural sugars from honey prevent crashes
- Plant-based protein supports muscle and focus
They’re especially great as:
- A pre-workout snack
- A mid-afternoon energy boost
- A lunchbox addition
- A healthier dessert alternative
Tips for Perfect Energy Balls Every Time
- Use natural peanut butter with minimal ingredients for best flavor
- If the mixture feels too dry, add 1 teaspoon of honey at a time
- If it’s too sticky, mix in extra oats
- Chill before rolling — don’t skip this step
- Use a cookie scoop for uniform size and presentation
Easy Variations
One recipe, endless possibilities.
Make it dairy-free:
Use dairy-free chocolate chips or omit them entirely.
Make it vegan:
Swap honey for maple syrup.
Boost the protein:
Add 1–2 tablespoons of protein powder and a splash of almond milk.
Add crunch:
Mix in chopped peanuts or sunflower seeds.
Flavor twist:
Add a pinch of cinnamon or sea salt for depth.
How to Store Peanut Butter Energy Balls
- Refrigerator: Store in an airtight container for up to 7 days
- Freezer: Freeze for up to 3 months
- On-the-go: Pack with an ice pack for school or work
They actually taste amazing straight from the freezer — firm, chewy, and refreshing.
Why This Is the Ultimate 5-Ingredient Snack Recipe
In a world full of complicated wellness trends, 5-Ingredient Peanut Butter Energy Balls are refreshingly simple. They don’t promise miracles. They just deliver a genuinely good snack that fits real life.
No special equipment. No obscure ingredients. No time commitment.
Just real food, made fast, that actually satisfies.
5-Ingredient Peanut Butter Energy Balls
Ingredients
Equipment
Method
- In a mixing bowl, stir together peanut butter, honey, and vanilla until smooth.
- Fold in rolled oats until fully combined.
- Gently mix in mini chocolate chips.
- Chill the mixture for 15–20 minutes to firm.
- Roll into tablespoon-sized balls.
- Chill briefly before serving or storing.