Butter Mochi: The Chewy, Buttery Hawaiian Treat You Need to Try
When you think of Hawaiian cuisine, tropical flavors like pineapple, coconut, and poke bowls might come to mind. But nestled among the islands’ beloved foods is a lesser-known gem that locals have cherished for generations: Butter Mochi. This chewy, buttery, slightly sweet dessert is a cross between cake and mochi, and it’s bound to win your heart with its irresistible texture and flavor.
In this article, we’ll dive deep into the history of butter mochi, its cultural significance in Hawaii, step-by-step instructions for making it at home, and tips for customizing it to your taste. By the end, you’ll be ready to bake up your own tray of this gluten-free treat that’s perfect for any occasion.
What is Butter Mochi?
Butter Mochi is a baked dessert made primarily from glutinous rice flour (mochiko), sugar, eggs, butter, and coconut milk. Unlike Japanese mochi, which is chewy and stretchy from pounding steamed rice, Hawaiian butter mochi is baked like a cake yet retains that chewy, dense texture mochi is famous for.
The addition of butter and coconut milk is what makes this dessert distinctly Hawaiian, reflecting the islands’ rich mix of culinary influences from Japan, the Philippines, Portugal, and beyond.
A Bite of Hawaiian History
Butter mochi’s origins trace back to Japanese immigrants who brought mochiko (sweet rice flour) to Hawaii. Over time, locals began experimenting, adding ingredients like butter and coconut milk that were readily available on the islands. The result was a uniquely Hawaiian fusion dessert: rich, chewy, and utterly addictive.
Today, butter mochi is a staple at potlucks, school bake sales, family gatherings, and local bakeries. It’s a dish that represents community, culture, and comfort food in its truest form.
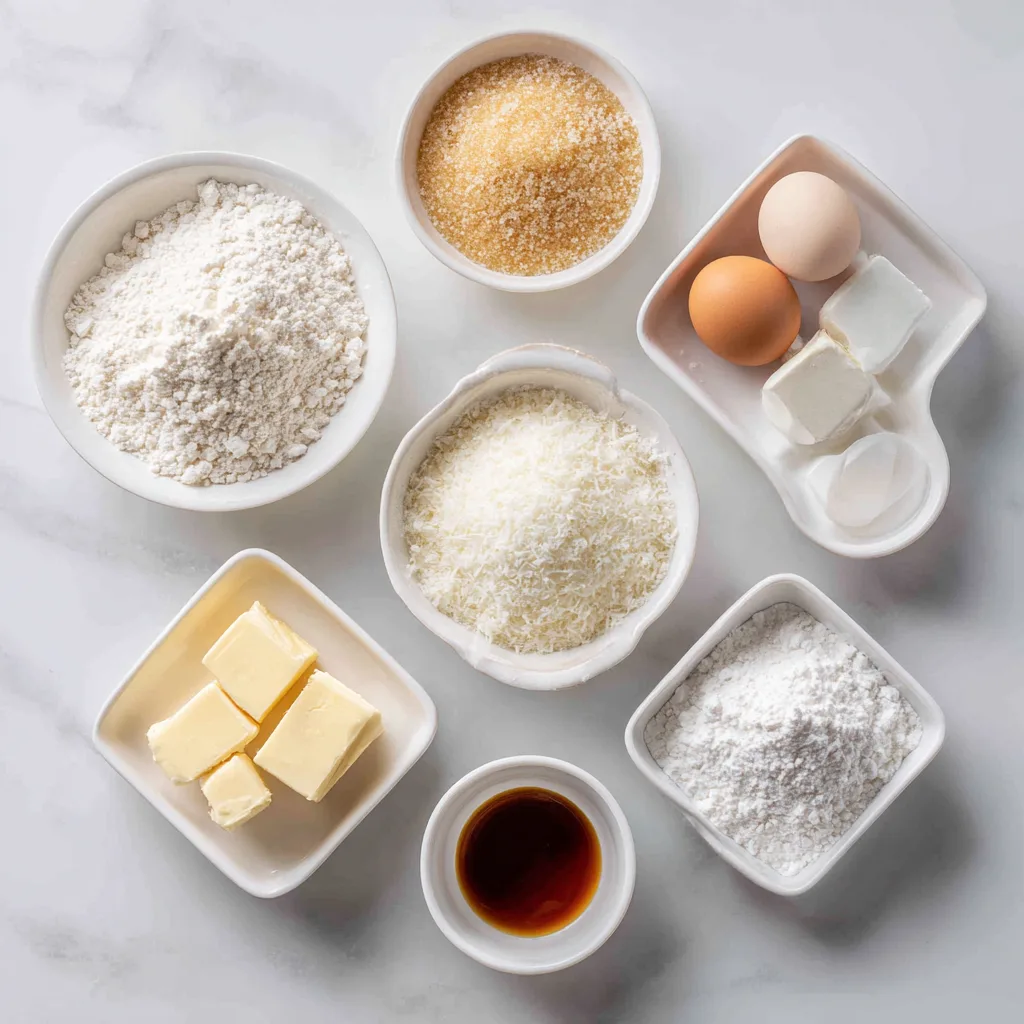
Ingredients You’ll Need
One of the best parts about butter mochi is its simplicity. With just a few pantry staples and Hawaiian-inspired touches, you can whip it up in no time.
- 1 (16 oz) box mochiko flour (sweet rice flour)
- 2 cups sugar
- 2 teaspoons baking powder
- ½ teaspoon salt
- 4 large eggs
- 1 stick (½ cup) unsalted butter, melted
- 1 (13.5 oz) can coconut milk
- 1 (12 oz) can evaporated milk (or whole milk)
- 2 teaspoons vanilla extract
Step-by-Step Instructions
- Preheat the oven to 350°F (175°C). Grease a 9×13-inch baking pan or line it with parchment paper.
- Mix the dry ingredients. In a large mixing bowl, whisk together the mochiko flour, sugar, baking powder, and salt until well combined.
- Combine the wet ingredients. In another bowl, whisk together the eggs, melted butter, coconut milk, evaporated milk, and vanilla extract until smooth.
- Bring it all together. Slowly pour the wet mixture into the dry mixture, stirring until a smooth batter forms. The batter will be slightly runny.
- Bake. Pour the batter into the prepared pan and bake for 55–65 minutes, or until the top is golden brown and a toothpick inserted in the center comes out clean.
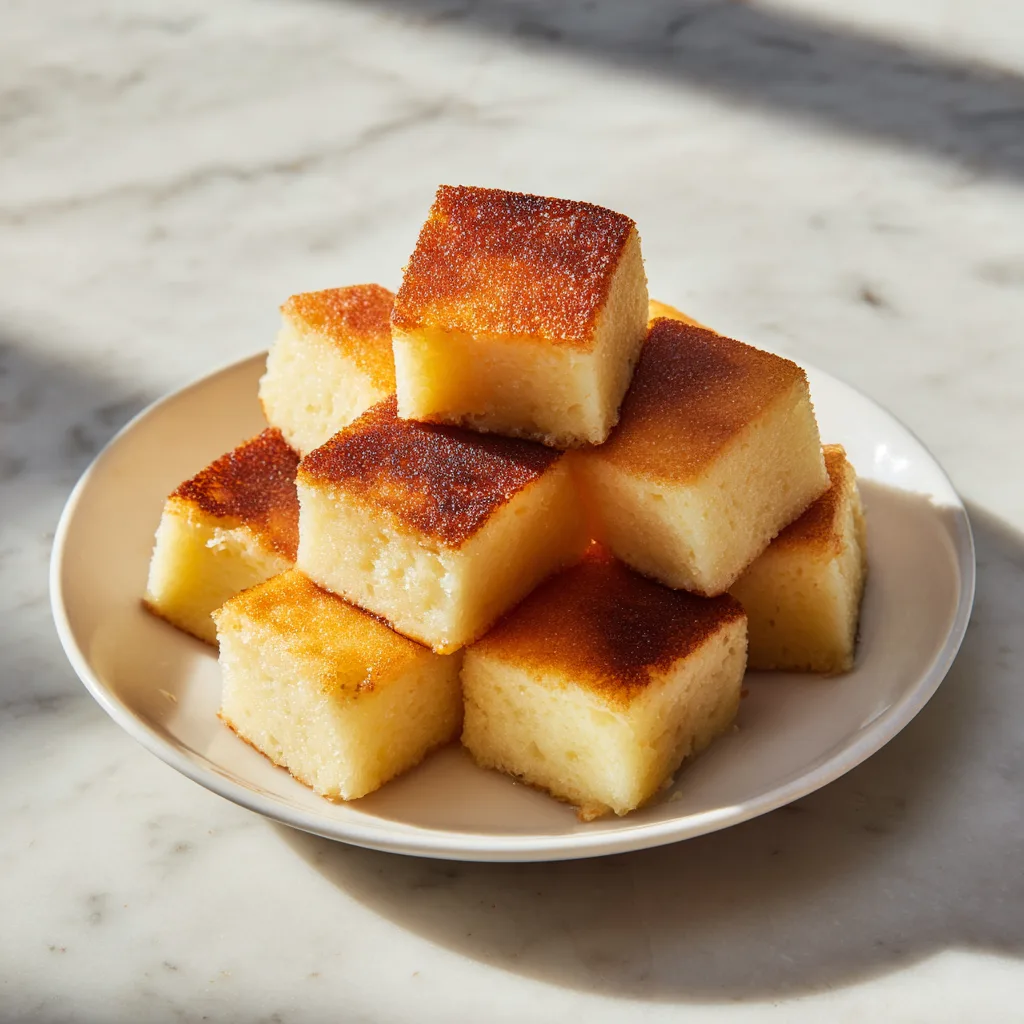
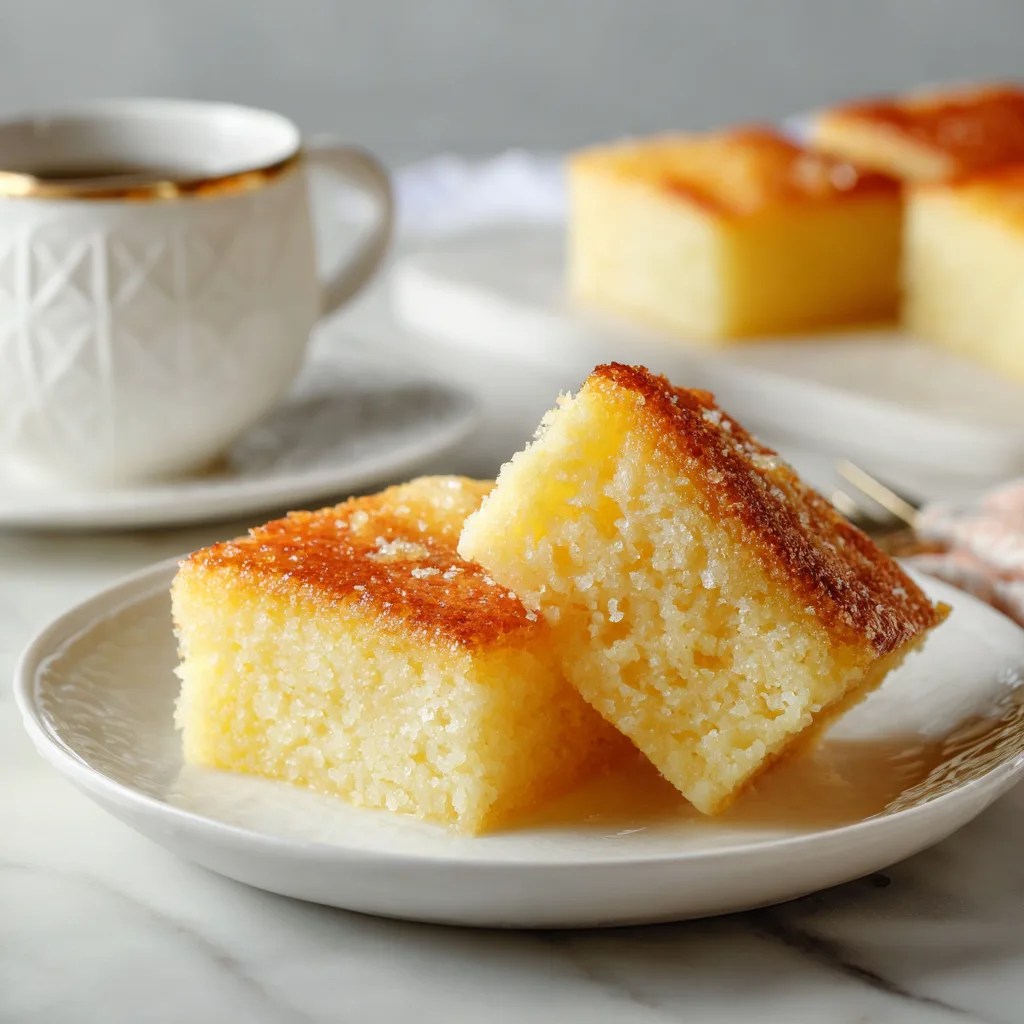
- Cool and cut. Allow the butter mochi to cool completely in the pan before cutting it into squares. Serve at room temperature.
Butter Mochi
Ingredients
Equipment
Method
- Preheat oven to 350°F (175°C). Grease a 9×13-inch baking pan or line with parchment.
- Whisk together mochiko flour, sugar, baking powder, and salt in a large bowl.
- In another bowl, whisk eggs, melted butter, coconut milk, evaporated milk, and vanilla until smooth.
- Combine wet and dry ingredients, stirring until smooth. Batter will be runny.
- Pour into prepared pan and bake 55–65 minutes, until golden and set.
- Cool completely before cutting into squares. Serve at room temperature.
Notes
Tips for the Perfect Butter Mochi
- Don’t overbake. The key to chewy mochi is not letting it dry out. Remove it from the oven as soon as it’s set and golden.
- Grease well. Butter mochi has a tendency to stick. Use parchment paper or grease generously for easy removal.
- Texture preference. For a denser, chewier bite, use more coconut milk. For a lighter cake-like texture, use a bit more regular milk.
Variations to Try
- Chocolate Butter Mochi: Add ½ cup cocoa powder to the batter for a chocolaty twist.
- Mango Butter Mochi: Fold in small chunks of fresh mango for tropical sweetness.
- Ube Butter Mochi: Swap some mochiko with ube halaya (purple yam jam) for a stunning purple dessert.
- Mini Butter Mochi: Bake the batter in muffin tins for individual servings—perfect for parties.
Serving Suggestions
Butter mochi is incredibly versatile. Here are some ways to enjoy it:
- Dust with powdered sugar for a simple finish.
- Serve with fresh fruit like mango or pineapple.
- Pair with tea or coffee for an afternoon treat.
- Add a dollop of whipped cream or vanilla ice cream for indulgence.
Why You’ll Love Butter Mochi
- Gluten-Free: Mochiko is made from sweet rice, making this naturally gluten-free.
- Simple Ingredients: Most items are pantry staples.
- Crowd-Pleaser: Its unique texture and flavor always wow guests.
- Keeps Well: Butter mochi stays fresh at room temperature for 2–3 days and can be refrigerated for longer.
Fun Fact
In Hawaii, butter mochi is often sold at school bake sales for just $1 a square. It’s one of the first desserts many local kids learn to bake because it’s nearly foolproof—and deliciously rewarding.
Final Thoughts
If you’ve never tried Hawaiian butter mochi, now’s the time to bring a taste of the islands into your kitchen. Its chewy, buttery texture and subtle coconut flavor make it a one-of-a-kind dessert that bridges cultures and generations. Whether you bake it for a family potluck, a holiday table, or just as a sweet treat for yourself, butter mochi is sure to become one of your go-to recipes.