Easy No-Knead Sourdough Bread: Foolproof Artisan Loaf at Home
There’s something deeply satisfying about baking your own bread — the aroma filling your kitchen, the crackle of a cooling crust, and the pride of slicing into a loaf you created from scratch. If traditional sourdough methods feel intimidating, this Easy No-Knead Sourdough Bread recipe is the perfect solution. Designed for beginners and busy bakers alike, it eliminates complicated techniques while still delivering bakery-quality results with a crisp crust, chewy crumb, and signature tangy flavor.
Unlike conventional bread recipes that require extensive kneading, this method relies on time and fermentation to develop gluten naturally. That means less effort, fewer tools, and more consistent success. With just four simple ingredients and a bit of patience, you can create a beautiful artisan loaf worthy of any table.
This recipe is perfect for weekend baking, meal prep, or anyone looking to explore sourdough without feeling overwhelmed.
Why You’ll Love This No-Knead Sourdough Bread
There are many reasons this recipe stands out from others:
- Beginner-Friendly: No complicated folding schedules or shaping expertise required.
- Minimal Effort: Time does the work instead of kneading.
- Deep Flavor: Long fermentation creates complex sourdough taste.
- Beautiful Crust: Baking in a covered pot produces bakery-style results.
- Versatile: Works for sandwiches, toast, soups, and more.
Even if you’ve never baked bread before, you can succeed with this method.
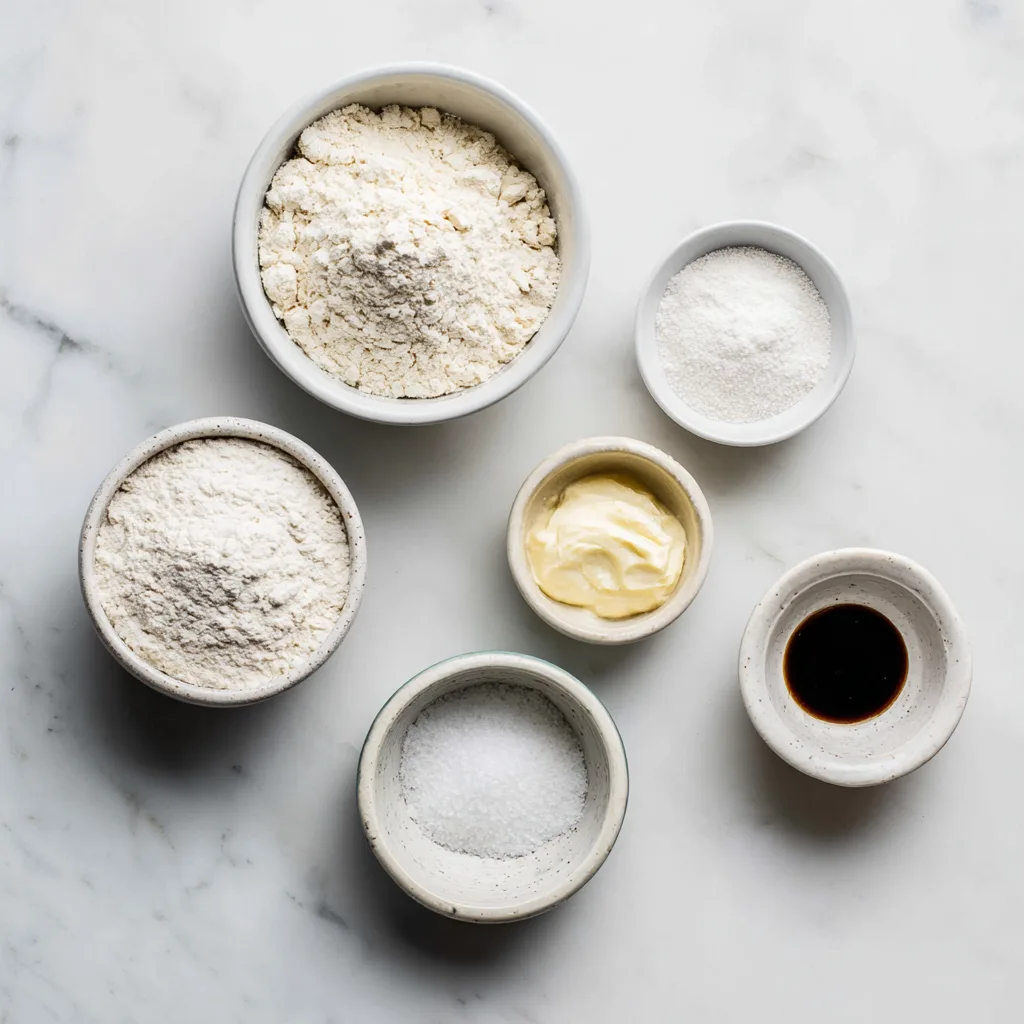
Ingredients
- 3 cups bread flour (or all-purpose flour)
- 1 cup active sourdough starter (fed and bubbly)
- 1 ¼ cups warm water
- 1 ½ teaspoons fine sea salt
Optional: extra flour or rice flour for dusting
Understanding the Ingredients
Sourdough Starter:
The heart of this recipe. It provides natural yeast and bacteria that create fermentation, rise, and flavor.
Flour:
Bread flour gives a chewier texture, but all-purpose flour works well for beginners.
Water:
Hydration activates gluten and fermentation. Warm (not hot) water helps the process start smoothly.
Salt:
Enhances flavor and strengthens dough structure.
Instructions
- In a large mixing bowl, combine the sourdough starter and warm water. Stir until mostly dissolved.
- Add the flour and salt. Mix with a wooden spoon or your hands until a shaggy dough forms. No kneading required.
- Cover the bowl with plastic wrap or a damp towel and let rest at room temperature for 30 minutes.
- After resting, gently stretch and fold the dough over itself 4–5 times inside the bowl. This takes less than a minute.
- Cover again and let the dough rise at room temperature for 8–12 hours, or overnight, until doubled in size and bubbly.
- Lightly flour a surface and turn out the dough. Shape gently into a round ball by folding edges toward the center.
- Place the dough seam-side down into a floured proofing basket or bowl lined with a towel. Cover and let rise 1–2 hours.
- Preheat oven to 450°F (230°C) with a Dutch oven inside for at least 30 minutes.
- Carefully transfer the dough onto parchment paper. Score the top with a sharp knife or blade.
- Place dough into the hot Dutch oven, cover with lid, and bake 30 minutes.
- Remove lid and bake another 15–20 minutes until deeply golden and crusty.
- Transfer bread to a wire rack and cool completely before slicing.
The Secret to No-Knead Success
Traditional kneading develops gluten through physical effort. In no-knead recipes, time replaces labor. During fermentation:
- Flour absorbs water fully
- Gluten forms naturally
- Flavor deepens through bacteria activity
This slow process is why the bread tastes so complex despite minimal work.
Pro Tips for Perfect Sourdough
1. Use Active Starter
Your starter should be bubbly and recently fed for best rise.
2. Don’t Rush Fermentation
Temperature affects timing. Cooler rooms require longer rising.
3. Preheat the Dutch Oven
This creates steam, producing a crispy crust and oven spring.
4. Cool Before Slicing
Cutting hot bread releases steam and can ruin texture.
5. Handle Gently
Over-handling can deflate air pockets developed during fermentation.
Common Beginner Mistakes
Even easy recipes can have pitfalls. Here’s how to avoid them:
- Dense loaf: Starter wasn’t active enough.
- Flat bread: Overproofed or too much water.
- Burned bottom: Use parchment or place a baking sheet under Dutch oven.
- Gummy interior: Bread wasn’t fully cooled before slicing.
Learning sourdough is a journey, and each loaf improves your skills.
Flavor Variations
Once you master the basic loaf, try creative additions:
Herb Garlic:
Add roasted garlic and dried herbs during mixing.
Cheese Sourdough:
Fold shredded cheddar or parmesan into the dough.
Whole Wheat Blend:
Replace 25–30% of flour with whole wheat for nuttier flavor.
Seeded Crust:
Roll shaped dough in sesame, sunflower, or flax seeds before baking.
Olive and Rosemary:
Perfect for Mediterranean-inspired meals.
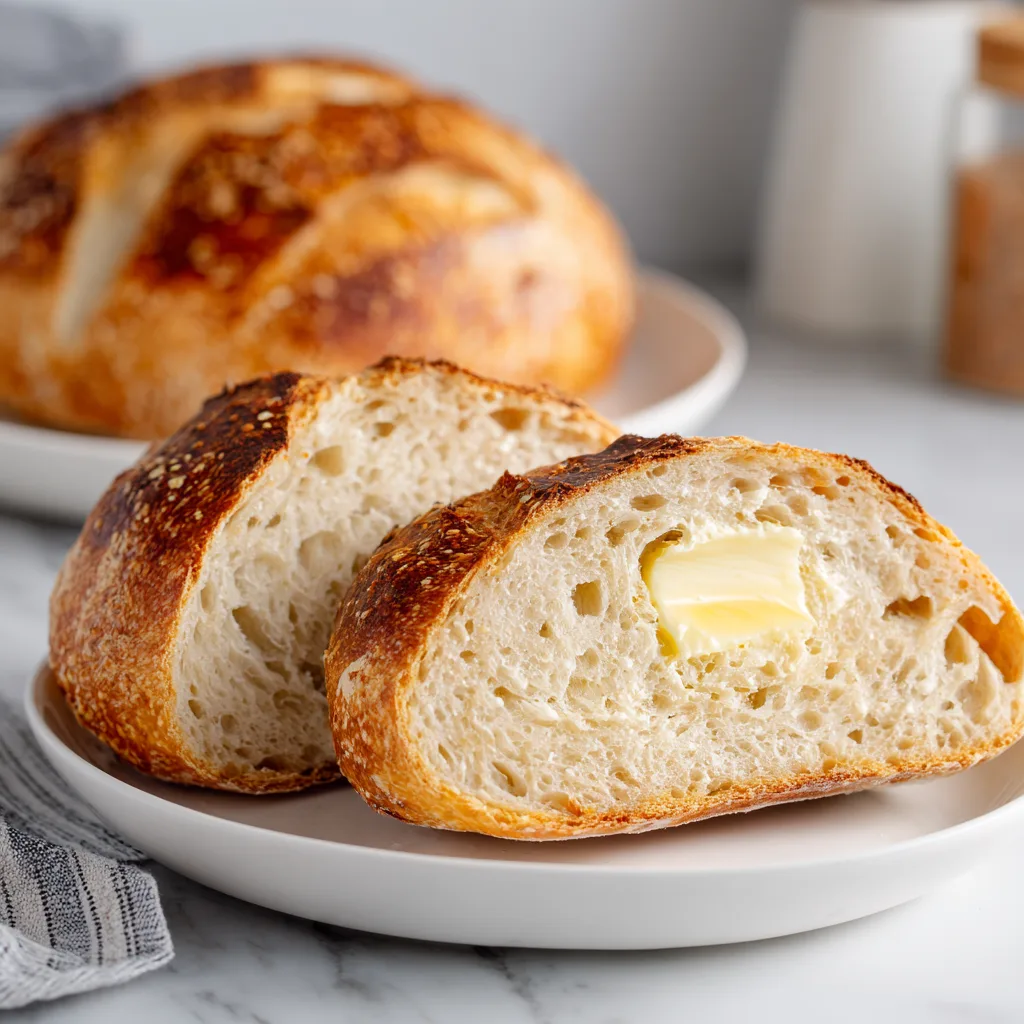
Serving Suggestions
Fresh sourdough is incredibly versatile. Enjoy it with:
- Butter and honey
- Avocado toast
- Soups and stews
- Cheese boards
- Sandwiches and paninis
- Breakfast eggs
- Bruschetta toppings
To elevate presentation, drizzle olive oil and sprinkle flaky salt before serving.
Storage Tips
Homemade sourdough contains no preservatives, so proper storage matters.
Room Temperature:
Store in a paper bag or bread box up to 2 days.
Refrigeration:
Not recommended — it dries bread faster.
Freezing:
Slice and freeze up to 3 months. Toast directly from frozen.
Nutritional Benefits of Sourdough
Many people find sourdough easier to digest than commercial bread due to fermentation.
Benefits include:
- Lower glycemic impact
- Improved mineral absorption
- Natural probiotics (before baking)
- Fewer additives
- Longer freshness without preservatives
It’s one of the oldest forms of breadmaking, dating back thousands of years.
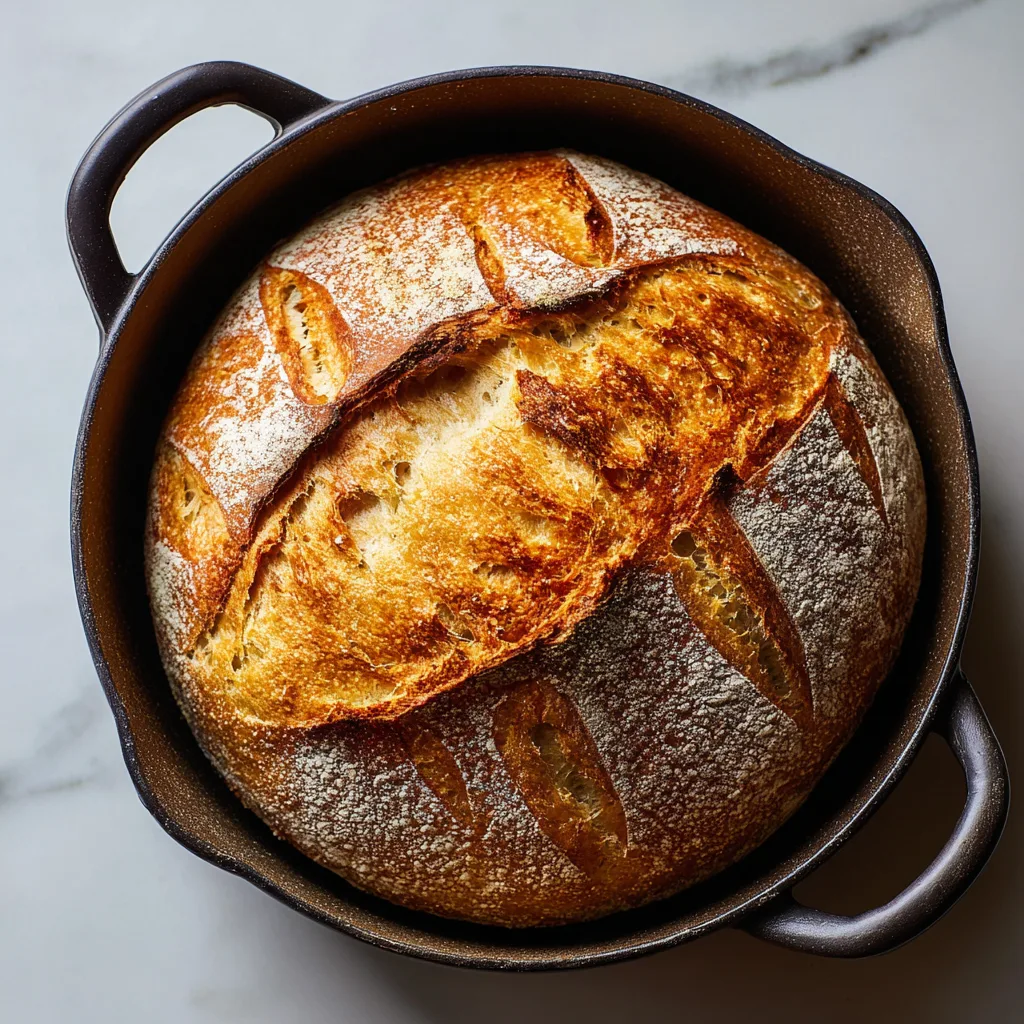
Why Bake in a Dutch Oven?
A Dutch oven mimics professional steam-injected ovens by trapping moisture released from the dough.
This results in:
- Crisp crust
- Better rise (oven spring)
- Shiny exterior
- Artisan appearance
If you don’t have one, you can use a baking stone with a steam tray, though results may vary slightly.
Fun Sourdough Facts
- Sourdough starters can live for decades when maintained properly.
- The tangy flavor comes from lactic acid bacteria, not vinegar.
- Ancient Egyptians were among the first to use natural fermentation in bread.
- Each starter develops unique flavor based on environment and flour.
Your kitchen literally becomes part of the recipe.
Troubleshooting Guide
Bread too sour:
Reduce fermentation time or use younger starter.
Not sour enough:
Extend fermentation or refrigerate dough overnight.
Sticky dough:
Use wet hands or add light flour during shaping.
Pale crust:
Bake longer uncovered for deeper color.
Final Thoughts
This Easy No-Knead Sourdough Bread proves that artisan baking doesn’t require professional training or hours of kneading. With patience, simple ingredients, and a little confidence, anyone can create a beautiful loaf at home.
Whether you’re starting your sourdough journey or looking for a reliable everyday bread, this recipe offers consistent results with minimal effort. The satisfaction of pulling a golden loaf from your oven — knowing you made it yourself — is truly unmatched.
Once you taste homemade sourdough, store-bought bread may never compare again.
Easy No-Knead Sourdough Bread
Ingredients
Equipment
Method
- Mix sourdough starter and warm water in a large bowl until combined.
- Add flour and salt, stirring until a shaggy dough forms.
- Cover and rest 30 minutes, then gently stretch and fold dough several times.
- Cover and let rise at room temperature 8–12 hours until doubled.
- Shape dough into a round and place in a floured bowl or basket to rise 1–2 hours.
- Preheat oven to 450°F (230°C) with Dutch oven inside.
- Transfer dough onto parchment, score top, and place into hot Dutch oven.
- Bake covered 30 minutes, then uncovered 15–20 minutes until golden.
- Cool completely on wire rack before slicing.