Lemon Raspberry Layered Pie — Bright, Creamy, and Perfect for Any Season
If you’re looking for a dessert that is as beautiful as it is refreshing, Lemon Raspberry Layered Pie is your new go-to recipe. This pie brings together two of the most irresistible flavors in the world of sweets: the tangy brightness of lemon and the sweet-tart juiciness of raspberries. Stacked into colorful layers on a buttery graham cracker crust, this no-bake pie is a showstopper without requiring any special skills or equipment.
Whether you’re hosting a summer barbecue, celebrating a spring holiday, or just craving something light and fruity, this pie delivers everything you love about berry desserts with the creamy richness of a cheesecake-style filling. It’s elegant enough for special occasions yet simple enough to whip up for a casual dinner at home.
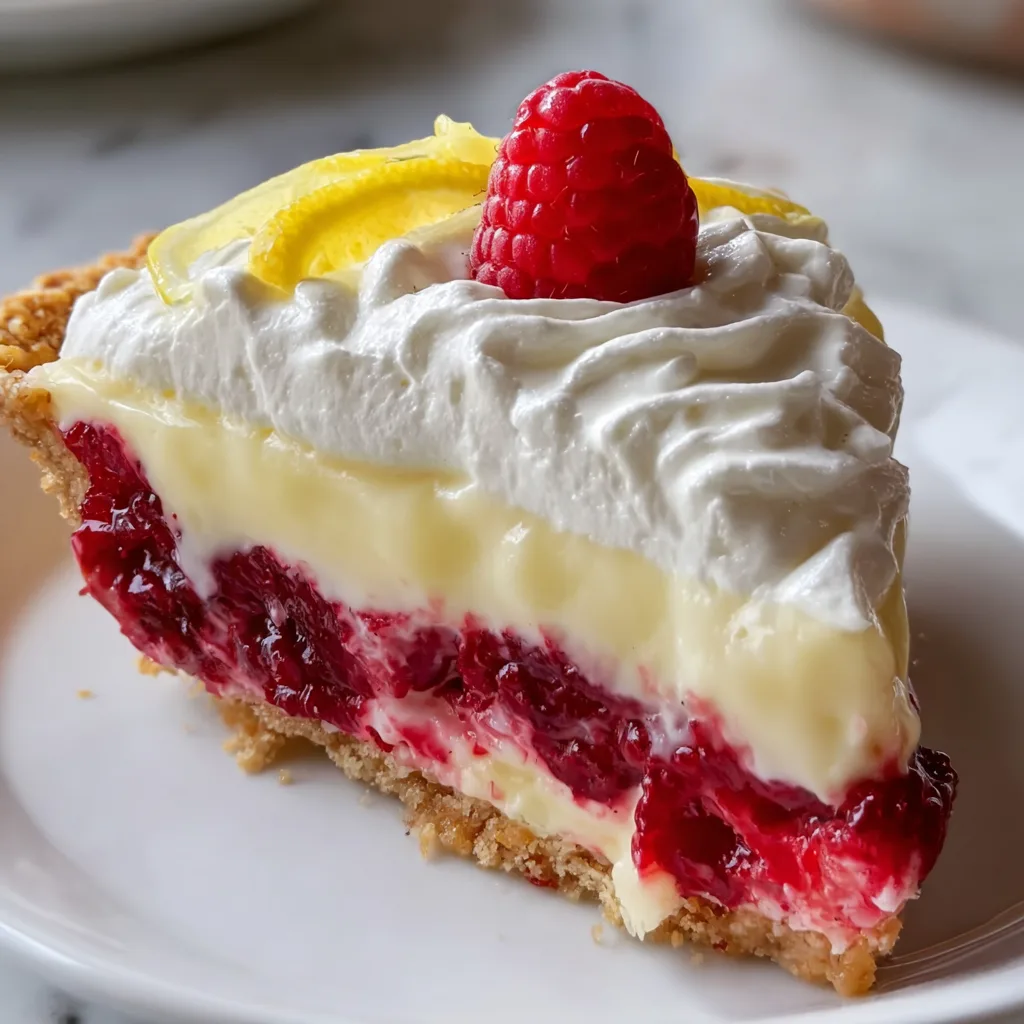
This recipe breaks down into three main parts: the crust, the lemon layer, and the raspberry layer. Each layer brings its own unique flavor profile and texture, resulting in a pie that’s balanced, bright, smooth, and stunning to look at. Let’s dive into what makes this dessert so special.
Why You’ll Love This Lemon Raspberry Layered Pie
1. No-Bake and Foolproof
You don’t need to turn on your oven, and the layering method makes this recipe simple while still looking impressive.
2. The Flavors Are Unbeatable
Lemon and raspberry work beautifully together. Lemon offers brightness and acidity, while raspberries contribute natural sweetness and a vivid color contrast.
3. Perfect Texture Contrast
- Creamy lemon layer
- Light raspberry cream layer
- Buttery crunchy crust
Every bite is balanced and irresistibly smooth.

4. Gorgeous Presentation Without the Effort
The layers naturally create a stunning visual effect — perfect for parties, potlucks, or photography.
5. Easily Customizable
Swap berries, add a swirl, or boost the lemon flavor with extra zest — it all works.
Ingredients
For the Crust
- 1 1/2 cups graham cracker crumbs
- 6 tbsp melted butter
- 2 tbsp granulated sugar
For the Lemon Layer
- 1 block (8 oz) cream cheese, softened
- 1/2 cup powdered sugar
- 2 tbsp lemon zest
- 1/3 cup fresh lemon juice
- 1 cup whipped topping

For the Raspberry Layer
- 1 1/2 cups fresh or frozen raspberries
- 1/4 cup granulated sugar
- 1 tbsp lemon juice
- 1 packet unflavored gelatin (or 1 tbsp)
- 1/4 cup hot water
- 1 cup whipped topping
Optional Garnish
- Fresh raspberries
- Thin lemon slices
- Whipped cream swirls
Instructions
- Prepare the crust.
Combine graham cracker crumbs, melted butter, and sugar. Press firmly into a pie dish. Chill for 20 minutes. - Make the lemon layer.
Beat cream cheese with powdered sugar until smooth. Add lemon juice and zest. Fold in whipped topping until creamy. - Spread the lemon layer.
Spoon mixture into the crust and smooth the top. Chill while you prepare the raspberry layer. - Prepare the raspberry mixture.
In a small saucepan, heat raspberries, sugar, and lemon juice over medium heat until berries break down (3–5 minutes). - Dissolve gelatin.
Stir gelatin into hot water until smooth, then mix into raspberry mixture. - Cool slightly.
Let the mixture cool to lukewarm — not hot — to prevent melting the lemon layer. - Fold in whipped topping.
Gently stir until the raspberry layer is light and creamy. - Layer the raspberry mixture.
Spoon gently over the chilled lemon layer and smooth the top. - Chill the pie.
Refrigerate 4–6 hours until fully set. - Serve with garnishes.
Add fresh raspberries or lemon slices before serving.
Lemon Raspberry Layered Pie
Ingredients
Equipment
Method
- Mix graham cracker crumbs, sugar, and melted butter to form crust; press into a pie dish and chill.
- Beat cream cheese and powdered sugar until smooth; add lemon juice and zest, then fold in whipped topping.
- Spread lemon layer into crust and chill.
- Cook raspberries with sugar and lemon juice until softened.
- Dissolve gelatin in hot water and mix into raspberry mixture.
- Cool mixture slightly, then fold in whipped topping.
- Layer raspberry mixture on top of lemon layer.
- Chill 4–6 hours until fully set.
Notes
Tips for Perfection
Use Fresh Lemon Juice
Bottled lemon juice is convenient, but fresh gives much better brightness and aroma.
Make Sure Layers Are Chilled Before Adding the Next
This prevents the layers from blending and ensures crisp, beautiful separation.
Don’t Rush the Gelatin Step
If the raspberry mixture is too warm when you add it, the whipped topping can deflate.
Press Your Crust Firmly
Use the bottom of a measuring cup for smooth edges and a strong foundation.
Flavor Variations
Strawberry Lemonade Pie
Replace raspberries with strawberries.
Blackberry Citrus Pie
Use blackberries and orange zest.
Lemon Swirl Pie
Create a pretty swirl by spooning dollops of lemon mixture into raspberry before smoothing.
Cream Cheese-Free Version
Use lemon pudding mix plus whipped topping for the lemon layer.
Serving Suggestions
- Perfect after grilled chicken or seafood
- Great for baby showers, brunch, or tea parties
- Delicious with iced tea or lemonade
- Ideal for spring and summer holidays
Storage
- Refrigerate up to 5 days, covered.
- Freeze slices individually for up to 2 months; thaw in the fridge before eating