No-Bake Biscoff Cheesecake Bars – The Ultimate Cookie Butter Indulgence
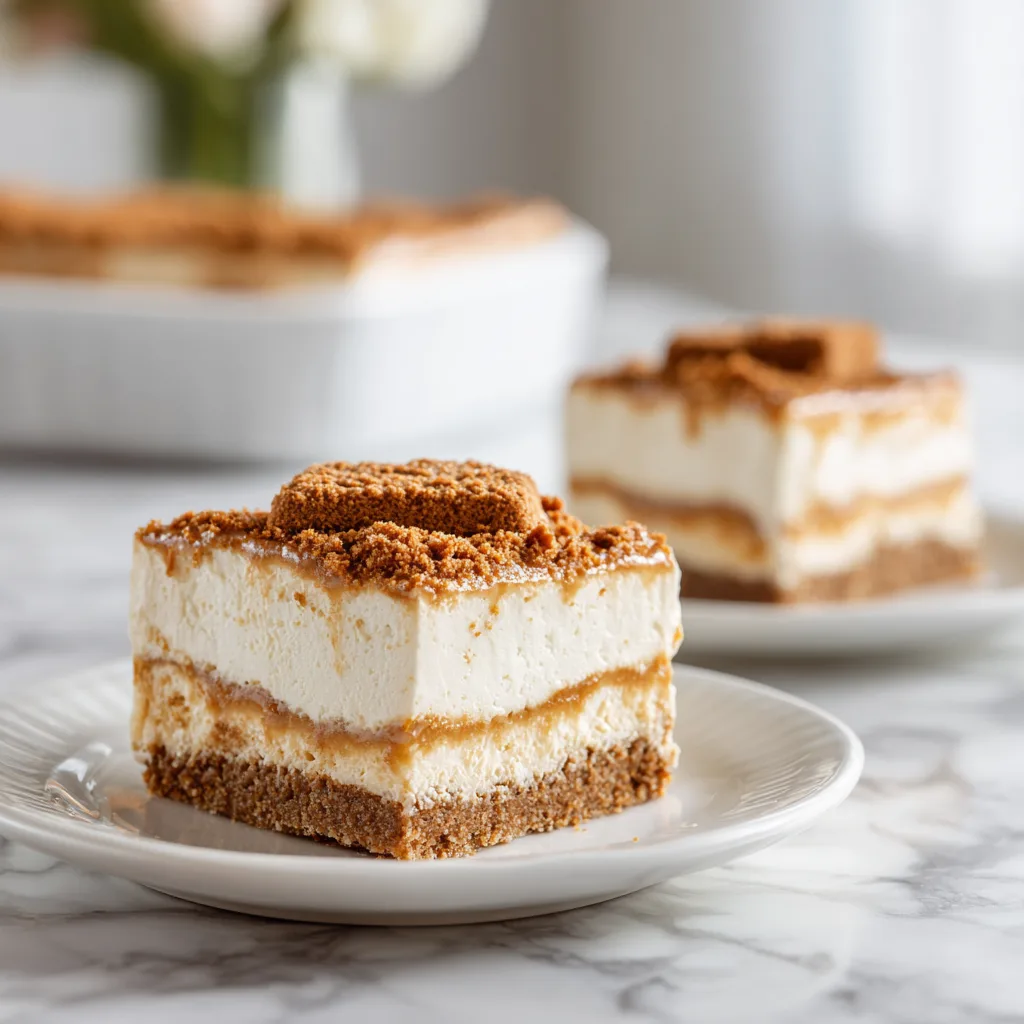
There’s something absolutely magical about the combination of creamy cheesecake and the warm, spiced flavor of Biscoff cookies that creates pure dessert perfection. These No-Bake Biscoff Cheesecake Bars capture all the indulgent richness of traditional cheesecake while incorporating the beloved caramelized cookie butter that has captured hearts worldwide.
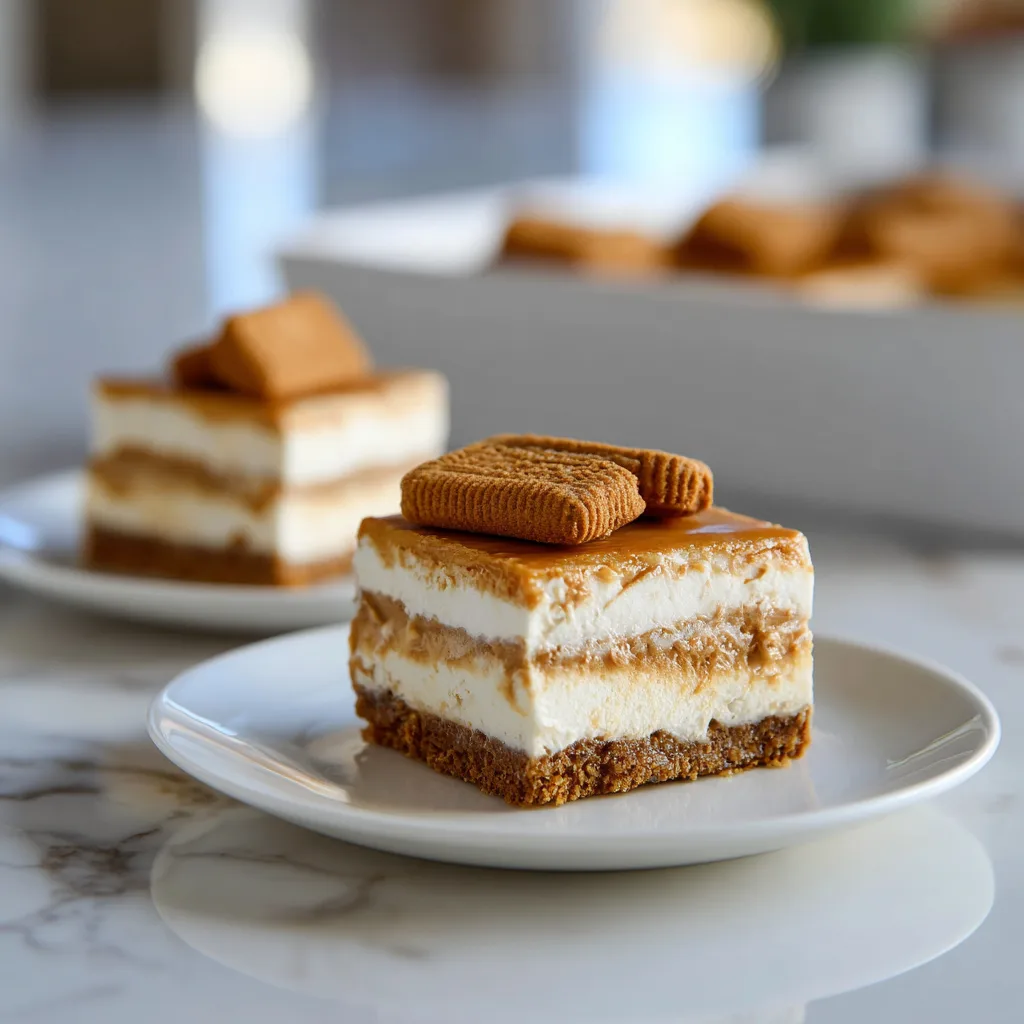
What makes these bars truly special is how they deliver restaurant-quality results without ever turning on your oven. The no-bake method not only saves time and energy but also creates an incredibly smooth, creamy texture that’s different from baked cheesecake – lighter yet still satisfyingly rich. The Biscoff cookie crust provides the perfect textural contrast with its slight crunch and warm spice notes.
These bars represent the perfect marriage of convenience and sophistication. While they’re simple enough for novice bakers to master, the results are impressive enough to serve at dinner parties or special occasions. The make-ahead nature makes them ideal for entertaining, as they actually improve in flavor and texture after chilling overnight.
The Biscoff Phenomenon and Flavor Profile
Biscoff cookies, also known as Lotus cookies or speculoos, originated in Belgium and have become a global sensation for good reason. These crispy, caramelized cookies offer a unique flavor profile that combines cinnamon, nutmeg, ginger, and cardamom with the deep, rich taste of caramelized sugar. This complex spice blend creates a warm, comforting flavor that’s both familiar and exotic.
The genius of using Biscoff in both cookie and spread form creates layers of flavor throughout these bars. The cookie crust provides textural interest and concentrated spice flavor, while the Biscoff spread blends seamlessly into the creamy filling, creating swirls of caramelized cookie goodness in every bite.
The Science of Perfect No-Bake Cheesecake
Creating the perfect no-bake cheesecake requires understanding how different ingredients work together to create structure without heat. The cream cheese provides the base richness and tang, while heavy cream adds lightness and smooth texture. The key is achieving the right balance of firmness and creaminess through proper mixing and chilling techniques.
Gelatin or similar setting agents aren’t necessary in this recipe because the combination of cream cheese and whipped cream, when properly chilled, creates enough structure to hold clean slices. The fat content in both the cream cheese and Biscoff spread also contributes to the firm yet creamy final texture.Make-Ahead Convenience for Busy Schedules
One of the greatest advantages of these cheesecake bars is their make-ahead friendly nature. Not only can they be prepared up to three days in advance, but they actually taste better after spending time in the refrigerator. The flavors meld together beautifully, and the texture becomes perfectly set while remaining creamy.
This makes them ideal for holiday entertaining, potluck dinners, or any time you want to have an impressive dessert ready without last-minute preparation. They also freeze beautifully for up to two months, making them perfect for batch preparation or unexpected guests.
Customization and Seasonal Variations
While these bars are perfect as written, they serve as an excellent base for creative variations. Consider adding a layer of chocolate ganache between the crust and filling, or swirl in some caramel sauce for extra indulgence. Fresh berries make a beautiful and delicious topping that adds color and balances the richness.
For holiday variations, consider adding a pinch of extra cinnamon and nutmeg to the filling, or top with crushed gingersnap cookies instead of additional Biscoff crumbs. The warm spices in Biscoff cookies make them naturally compatible with autumn and winter flavors.
Professional Presentation and Serving Tips
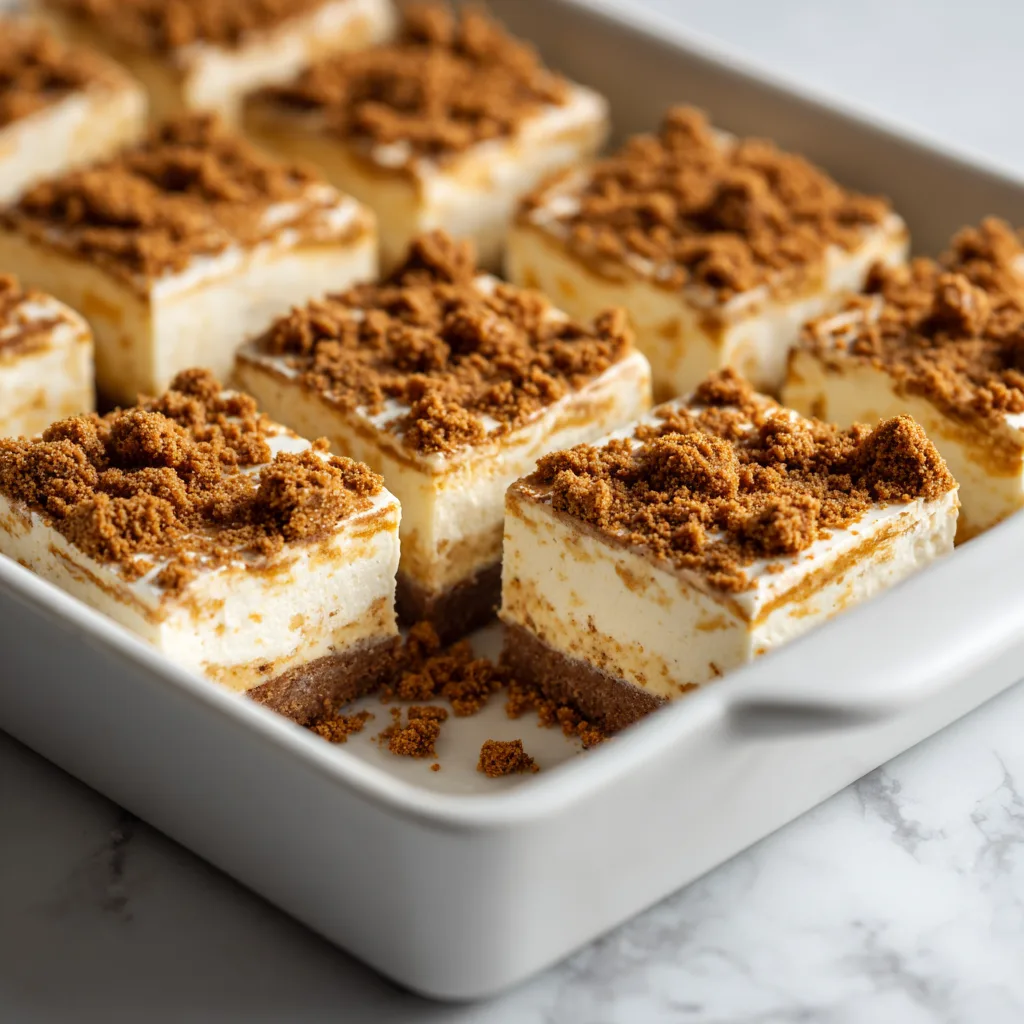
The key to professional-looking bars is clean, sharp cuts. Use a large, sharp knife dipped in warm water and wiped clean between each cut. This prevents the creamy filling from sticking to the blade and creates those perfect, bakery-style edges that make such a visual impact.
For the most elegant presentation, consider garnishing each bar with a small dollop of whipped cream, a drizzle of melted Biscoff spread, or a partial Biscoff cookie standing upright. These small touches elevate the bars from homemade treats to restaurant-quality desserts.
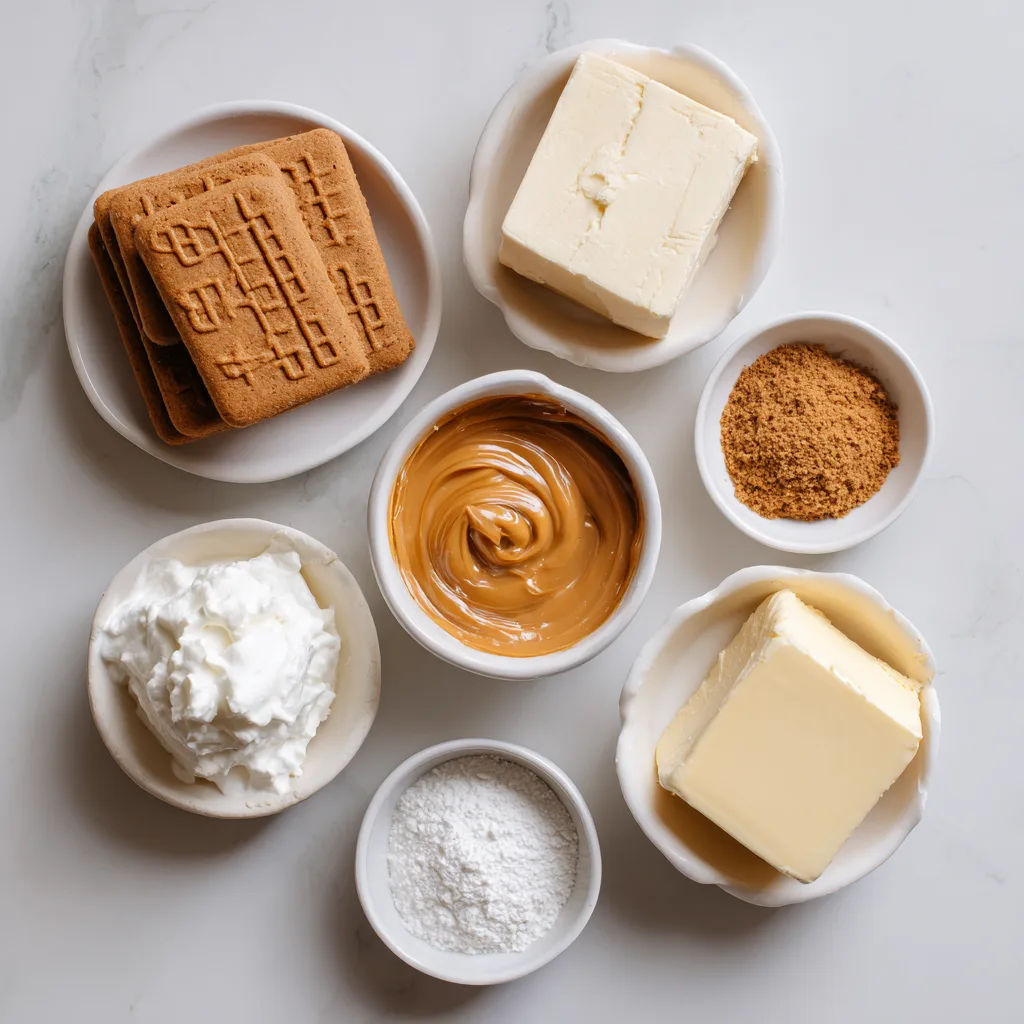
Ingredients
- 2 packages (5.3 oz each) Biscoff cookies, divided
- 6 tablespoons unsalted butter, melted
- 24 oz cream cheese, softened to room temperature
- 1 cup powdered sugar
- 1 cup Biscoff cookie butter spread
- 2 teaspoons vanilla extract
- 1/4 teaspoon salt
- 1 1/2 cups heavy whipping cream, cold
- 2 tablespoons granulated sugar
- 1/4 cup additional Biscoff spread for drizzling
- Extra Biscoff cookies for garnish
Instructions
- Line a 9×13-inch baking pan with parchment paper, leaving overhang on all sides for easy removal. Lightly grease the parchment with cooking spray.
- Reserve about 6-8 Biscoff cookies for garnish. Place the remaining cookies in a food processor and pulse until you have fine crumbs with some slightly larger pieces for texture.
- Transfer the cookie crumbs to a large bowl and stir in the melted butter until the mixture resembles wet sand and holds together when pressed.
- Press the cookie mixture firmly and evenly into the bottom of the prepared pan. Use the bottom of a measuring cup to create an even, compact crust.
- Refrigerate the crust while you prepare the filling, at least 30 minutes.
- In a large mixing bowl, beat the softened cream cheese with an electric mixer until completely smooth and fluffy, about 3-4 minutes.
- Add the powdered sugar and beat until well combined and smooth, scraping down sides as needed.
- Add the Biscoff cookie butter spread, vanilla extract, and salt. Beat until the mixture is completely smooth and well incorporated.
- In a separate large bowl, whip the cold heavy cream and granulated sugar until stiff peaks form. Be careful not to overwhip.
- Gently fold one-third of the whipped cream into the Biscoff cream cheese mixture to lighten it.
- Fold in the remaining whipped cream in two additions, being gentle to maintain the light, airy texture.
- Spread the filling evenly over the chilled crust, smoothing the top with an offset spatula.
- Warm the additional 1/4 cup Biscoff spread in the microwave for 15-20 seconds until it’s easily drizzleable.
- Drizzle the warm Biscoff spread over the top of the cheesecake in decorative patterns, then use a knife to create swirls.
- Crush 2-3 reserved Biscoff cookies and sprinkle the crumbs over the top for extra texture and visual appeal.
- Cover the pan tightly with plastic wrap and refrigerate for at least 4 hours, preferably overnight, until completely set.
- When ready to serve, use the parchment overhang to lift the bars out of the pan onto a cutting board.
- Using a large, sharp knife dipped in warm water and wiped clean between cuts, slice into bars.
- Garnish each bar with a piece of Biscoff cookie or an extra drizzle of warmed Biscoff spread if desired.
No-Bake Biscoff Cheesecake Bars
Ingredients
Equipment
Method
- Line a 9×13-inch baking pan with parchment paper, leaving overhang on all sides for easy removal. Lightly grease the parchment with cooking spray.
- Reserve about 6-8 Biscoff cookies for garnish. Place the remaining cookies in a food processor and pulse until you have fine crumbs with some slightly larger pieces for texture.
- Transfer the cookie crumbs to a large bowl and stir in the melted butter until the mixture resembles wet sand and holds together when pressed.
- Press the cookie mixture firmly and evenly into the bottom of the prepared pan. Use the bottom of a measuring cup to create an even, compact crust. Refrigerate for at least 30 minutes.
- In a large mixing bowl, beat the softened cream cheese with an electric mixer until completely smooth and fluffy, about 3-4 minutes.
- Add the powdered sugar and beat until well combined and smooth, scraping down sides as needed.
- Add the Biscoff cookie butter spread, vanilla extract, and salt. Beat until the mixture is completely smooth and well incorporated.
- In a separate large bowl, whip the cold heavy cream and granulated sugar until stiff peaks form. Be careful not to overwhip.
- Gently fold one-third of the whipped cream into the Biscoff cream cheese mixture to lighten it.
- Fold in the remaining whipped cream in two additions, being gentle to maintain the light, airy texture.
- Spread the filling evenly over the chilled crust, smoothing the top with an offset spatula.
- Warm the additional 1/4 cup Biscoff spread in the microwave for 15-20 seconds until easily drizzleable. Drizzle over the top and create swirls with a knife.
- Crush 2-3 reserved Biscoff cookies and sprinkle over the top. Cover tightly with plastic wrap and refrigerate for at least 4 hours, preferably overnight.
- Use parchment overhang to lift bars out of pan. Cut with a large, sharp knife dipped in warm water and wiped clean between cuts. Garnish as desired.
Notes
Professional Tips for Perfect Results
The most critical factor for success is ensuring your cream cheese is fully softened to room temperature. Cold cream cheese will create lumps that are difficult to smooth out, even with extended mixing. Plan to take it out of the refrigerator at least 2 hours before you plan to make the bars.
When folding in the whipped cream, use a gentle hand to maintain the light, airy texture. Overmixing will deflate the cream and result in a denser final product. The goal is to create a mousse-like consistency that’s both rich and light.
Crust Perfection and Texture Tips
For the best crust texture, don’t over-process the cookies – you want some variation in the crumb size for interest. The crust should be pressed firmly enough to hold together but not so compacted that it becomes hard. A good test is pressing gently with your finger – it should hold its shape without crumbling.
If you find the crust mixture too dry, add melted butter one tablespoon at a time until it holds together when pressed. If it’s too wet, add a few more cookie crumbs to absorb the excess moisture.
Storage and Serving Guidelines
These bars store beautifully in the refrigerator for up to 5 days when covered tightly. For the cleanest cuts, let them sit at room temperature for about 10 minutes before slicing – this makes the filling easier to cut through without cracking.
For longer storage, individual bars can be wrapped in plastic wrap and frozen for up to 2 months. Thaw overnight in the refrigerator before serving. The texture remains excellent after freezing.
Flavor Variations and Creative Additions
Consider these delicious variations: swirl in some Nutella for chocolate lovers, add a layer of salted caramel between the crust and filling, or incorporate freeze-dried strawberries into the filling for a fruity twist. The basic technique works beautifully with many different flavor combinations.
For a more intense Biscoff flavor, you can replace some of the heavy cream with additional Biscoff spread that’s been thinned with a little warm cream. This creates an even more pronounced cookie butter flavor throughout.
Wine and Beverage Pairings
These rich, spiced bars pair beautifully with coffee, espresso, or chai tea. The warm spices in the Biscoff complement these beverages perfectly. For special occasions, consider serving with dessert wines like Port or Moscato, or even a creamy Irish coffee for the ultimate indulgence.
For non-alcoholic options, try pairing with spiced hot chocolate, vanilla-flavored milk, or even a cinnamon-spiced hot cider. The goal is to complement rather than compete with the complex Biscoff flavors.
These No-Bake Biscoff Cheesecake Bars represent the perfect fusion of convenience and indulgence, proving that spectacular desserts don’t always require complicated techniques or oven time. With their irresistible combination of creamy texture and warm spiced flavors, they’re destined to become a go-to dessert for any occasion.