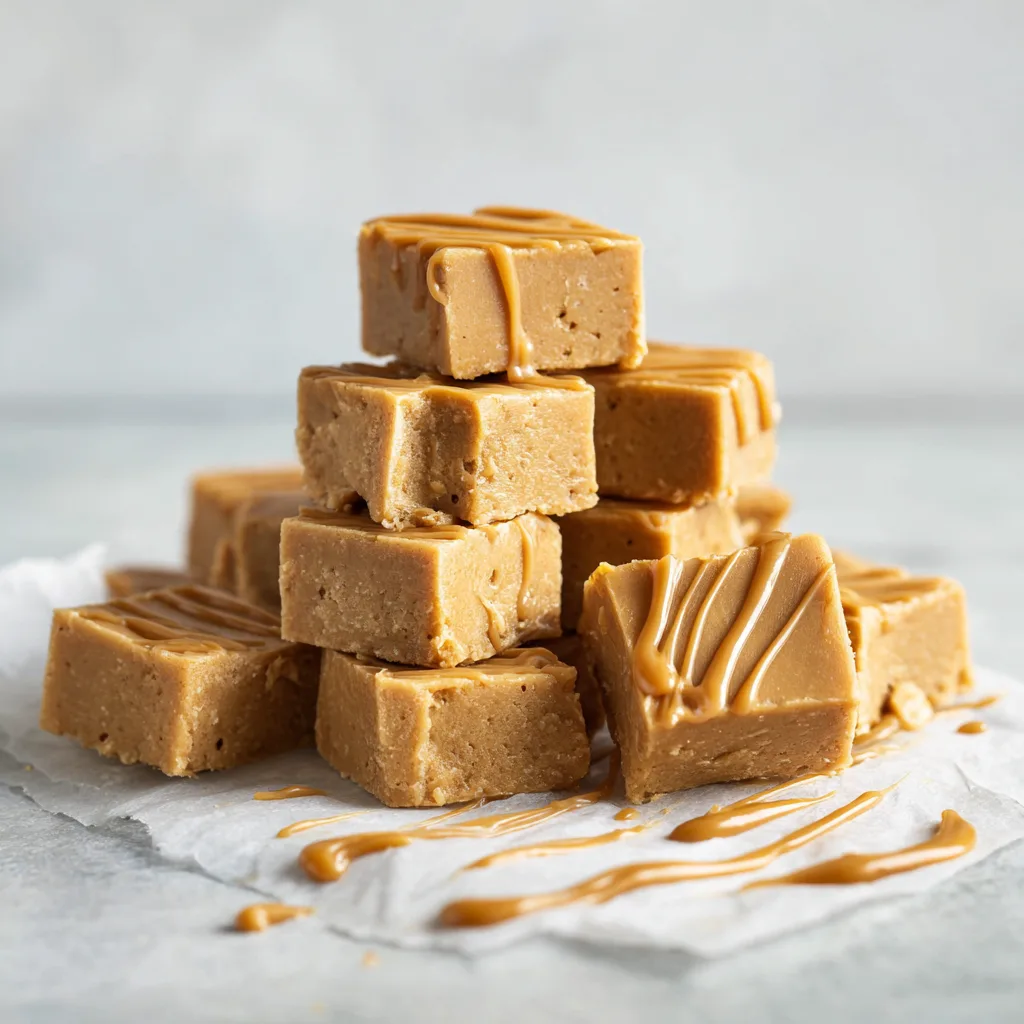
Easy Dairy-Free Peanut Butter Fudge (No-Bake, Creamy & Foolproof)
There are few desserts as universally loved as peanut butter fudge. Rich, creamy, slightly salty, and melt-in-your-mouth smooth, fudge is the kind of treat that disappears almost as fast as it’s made. This Easy Dairy-Free Peanut Butter Fudge delivers everything you want from classic fudge—without butter, milk, or cream—making it perfect for anyone following a dairy-free or vegan lifestyle.
What makes this recipe truly special is its simplicity. No candy thermometer. No baking. No complicated techniques. Just a handful of pantry staples and about ten minutes of hands-on prep. Whether you’re making dessert for a holiday platter, a last-minute sweet craving, or an allergy-friendly gift, this recipe fits seamlessly into busy schedules and modern dietary needs.
Dairy-free desserts have come a long way, and this fudge proves that you don’t need traditional dairy ingredients to achieve indulgent texture and flavor. Creamy peanut butter provides richness, coconut oil gives structure, and powdered sugar creates that classic smooth sweetness. The result is a fudge that sets beautifully, slices cleanly, and tastes just as nostalgic as the traditional version many of us grew up with.
Why You’ll Love This Dairy-Free Peanut Butter Fudge
This recipe checks all the boxes for a dependable, crowd-pleasing dessert:
- Completely dairy-free and vegan-friendly
- No-bake and beginner-friendly
- Made with just a few pantry staples
- Perfect for holidays, parties, and gifting
- Naturally gluten-free
- Customizable with add-ins and toppings
It’s also an excellent recipe for cooking with kids, as there’s no oven involved and minimal waiting time.
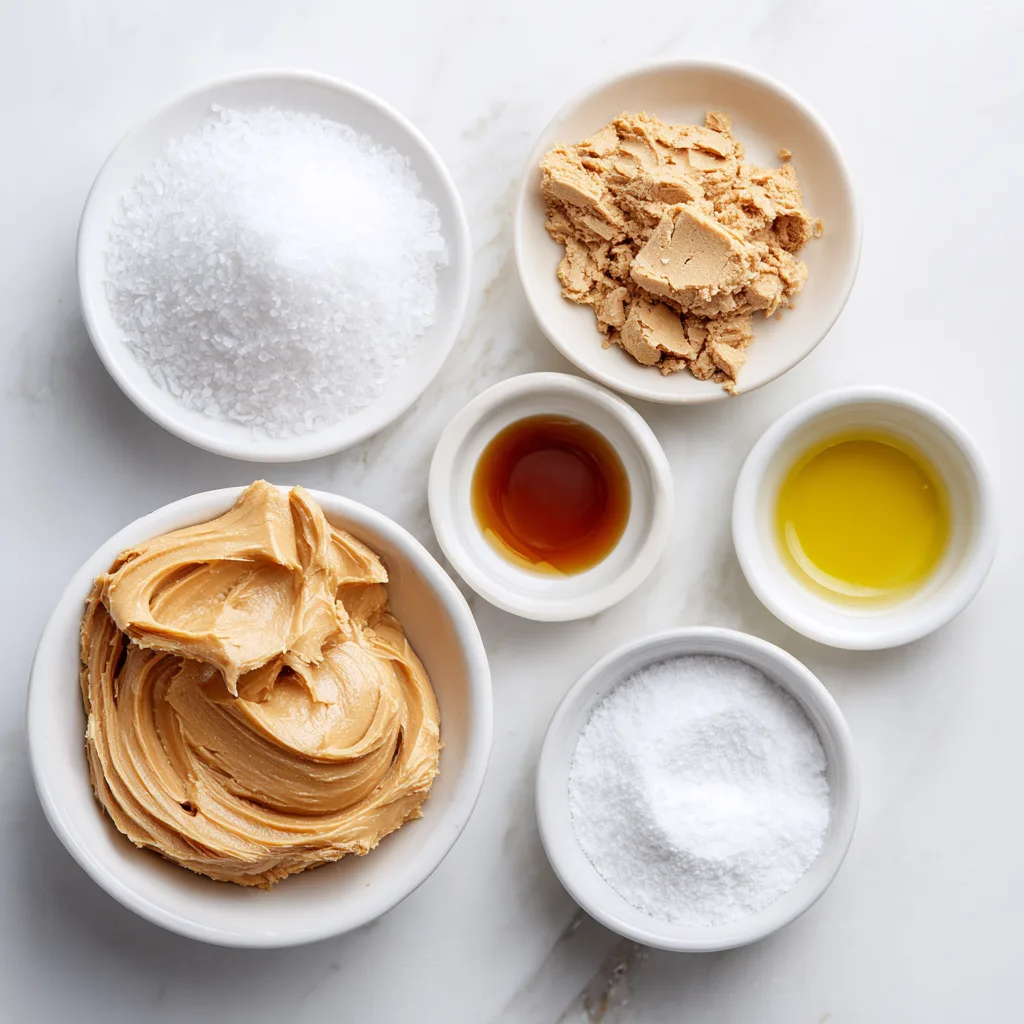
Ingredients
Use high-quality ingredients for the best flavor and texture.
- Creamy peanut butter (natural or conventional, well-stirred)
- Powdered sugar
- Refined coconut oil (for neutral flavor)
- Vanilla extract
- Fine sea salt
That’s it—just five ingredients stand between you and perfect dairy-free fudge.
Instructions
- Line an 8×8-inch baking pan with parchment paper, leaving overhang on the sides for easy removal. Set aside.
- In a microwave-safe bowl or small saucepan, gently melt the coconut oil until fully liquid but not hot.
- Add the peanut butter to the melted coconut oil and stir until smooth and fully combined.
- Mix in the vanilla extract and sea salt.
- Gradually add powdered sugar, stirring continuously until a thick, smooth fudge mixture forms.
- Pour the mixture into the prepared pan and smooth the top with a spatula.
- Refrigerate for at least 60 minutes, or until fully set.
- Lift the fudge out using the parchment paper, slice into squares, and serve.
Texture & Flavor Notes
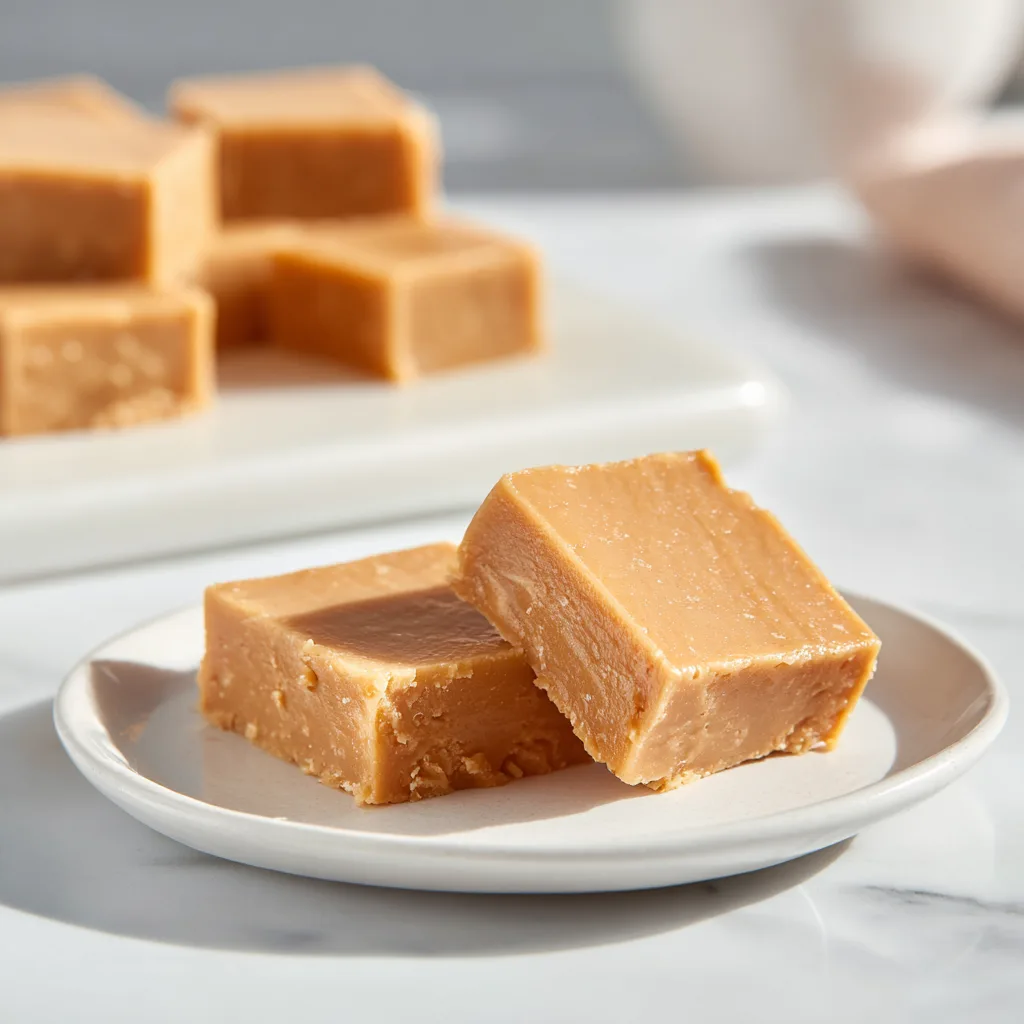
This dairy-free peanut butter fudge has a smooth, firm-yet-creamy texture that holds its shape at room temperature but melts gently in your mouth. The coconut oil solidifies when chilled, giving the fudge structure without making it greasy or brittle. The peanut butter flavor is bold and comforting, balanced perfectly by a touch of salt and vanilla.
Tips for Perfect Dairy-Free Fudge Every Time
Choose the Right Peanut Butter:
Creamy peanut butter works best. Natural peanut butter is fine, but make sure it’s well mixed and not overly oily or dry.
Use Refined Coconut Oil:
Refined coconut oil has no coconut flavor, allowing the peanut butter to shine. Unrefined oil will add a mild coconut taste.
Don’t Overheat:
Gently melting the coconut oil is key. Overheating can affect texture and sweetness.
Adjust Sweetness:
If you prefer less sweetness, reduce powdered sugar slightly and add an extra pinch of salt.
Delicious Variations
This base recipe is incredibly versatile:
- Chocolate Peanut Butter Fudge: Swirl melted dairy-free chocolate into the top before chilling.
- Crunchy Peanut Butter Fudge: Add chopped peanuts or rice cereal for texture.
- Salted Fudge: Sprinkle flaky sea salt on top before chilling.
- Holiday Fudge: Add festive sprinkles or drizzle with dark chocolate.
- Protein Boost: Stir in a scoop of dairy-free vanilla protein powder and adjust sweetness as needed.
Serving Suggestions
- Serve chilled with coffee or tea
- Add to dessert boards or holiday trays
- Wrap individual pieces for edible gifts
- Crumble over dairy-free ice cream
- Pack into lunchboxes as a sweet treat
Storage & Make-Ahead Tips
- Refrigerator: Store in an airtight container for up to 10 days.
- Freezer: Freeze for up to 3 months. Thaw in the fridge before serving.
- Room Temperature: Safe for short periods but best kept chilled for structure.
Fun Fact: The History of Fudge
Fudge originated in the United States in the late 19th century and quickly became a popular homemade candy due to its simple ingredients and forgiving nature. Peanut butter fudge emerged as a variation during times when butter and chocolate were expensive or rationed—making this dairy-free version a nod to both tradition and innovation.
Why This Recipe Works for Everyone
This Easy Dairy-Free Peanut Butter Fudge is proof that inclusive desserts don’t require compromise. It’s rich enough for traditional fudge lovers, safe for dairy-free diets, and easy enough for beginners. Whether you’re making it for health reasons, ethical choices, or convenience, this recipe belongs in your regular dessert rotation.
Easy Dairy-Free Peanut Butter Fudge
Ingredients
Equipment
Method
- Line an 8×8-inch pan with parchment paper.
- Melt coconut oil gently until liquid.
- Stir peanut butter into coconut oil until smooth.
- Add vanilla and salt, mixing well.
- Gradually mix in powdered sugar until thick and smooth.
- Spread mixture evenly into prepared pan.
- Refrigerate for at least 60 minutes until firm.
- Slice into squares and serve.