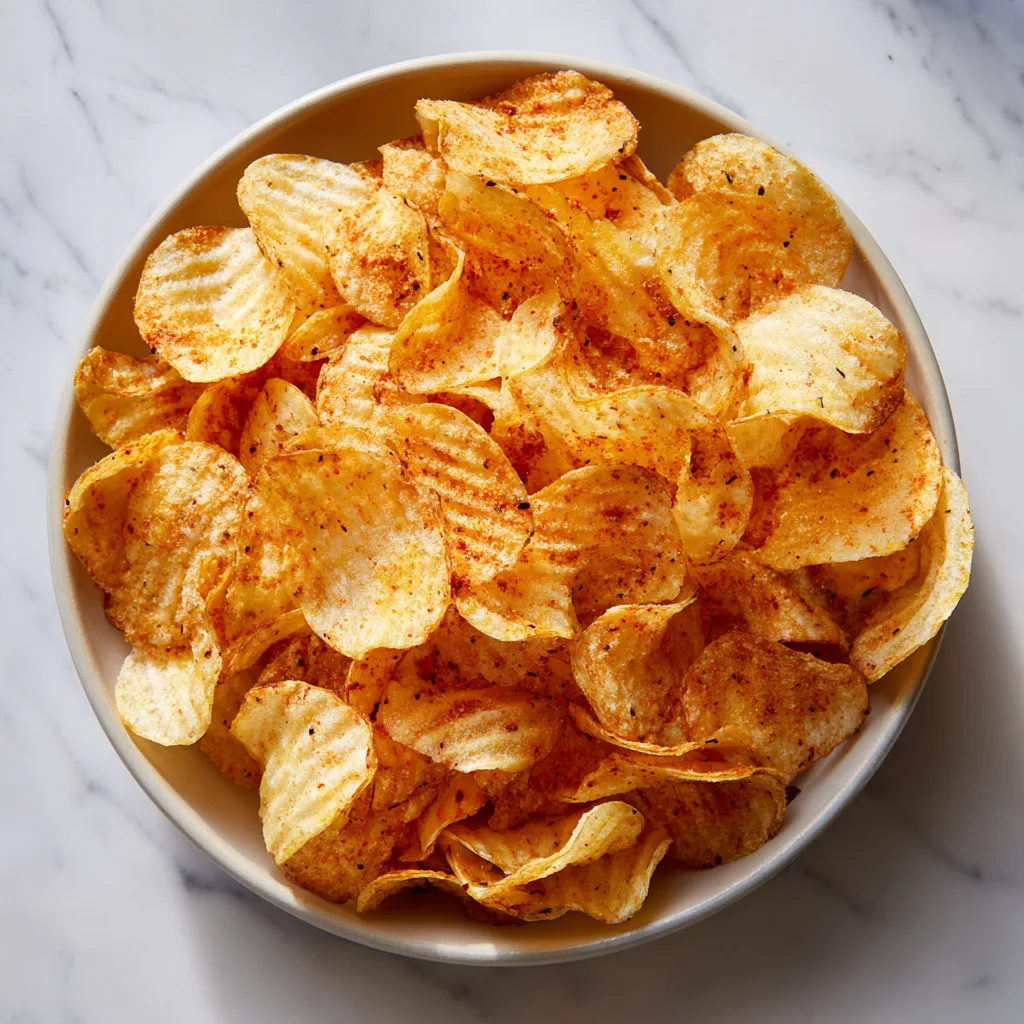
Ultimate Crispy Homemade Crinkle Chips: The Perfect Crunch in Every Bite
If you’ve ever craved that irresistible crunch of perfectly seasoned chips, this Ultimate Crispy Homemade Crinkle Chips recipe is about to become your new go-to snack. With their signature ridged texture and golden crispiness, crinkle chips are not only visually appealing but also deliver a superior crunch compared to regular flat chips.
Making chips at home may sound intimidating, but once you try this recipe, you’ll realize how simple and rewarding it is. Using just a handful of pantry staples and fresh potatoes, you can create a batch of chips that rival any store-bought version—without preservatives or artificial flavors.
This guide will walk you through everything you need to know to achieve that perfect crunch, from selecting the right potatoes to mastering frying or baking techniques.
Why Crinkle Chips Are So Special
Crinkle chips stand out because of their unique ridged design. These ridges aren’t just for aesthetics—they actually help the chips cook more evenly and hold onto seasoning better.
The grooves create more surface area, which results in:
- Extra crispiness
- Better flavor absorption
- A satisfying crunch in every bite
Whether you enjoy them plain, salted, or loaded with spices, crinkle chips bring a gourmet feel to a simple snack.
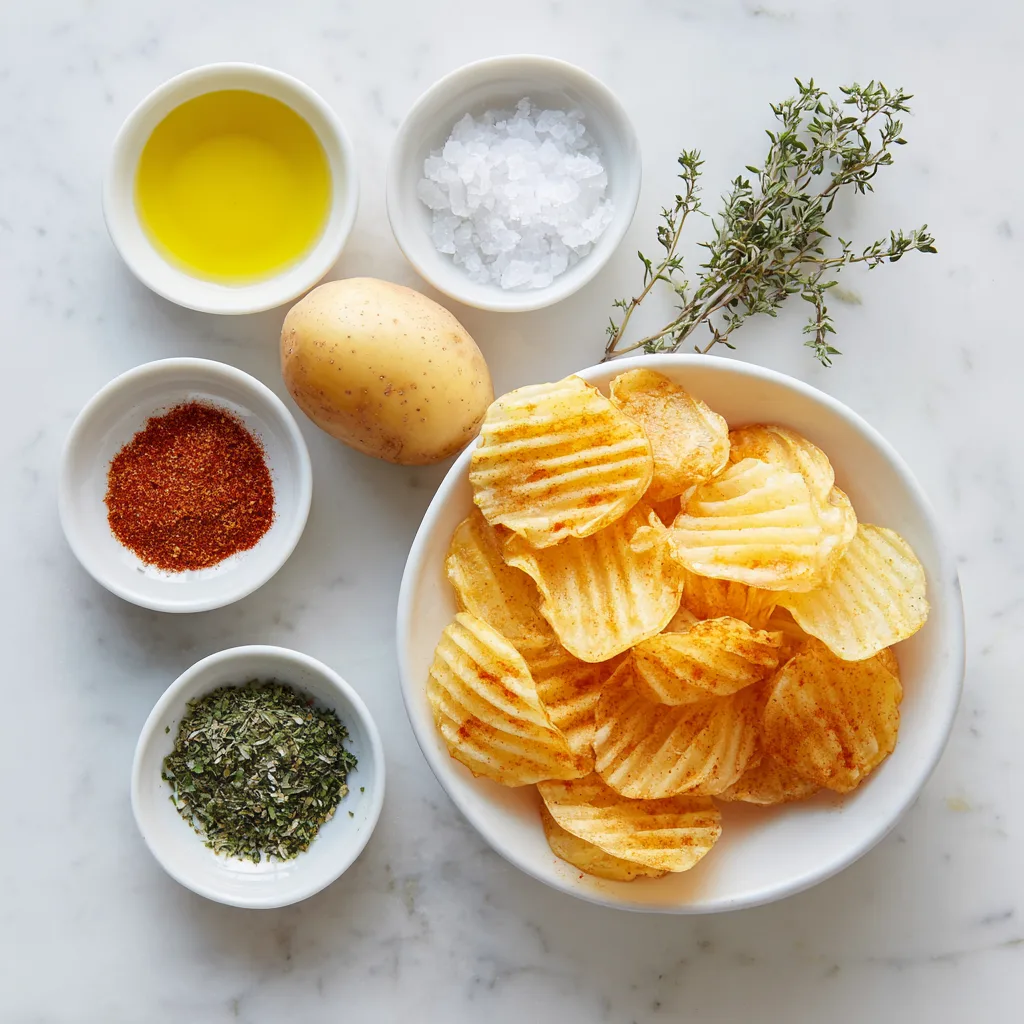
Ingredients
- 4 large russet potatoes
- 4 cups cold water (for soaking)
- 1 teaspoon salt (plus extra for seasoning)
- 1 teaspoon garlic powder
- 1 teaspoon paprika
- ½ teaspoon black pepper
- 2–3 cups vegetable oil (for frying)
- Optional: dried herbs (parsley, rosemary, thyme)
Instructions
- Prepare the Potatoes
Wash and peel the potatoes thoroughly. Using a crinkle cutter, slice them into even ridged pieces about 2–3 mm thick. - Soak for Crispiness
Place the sliced potatoes in a bowl of cold water. Let them soak for at least 30 minutes. This step removes excess starch, which helps achieve a crispier texture. - Dry Thoroughly
Drain the potatoes and pat them completely dry using a clean kitchen towel or paper towels. Moisture can cause oil splattering and prevent crisping. - Heat the Oil
In a deep pan or fryer, heat the vegetable oil to 175°C (350°F). Maintaining the right temperature is key for even frying. - Fry in Batches
Carefully add a handful of potato slices into the hot oil. Do not overcrowd the pan. Fry for 3–5 minutes until golden brown and crispy. - Drain and Season
Remove the chips using a slotted spoon and place them on paper towels. Immediately sprinkle with salt, garlic powder, paprika, and pepper. - Cool and Serve
Allow the chips to cool slightly. They will become even crispier as they rest. Serve warm or at room temperature.
Pro Tips for Ultra Crispy Chips
Choose the Right Potatoes
Russet potatoes are ideal because of their high starch content and low moisture. This combination produces crispy chips with a fluffy interior.
Don’t Skip the Soaking Step
Soaking removes excess starch and prevents chips from sticking together while frying.
Maintain Oil Temperature
If the oil is too hot, chips will burn. Too cool, and they’ll absorb excess oil. Use a thermometer for best results.
Fry in Small Batches
Overcrowding lowers the oil temperature and leads to soggy chips.
Double Fry for Extra Crunch
For restaurant-style crispiness, fry the chips once at a lower temperature (160°C), let them rest, then fry again at 180°C.
Baked Version for a Healthier Option
If you prefer a lighter version, you can bake your crinkle chips instead of frying.
How to Bake
- Preheat oven to 200°C (400°F)
- Toss potato slices with 2–3 tablespoons olive oil
- Arrange in a single layer on a baking sheet
- Bake for 20–25 minutes, flipping halfway
While baked chips won’t be as crispy as fried ones, they still deliver a satisfying crunch with less oil.
Flavor Variations
Classic Sea Salt
Keep it simple with just a sprinkle of flaky sea salt.
Spicy Kick
Add cayenne pepper or chili powder for heat.
Garlic Parmesan
Toss chips with grated parmesan and garlic powder right after frying.
Herb Garden
Mix dried rosemary, thyme, and parsley for a fragrant twist.
Sweet & Smoky
Use smoked paprika and a pinch of brown sugar for a unique flavor.
Serving Suggestions
Crinkle chips are incredibly versatile and can be paired with a variety of dips and meals:
- Serve with burgers or sandwiches
- Pair with grilled chicken or steak
- Enjoy as a standalone snack with dips like:
- Garlic aioli
- Ranch dressing
- Spicy ketchup
- Cheese sauce
They’re also perfect for parties, movie nights, or casual gatherings.
Fun Facts About Crinkle Chips
- The crinkle cut design dates back to the mid-20th century and was created to improve texture and presentation.
- The ridges help hold dips better than flat chips.
- Crinkle-cut fries are often used in gourmet dishes because of their unique look.
Storage Tips
- Store leftover chips in an airtight container at room temperature
- Best consumed within 1–2 days for maximum crispiness
- Reheat in an oven at 180°C for 5–7 minutes to restore crunch
Avoid refrigerating, as it can make chips soggy.
Common Mistakes to Avoid
- Skipping the soaking step
- Not drying potatoes thoroughly
- Overcrowding the frying pan
- Using the wrong type of potato
- Not seasoning immediately after frying
Avoiding these mistakes will guarantee perfect chips every time.

Why Homemade Chips Are Better
Homemade crinkle chips offer several advantages over store-bought options:
- No preservatives or additives
- Customizable flavors
- Fresher taste
- Better texture
Plus, there’s something incredibly satisfying about making your own snacks from scratch.
Final Thoughts
Ultimate Crispy Homemade Crinkle Chips are more than just a snack—they’re a celebration of texture, flavor, and simplicity. With their golden ridges and irresistible crunch, they bring a gourmet touch to any occasion.
Whether you fry them for maximum crispiness or bake them for a lighter version, these chips are guaranteed to impress. Once you master this recipe, you’ll never look at store-bought chips the same way again.
Ultimate Crispy Homemade Crinkle Chips
Ingredients
Equipment
Method
- Slice potatoes using a crinkle cutter and soak in cold water for 30 minutes.
- Drain and dry thoroughly.
- Heat oil to 350°F (175°C).
- Fry chips in batches until golden and crispy.
- Drain on paper towels and season immediately.