Gluten-Free No-Knead Artisan Bread: A crusty bakery-style loaf with zero kneading and maximum flavor
There is something deeply comforting about homemade bread. The crackle of the crust as it cools, the warm aroma filling the kitchen, and that first slice slathered with butter—it’s pure joy. For anyone who eats gluten-free, though, artisan bread can feel frustratingly out of reach. Dense textures, gummy centers, complicated techniques, and endless kneading often get in the way.
This Gluten-Free No-Knead Artisan Bread changes everything.
It’s simple. It’s rustic. It’s shockingly easy. And best of all, it delivers the crusty exterior and airy interior you expect from a traditional bakery loaf—without gluten and without kneading.
This recipe was designed for real life. No stand mixer gymnastics. No shaping stress. No gluten wizardry. Just mix, rest, bake, and enjoy a loaf that looks and tastes like it came from an artisan bakery.
Why This Gluten-Free Bread Actually Works
Traditional wheat bread relies on gluten for structure, elasticity, and rise. Gluten-free baking requires a different approach. Instead of kneading to develop gluten, this recipe uses hydration, time, and steam to build structure and flavor naturally.
Key techniques that make this loaf a success:
- A high-hydration dough for an open crumb
- Psyllium husk powder to mimic gluten’s elasticity
- A long fermentation for better flavor
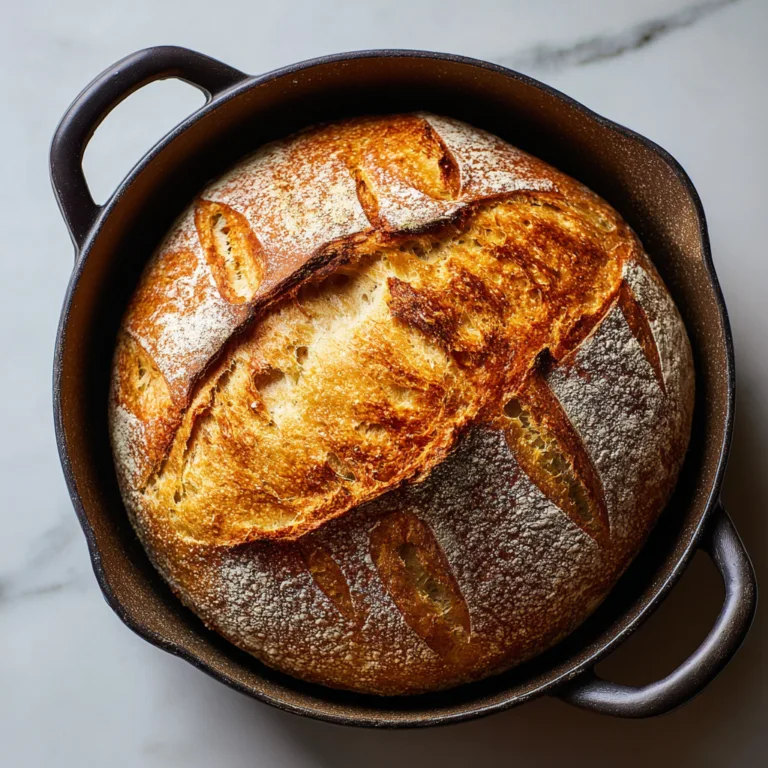
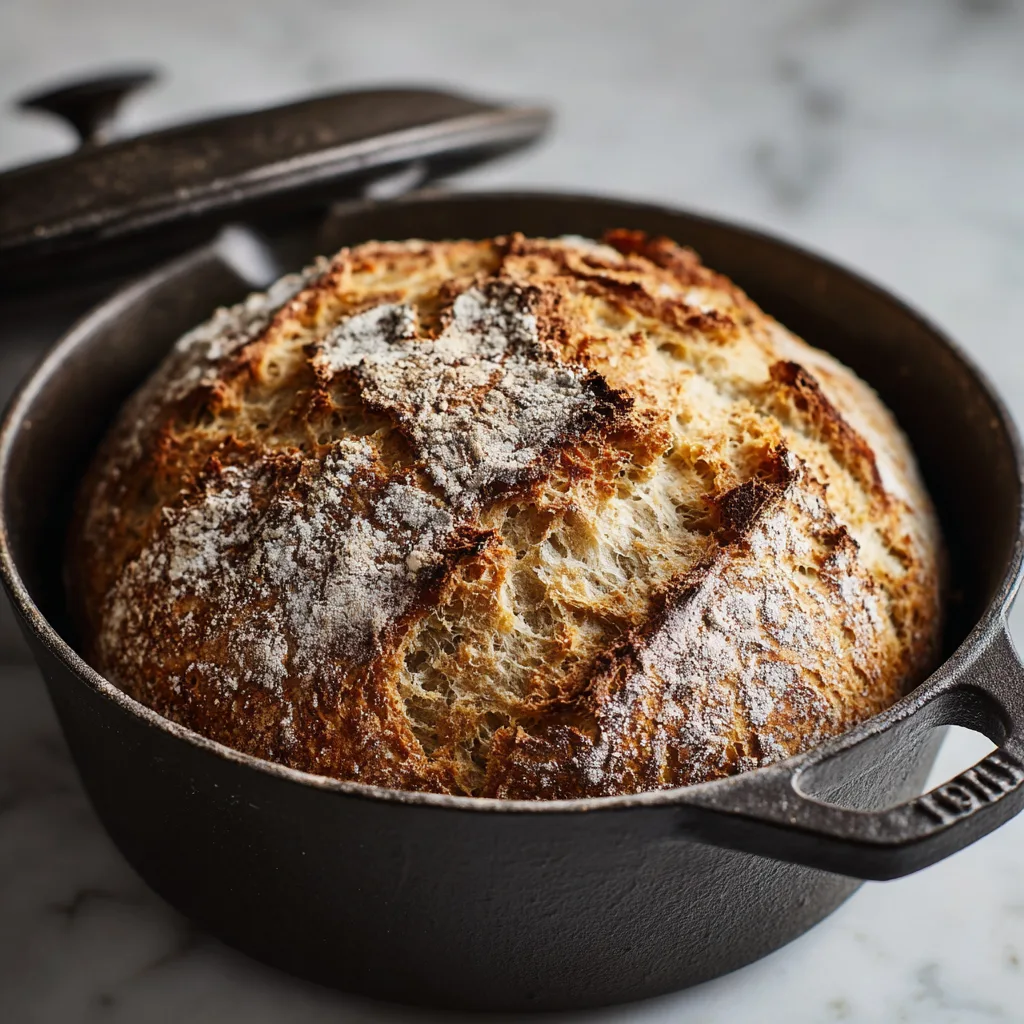
- Baking in a covered Dutch oven for bakery-style steam
The result is a loaf with a crackly crust, chewy interior, and mild tang—perfect for slicing, dipping, or toasting.
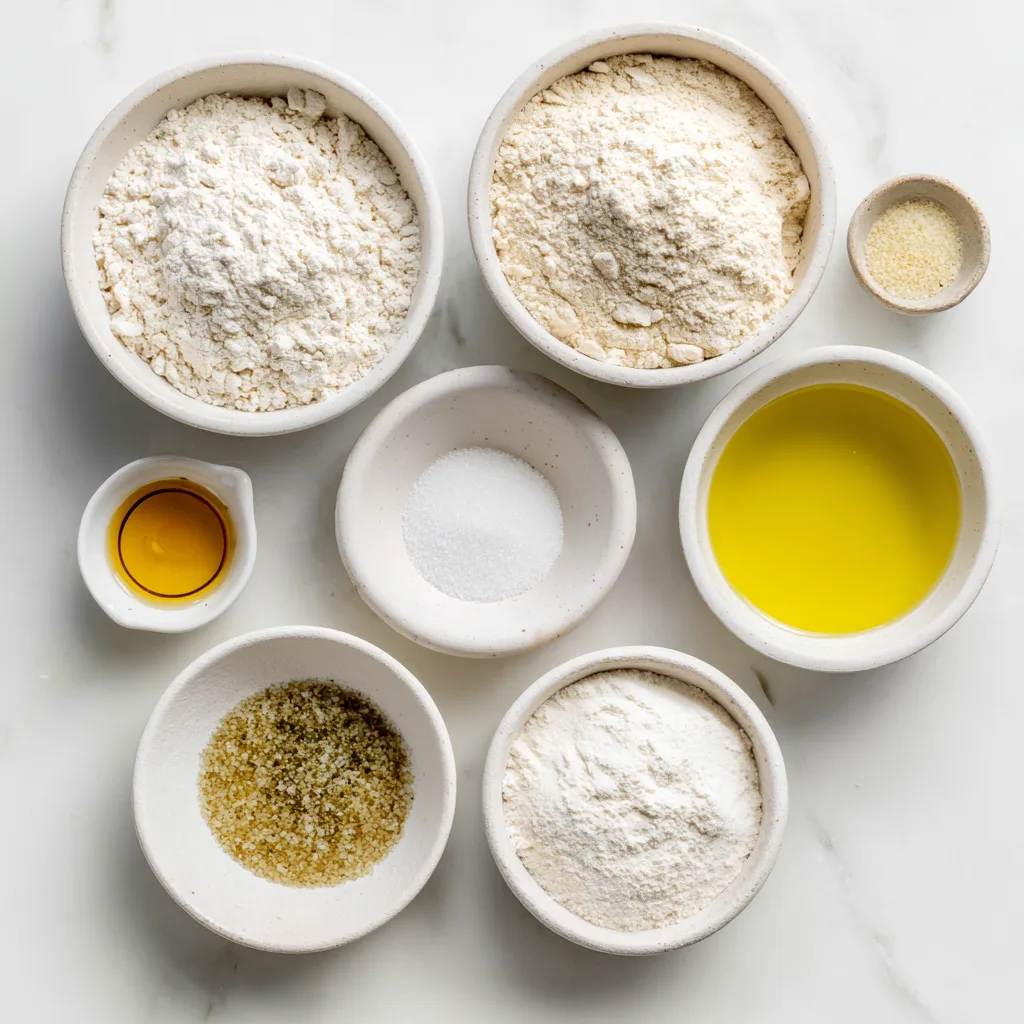
Ingredients
- Gluten-free all-purpose flour blend (with xanthan gum)
- Psyllium husk powder
- Instant yeast
- Fine sea salt
- Honey or maple syrup
- Olive oil
- Warm water
Each ingredient plays a critical role. The psyllium husk absorbs water and forms a gel that traps gas from the yeast, giving the bread lift and chew. The honey feeds the yeast and adds subtle depth. Olive oil improves tenderness and shelf life.
Instructions
- In a large mixing bowl, whisk together the gluten-free flour, psyllium husk powder, yeast, and salt until evenly combined.
- Add the warm water, honey, and olive oil to the dry ingredients. Stir with a wooden spoon or silicone spatula until a thick, sticky dough forms.
- Cover the bowl tightly with plastic wrap or a lid and let the dough rest at room temperature for 2 to 3 hours, or until puffed and slightly bubbly.
- Transfer the dough to the refrigerator and allow it to ferment for at least 8 hours, or overnight, for best flavor and structure.
- When ready to bake, place a Dutch oven with its lid into the oven and preheat to 450°F (230°C) for at least 30 minutes.
- Remove the dough from the refrigerator. Using floured hands or parchment paper, gently shape it into a round loaf without kneading.
- Carefully transfer the dough into the hot Dutch oven, using parchment paper if desired. Cover with the lid.
- Bake covered for 35 minutes, then remove the lid and bake an additional 15 minutes until the crust is deep golden brown.
- Remove the bread from the Dutch oven and cool completely on a wire rack before slicing.
Texture, Flavor, and What to Expect
This gluten-free artisan loaf has a crisp, shattering crust and a soft interior with irregular holes—something many gluten-free breads struggle to achieve. The flavor is mildly tangy, slightly nutty, and neutral enough to pair with both sweet and savory toppings.
It slices beautifully once fully cooled and toasts like a dream.
Tips for Perfect Gluten-Free Artisan Bread
- Always weigh or carefully measure flour to avoid dense results
- Do not skip the psyllium husk—it’s essential
- Let the bread cool fully before slicing to prevent gumminess
- A long cold ferment dramatically improves flavor
Variations to Try
- Seeded Loaf: Add sunflower, sesame, or flax seeds
- Herb Bread: Mix in dried rosemary or thyme
- Olive Oil & Sea Salt Crust: Brush with olive oil before baking uncovered
- Whole-Grain Style: Use a gluten-free whole grain blend
Serving Suggestions
This bread is endlessly versatile:
- Toasted with butter and honey
- Served alongside soups and stews
- Used for gluten-free sandwiches
- Dipped in olive oil and balsamic
- Topped with avocado and flaky salt

Storage and Freezing
Store the loaf at room temperature for up to 2 days, wrapped loosely. For longer storage, slice and freeze for up to 3 months. Toast straight from frozen for best texture.
A Little Bread History
No-knead bread became popular for its simplicity, but gluten-free versions lagged behind—until now. This recipe borrows traditional artisan methods and adapts them thoughtfully, proving that gluten-free baking doesn’t have to be complicated to be exceptional.
Gluten-Free No-Knead Artisan Bread
Ingredients
Equipment
Method
- Whisk flour, psyllium husk powder, yeast, and salt in a large bowl.
- Add warm water, honey, and olive oil. Stir until a thick sticky dough forms.
- Cover and let rest at room temperature for 2–3 hours until puffed.
- Refrigerate dough for at least 8 hours or overnight.
- Preheat oven and Dutch oven to 450°F (230°C) for 30 minutes.
- Shape dough gently and place into hot Dutch oven. Cover with lid.
- Bake covered for 35 minutes, then uncovered for 15 minutes.
- Cool completely on wire rack before slicing.