Halloween Pretzels Recipe – Spooky, Easy & Kids-Approved
As the crisp October air arrives and porch lights flicker with carved pumpkin faces, one snack in my kitchen always steals the spotlight: Halloween Pretzels That’ll Disappear Before the Candy by Ely Rechard—so magically simple and irresistibly spooky, they vanish faster than a ghost at midnight. Below, you’ll find a playful yet informative deep dive into why this recipe is a must for the season—complete with personal touches, practical tips, and creative variations to spark your culinary imagination.
1. The Allure: Spooky, Sweet, and Sinfully Simple
What makes these Halloween pretzels utterly irresistible isn’t just their festive look—it’s the irresistible marriage of sweet and salty in each bite. Ely admits this concoction started as a last-minute fix for a school party: pretzels, leftover candy melts, and googly candy eyes—one drizzle and flick, and the crowd was hooked. It embodies the Halloween spirit: low effort, high reward. These treats are mess-free, no-bake, and ready in just 20 minutes, yet look like you spent hours crafting them.
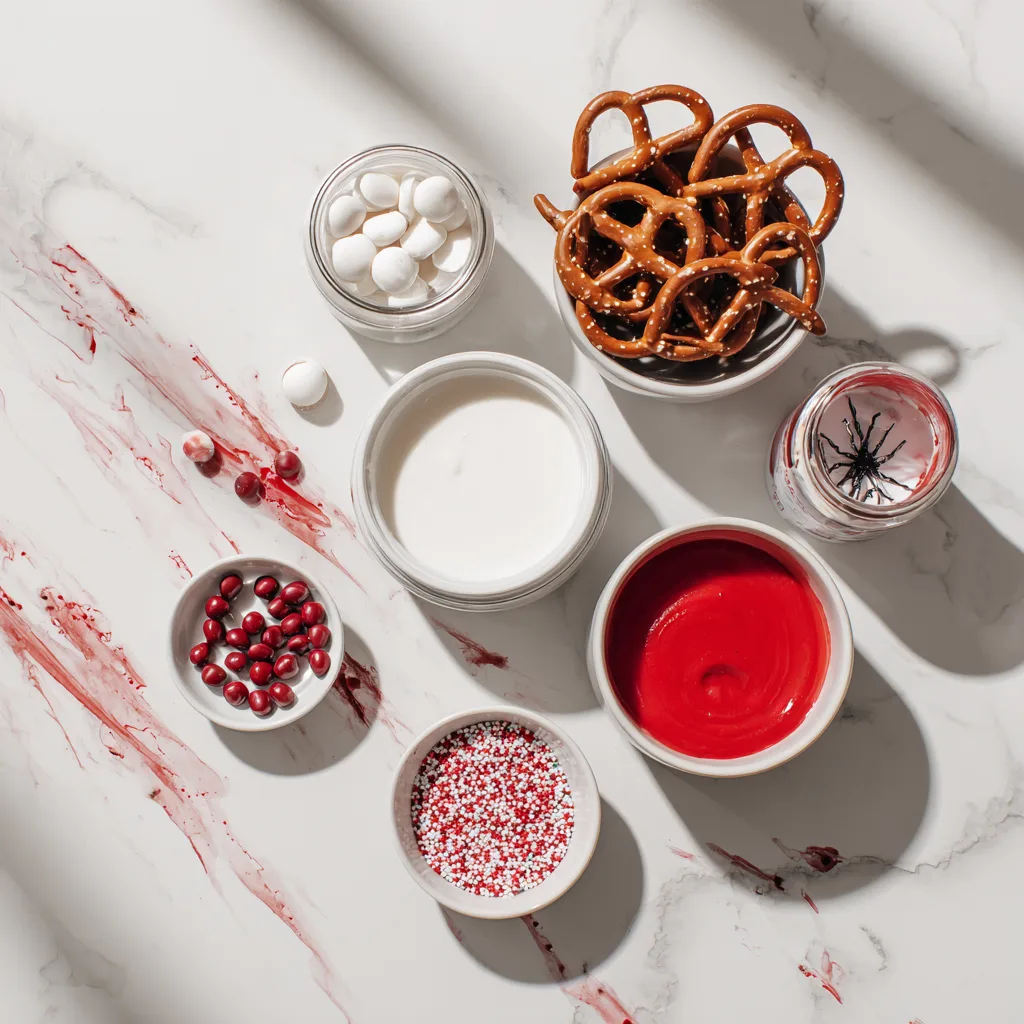
2. Ingredients — What You’ll Need
Here’s what you’ll need to conjure this quick magical snack:
- Pretzels (mini twists, rods, or snaps—all work great)
- Candy melts in festive shades: white, orange, black, and green
- Candy eyeballs and Halloween sprinkles (think orange, black, purple)
- Parchment or wax paper for easy setting
3. The Ritual: How to Make Them
The charm lies in the simplicity. Here’s how the magic unfolds:
- Line a baking sheet with parchment.
- Melt your candy melts per package instructions—microwave in 30-second bursts, stirring in between to avoid burning.
- Dip pretzels halfway into the melted coating or drizzle it over with a spoon.
- Place them on the sheet and quickly scatter sprinkles or eyes before the coating sets.
- Let them rest at room temperature or chill briefly to firm up (around 10–15 minutes)
That’s it. You’ve just summoned Halloween magic in a bite-sized crunch.
4. Tips & Spooky Hacks for a Clean Operation
Ely shares some savvy tricks to keep things efficient:
- Use parchment paper to prevent sticking.
- Chill the tray if you’re working in a hurry, to speed up setting.
- Work in small batches—candy hardens fast!
- Save any leftover melted coating; reheat it later if needed.
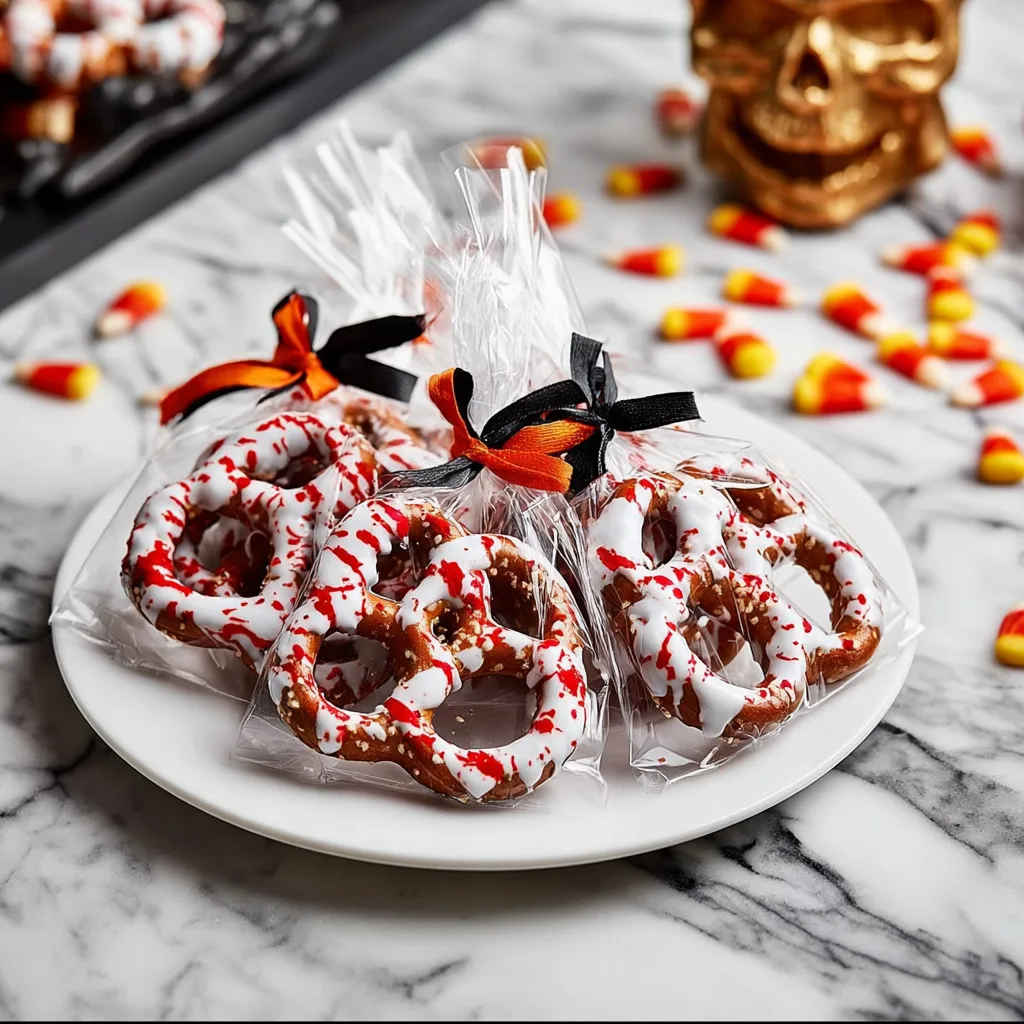
5. Serving & Storage: Ready for the Night
These pretzels shine in every setting—from party platters to trick-or-treat bags. Want to gift them? Slip a few into cellophane with a ribbon—instant charm.
Store them in an airtight container at room temperature for up to 7 days—though good luck getting through them in that time.

6. Haunted Variations — Get Creative
Ely encourages imagination—these pretzels are your canvas. Here are some fun riffs:
- Mummy Pretzels: Dip in white chocolate, then use black gel or melted dark chocolate for haunting eyes.
- Witch’s Broom Rods: Half-dip rods, drizzle with green or orange, top with sprinkles.
- Monster Mix: Toss a variety in a bowl—drizzled, dipped, eyed—perfect for a messy, fun buffet.
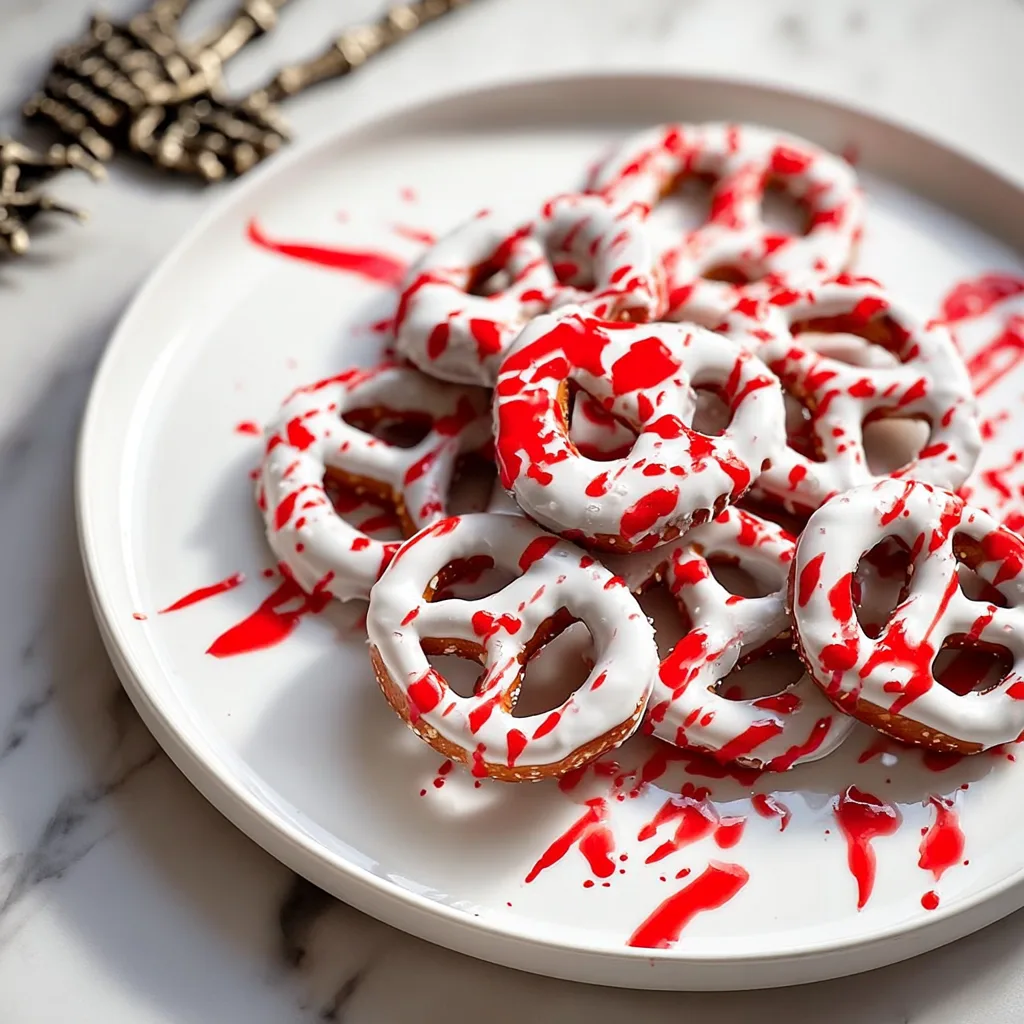
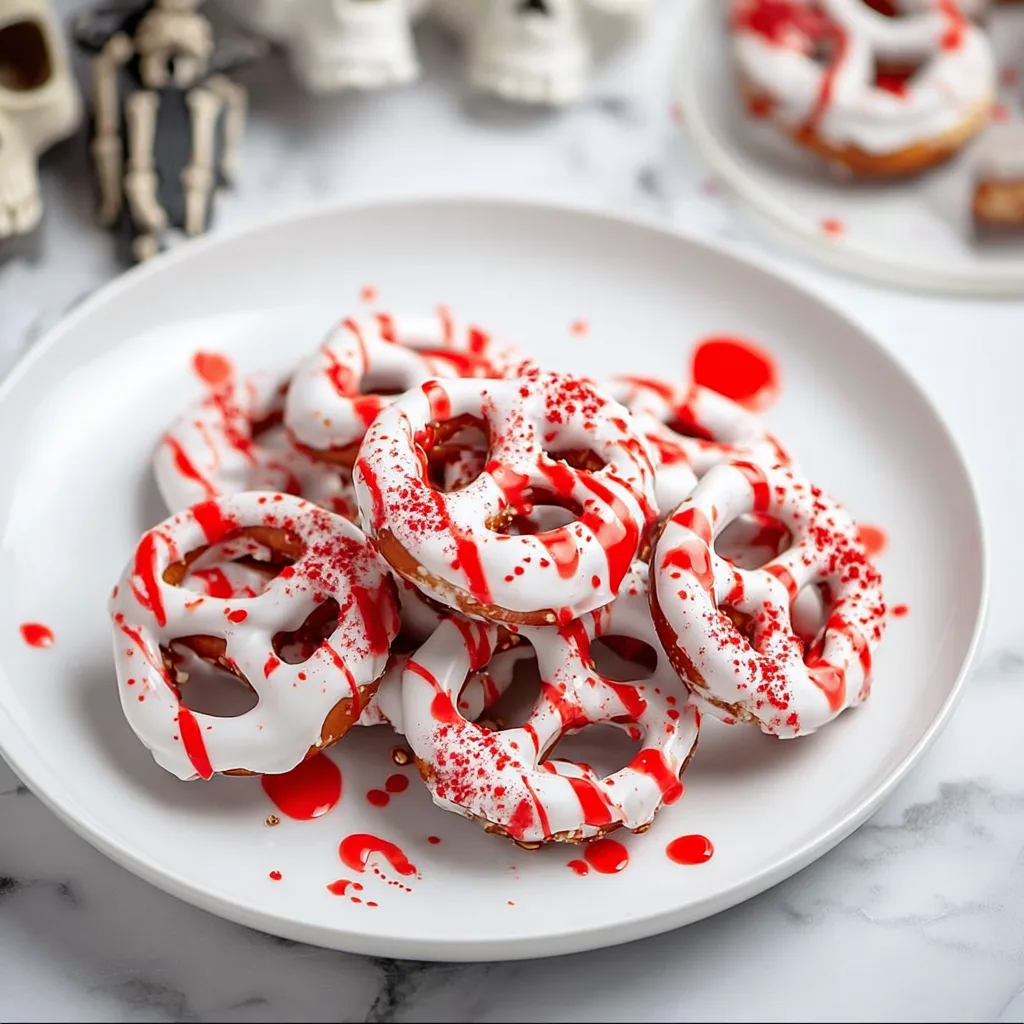
White-Coated Bloody Halloween Pretzels
Ingredients
Equipment
Method
- Line a baking sheet with parchment paper.
- Melt white candy melts according to package instructions until smooth.
- Dip each pretzel fully in the melted white chocolate and place on the prepared parchment.
- Melt red candy melts or prepare strawberry sauce for the ‘blood’ effect.
- Drizzle or splatter the red coating over the white-coated pretzels for a spooky blood effect.
- Immediately add candy eyeballs and Halloween sprinkles while the coating is still wet.
- Let pretzels set at room temperature or in the fridge until firm (about 10-15 minutes).
- Serve as a creepy-cute Halloween snack or package in cellophane bags for treats.
Notes
7. Frequently Asked Questions
Ely answers what you might be wondering:
- Can I make them ahead? Yes—up to 5 days in advance in an airtight container.
- No candy melts? No problem. Use regular white chocolate and smooth it with a bit of coconut oil. Add food coloring if you want seasonal shades.
- Gluten-free? Sure! Just swap in gluten-free pretzels and watch your toppings for hidden gluten.
8. Why These Pretzels Truly Disappear
What I love most about Ely’s recipe is how it invites joy, creativity, and that fleeting magic of Halloween:
- Effortless delight: No baking, no messy cleanup—just fun.
- Kid-friendly: Little hands can help decorate while snacking.
- Endlessly customizable: Swap colors, toppings, and shapes to match your mood or theme.
- Instant cheer: Looks whimsical, tastes divine, disappears even faster.
They’re perfect for parties, school treats, or impromptu magic-making in your kitchen.
9. Final Thoughts: A Magical Halloween Bite
In just a few steps, you’ve created a snack that’s as whimsical as it is delicious. These Halloween pretzels are equal parts creative outlet, nostalgic treat, and party pleaser. When I make them, I love watching guests’ eyes light up—whether it’s kids spotting candy eyeballs or adults getting nostalgic for Halloween past.
So this season, let your kitchen become a candy lab. Gather your pretzels, melt some candy, sprinkle on imagination—and make something that truly disappears before the candy. Happy Halloween