
Halloween Witch Cookies Recipe
When October rolls in and spooky season begins, no Halloween table is complete without Halloween Witch Cookies. These whimsical cookies, shaped like tiny witch hats, are not just fun to make but also a delight to eat. They combine classic cookie bases with simple decorations — chocolate kisses, colorful frosting, and festive sprinkles — to create a treat that doubles as dessert and decoration.🎃
This recipe is the perfect blend of festive creativity and kid-friendly fun. The beauty is that you don’t need advanced baking skills or elaborate equipment. A basic cookie recipe forms the base, while store-bought chocolate candies and frosting help bring the “witch hat” illusion to life. These cookies are excellent for Halloween parties, school events, bake sales, or simply as a fun weekend project with kids.
Let’s walk through everything you need to know: ingredients, step-by-step instructions, baking tips, creative variations, and even storage suggestions to make these cookies a Halloween favorite year after year.
Why you’ll love these cookies
- Visually spooky but fun – They look like little witch hats on your dessert table.
- Easy decorating – Even beginners or kids can decorate them successfully.
- Flexible recipe – Use your favorite cookie base (sugar cookie, chocolate, or even store-bought).
- Crowd-pleasers – These cookies are as photogenic as they are delicious.
Ingredients
- 1 1/2 cups all-purpose flour
- 1/2 teaspoon baking soda
- 1/4 teaspoon baking powder
- 1/4 teaspoon salt
- 1/2 cup unsalted butter, softened
- 1/2 cup granulated sugar
- 1/4 cup brown sugar, packed
- 1 large egg
- 1 teaspoon vanilla extract
- 2 tablespoons milk
For Decoration:
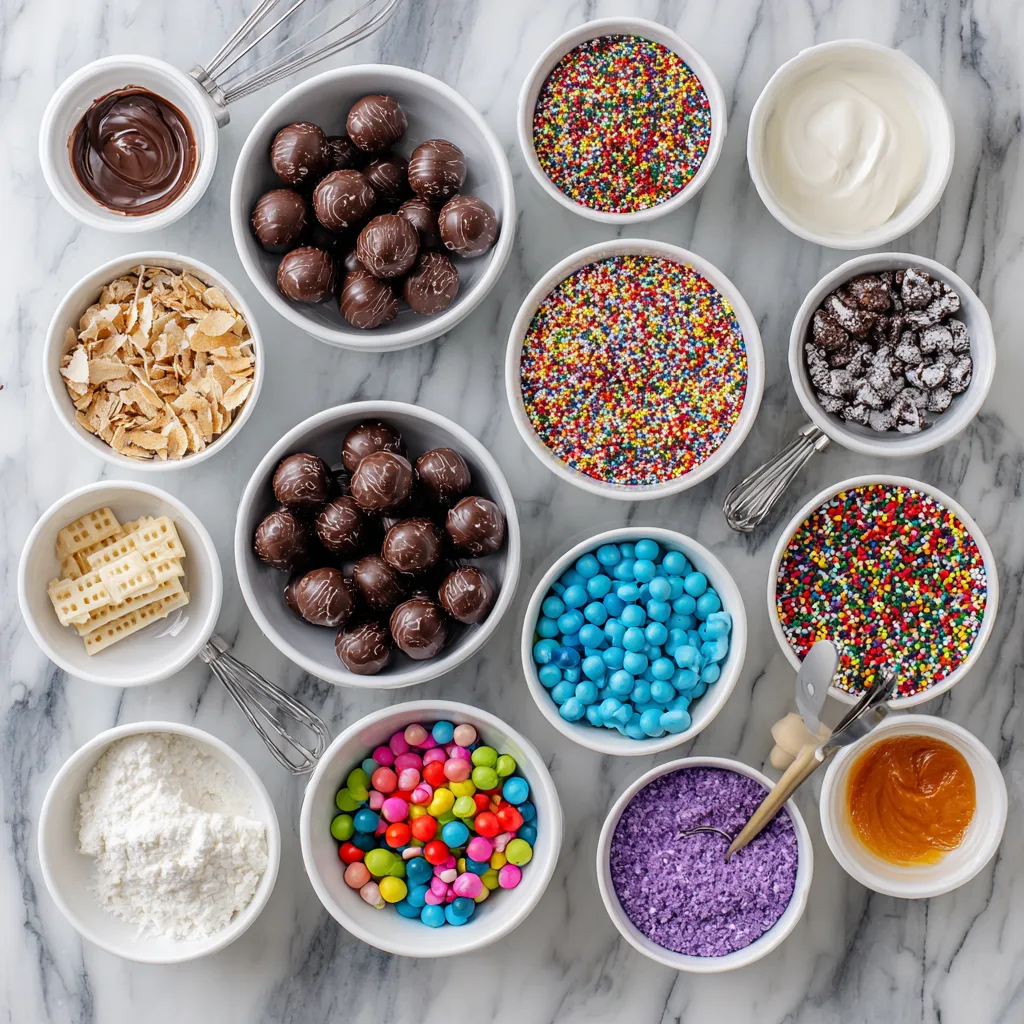
- 24 chocolate kisses (Hershey’s or similar)
- 24 round chocolate wafer cookies (or thin chocolate cookies)
- 1/2 cup chocolate frosting (store-bought or homemade)
- Halloween-colored sprinkles (orange, purple, green, black)
- Gel food coloring (optional, to tint frosting)
Instructions
- Prepare oven: Preheat oven to 350°F (175°C). Line a baking sheet with parchment paper.
- Mix dry ingredients: In a medium bowl, whisk together flour, baking soda, baking powder, and salt. Set aside.
- Cream butter & sugar: In a large bowl, beat softened butter, granulated sugar, and brown sugar until fluffy (2–3 minutes). Add egg, vanilla, and milk; beat until smooth.
- Combine: Slowly add the dry ingredients to the wet mixture and stir until dough forms.
- Shape cookies: Scoop dough into tablespoon-sized balls and place on the prepared baking sheet. Flatten slightly.
- Bake: Bake for 9–11 minutes, or until edges are set and centers look soft. Remove and let cool completely.
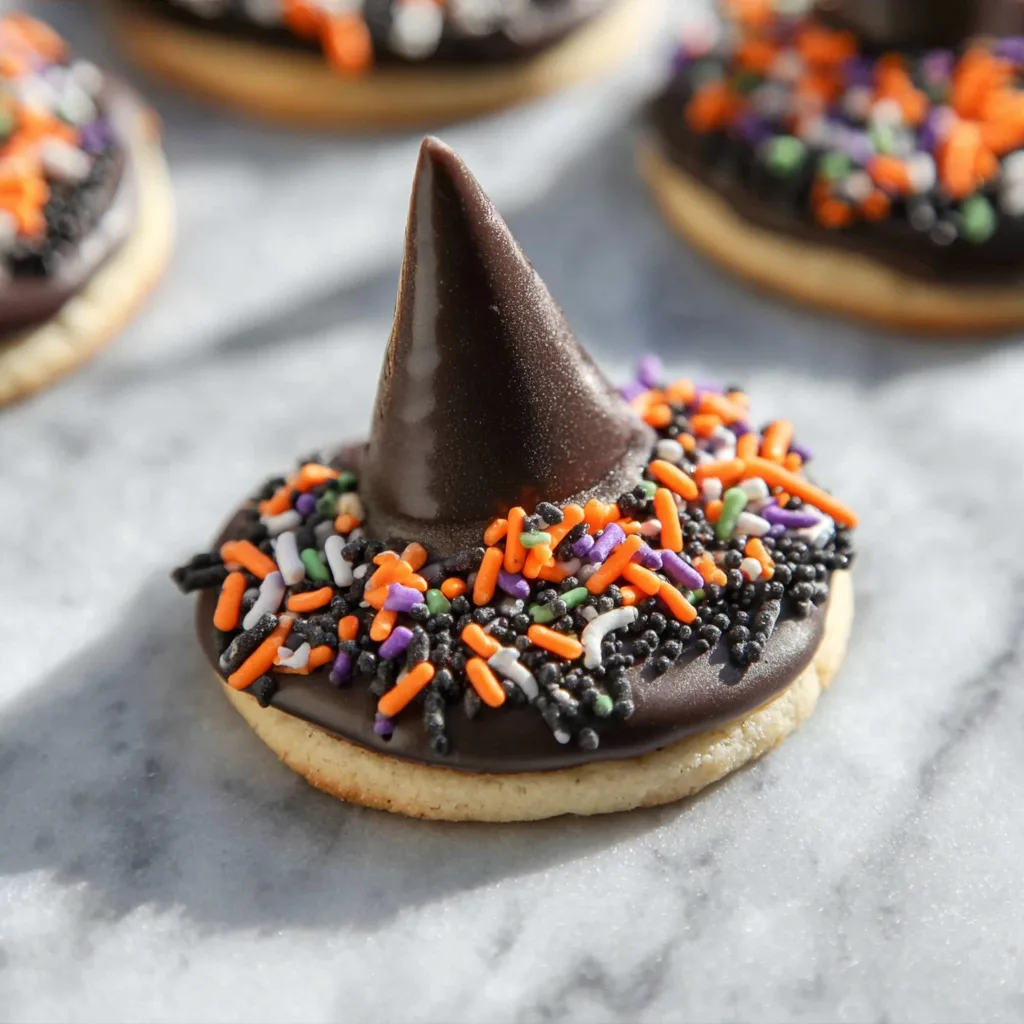
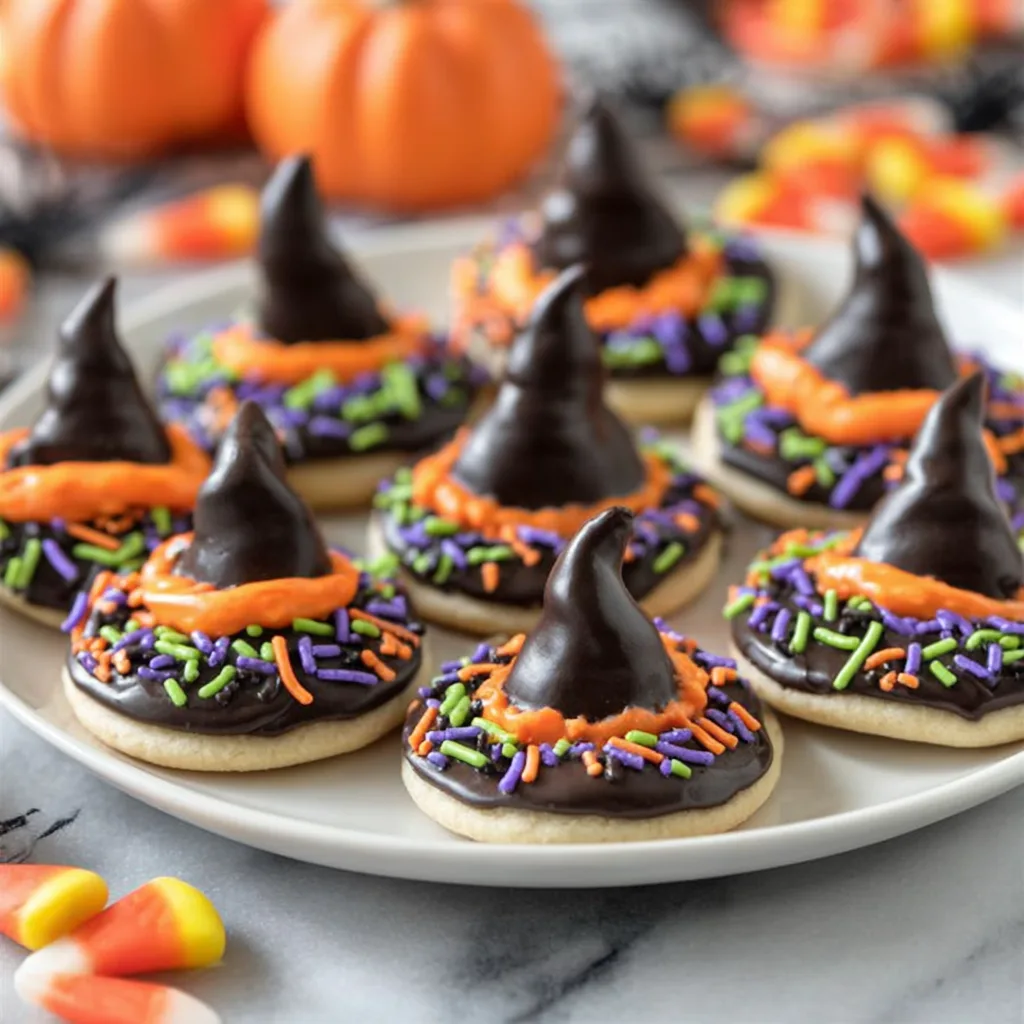
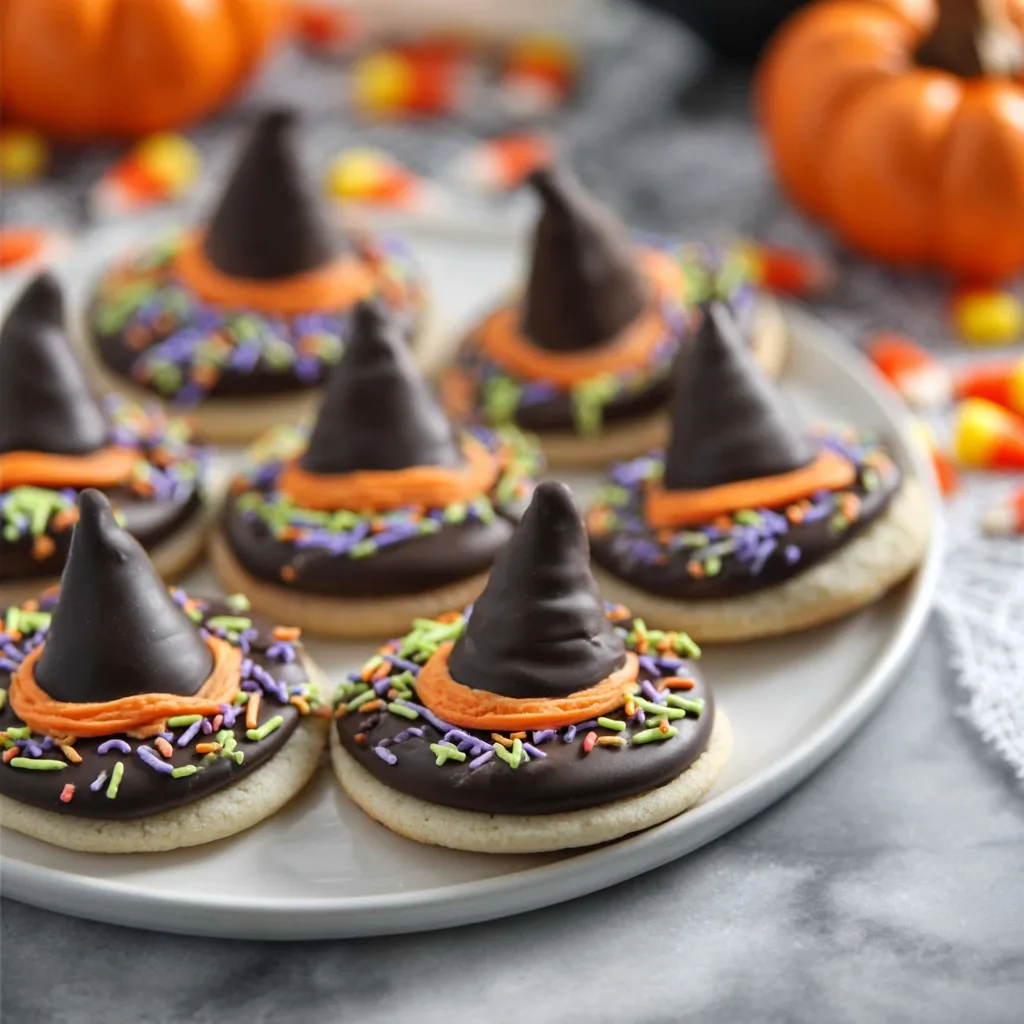
- Prepare hats: Spread a small amount of frosting on top of each cooled cookie, then press a chocolate wafer on top to form the base of the “witch hat.”
- Attach chocolate kiss: Dab a little frosting on the bottom of each chocolate kiss and press it onto the center of the wafer.
- Decorate: Pipe colored frosting around the base of the kiss and add sprinkles for a festive witch hat look.
- Set: Let cookies sit at room temperature until frosting firms up, about 30 minutes.
Halloween Witch Cookies
Ingredients
Equipment
Method
- Preheat oven to 350°F (175°C). Line baking sheets with parchment paper.
- Whisk flour, baking soda, baking powder, and salt in a bowl.
- Cream butter, granulated sugar, and brown sugar until fluffy. Beat in egg, vanilla, and milk.
- Gradually mix in dry ingredients until dough forms.
- Scoop tablespoon-sized dough balls, flatten slightly, and place on prepared sheet.
- Bake 9–11 minutes. Cool completely on wire rack.
- Spread a little frosting on each cookie, press a chocolate wafer on top.
- Dab frosting on the bottom of a chocolate kiss and press into wafer center.
- Pipe colored frosting around the base of each kiss and add sprinkles.
Notes
Pro tips for success
- Use a sturdy base cookie – A sugar cookie or chocolate cookie works best, as they won’t crumble under the decorations.
- Work in batches – Decorate a few cookies at a time so the frosting doesn’t dry before you attach candies.
- Color variety – Use multiple frosting colors to make your witch hats stand out on the platter.
- Kid-friendly hack – Use pre-baked store-bought cookies if you’re short on time; decorating is the main fun.
Variations
- Double chocolate witch cookies: Use cocoa powder in the dough and dark chocolate wafers for a decadent variation.
- Gluten-free option: Substitute your favorite gluten-free flour blend in equal amounts.
- Pumpkin spice witch cookies: Add 1 teaspoon pumpkin pie spice to the dough for extra autumn flavor.
- Mini witch hats: Use bite-sized cookies and mini chocolate kisses for a smaller version, great for party trays.
Storage
- Room temp: Store decorated cookies in an airtight container for up to 3 days.
- Refrigerated: Keeps up to 1 week (frosting holds better).
- Freezer: Undecorated cookies freeze up to 2 months; decorate fresh after thawing.
Perfect for Halloween parties 🎃
Halloween Witch Cookies make an incredible centerpiece on dessert tables. Serve them alongside candy corn, caramel apples, and pumpkin-shaped sugar cookies. You can even package them individually in cellophane bags with a ribbon for trick-or-treat giveaways or bake sale donations.
These cookies aren’t just treats — they’re Halloween edible decorations that delight both kids and adults.


My kids helped me make this and they had so much fun