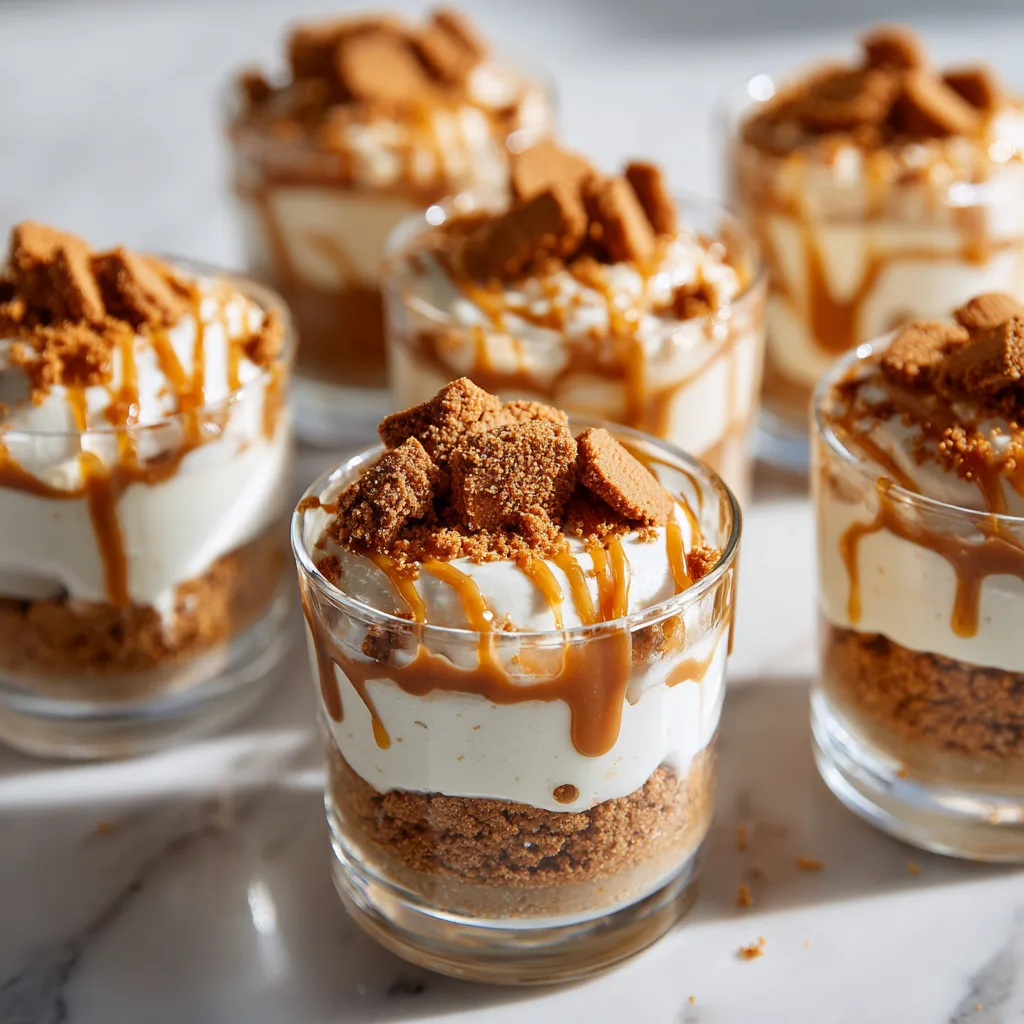
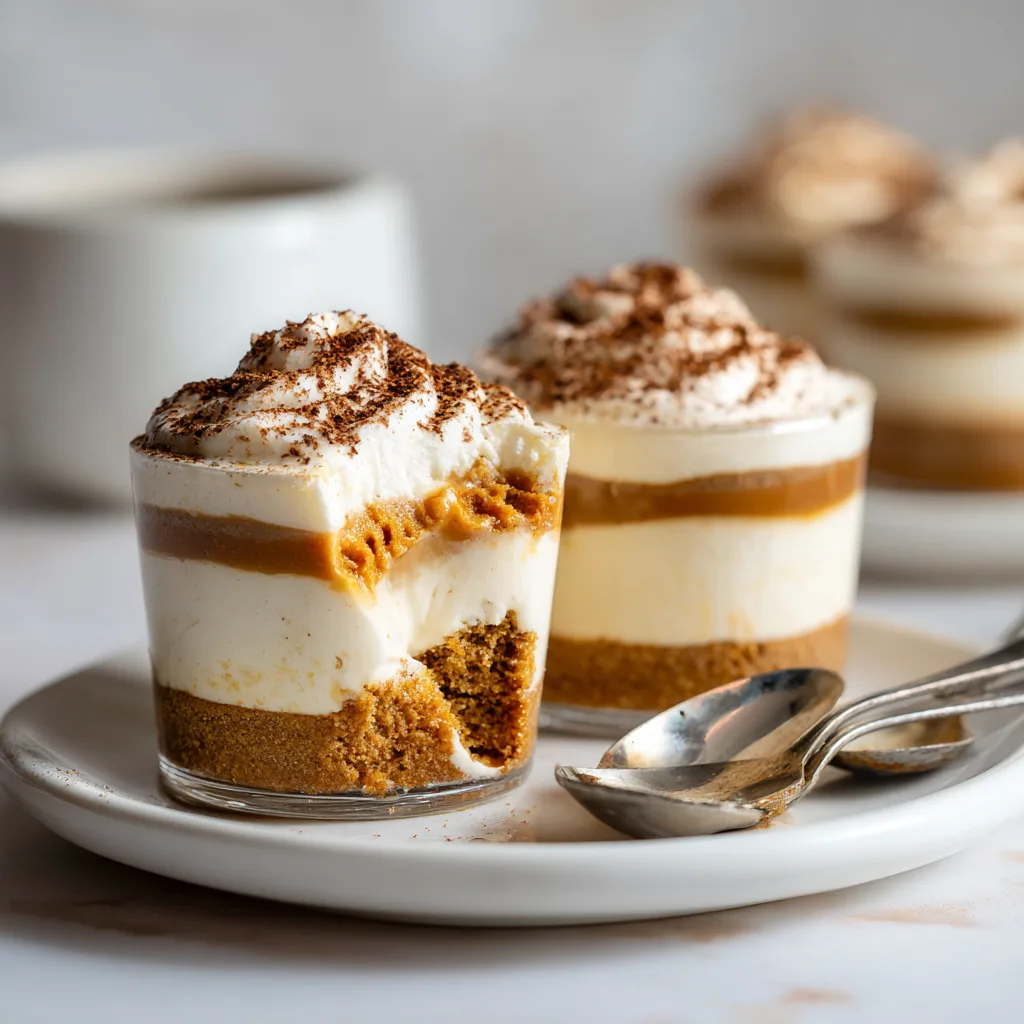
No-Bake Biscoff Dessert Cups: Creamy, Dreamy, and Irresistibly Easy Treat
If you’re searching for a dessert that feels luxurious yet requires minimal effort, these No-Bake Biscoff Dessert Cups are about to become your new favorite indulgence. With layers of buttery cookie crumbs, silky cream filling, and rich caramelized Biscoff spread, this dessert is a perfect balance of texture and flavor. Even better, there’s no oven required—making it ideal for warm days, last-minute cravings, or when you simply want something quick and impressive.
This recipe is designed for both beginners and seasoned home cooks who want a foolproof dessert that always delivers. Whether you’re hosting guests, preparing a special treat for your family, or just satisfying your sweet tooth, these dessert cups are guaranteed to impress.
What Makes No-Bake Biscoff Dessert Cups So Special?
Biscoff cookies have a uniquely warm, spiced caramel flavor that instantly elevates any dessert. When paired with a creamy filling and layered into elegant cups, they transform into a dessert that looks gourmet but is incredibly easy to make.
Here’s why you’ll love this recipe:
- No baking required—perfect for beginners
- Ready in under 30 minutes (plus chilling time)
- Uses simple, easy-to-find ingredients
- Beautiful layered presentation
- Customizable with endless variations
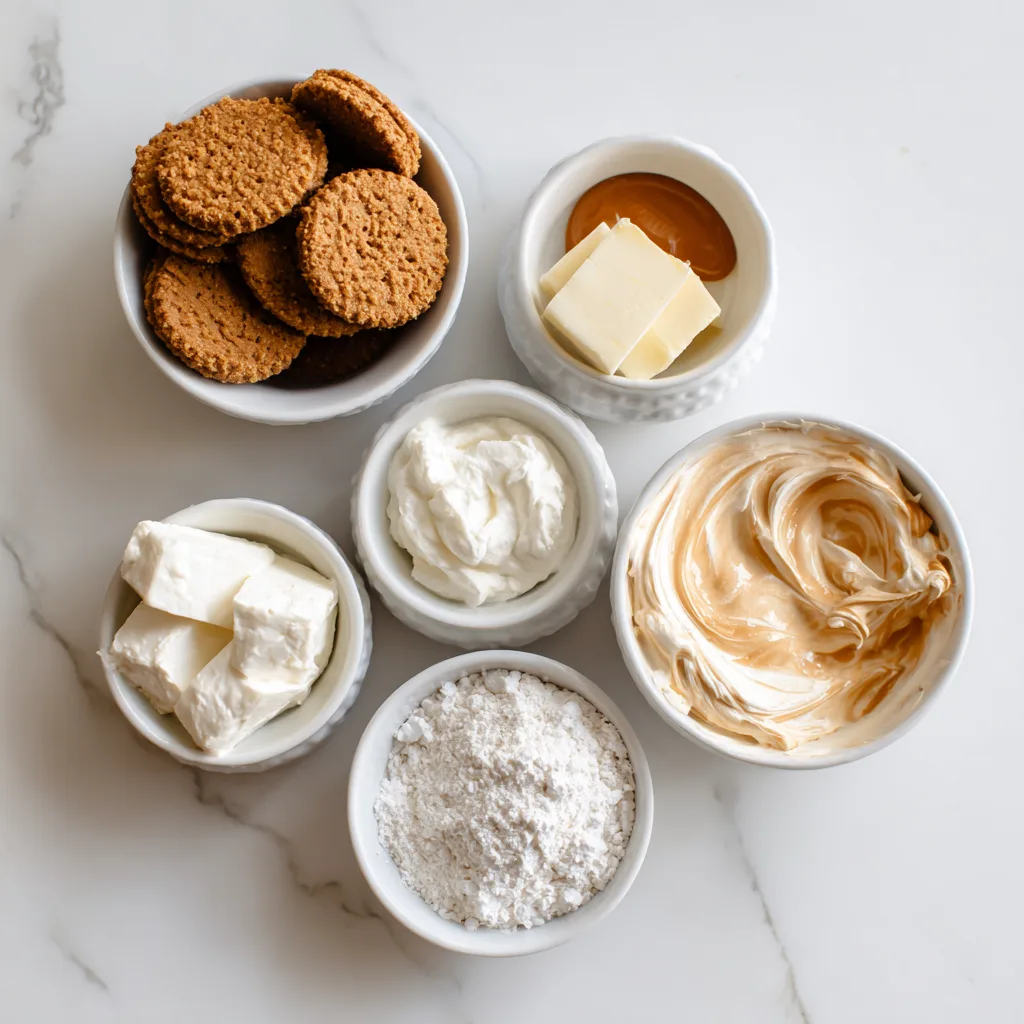
Ingredients
For the Cookie Base
- 2 cups Biscoff cookies, crushed
- 5 tablespoons unsalted butter, melted
For the Creamy Filling
- 1 cup cream cheese, softened
- 1/2 cup powdered sugar
- 1 teaspoon vanilla extract
- 1 1/2 cups heavy whipping cream
For the Biscoff Layer
- 3/4 cup Biscoff spread (slightly warmed for easy drizzling)
Optional Toppings
- Crushed Biscoff cookies
- Whipped cream
- Extra Biscoff drizzle
- Chocolate shavings
Instructions
- Prepare the Cookie Base
Crush the Biscoff cookies into fine crumbs using a food processor or by placing them in a sealed bag and crushing with a rolling pin. Mix the crumbs with melted butter until the texture resembles wet sand. - Make the Cream Filling
In a large mixing bowl, beat the softened cream cheese until smooth and creamy. Add powdered sugar and vanilla extract, and mix until fully combined. - Whip the Cream
In a separate bowl, whip the heavy cream until stiff peaks form. This will give the dessert its light and airy texture. - Combine the Mixtures
Gently fold the whipped cream into the cream cheese mixture. Be careful not to overmix—this helps keep the filling fluffy. - Assemble the Dessert Cups
Start with a layer of cookie crumbs at the bottom of each serving cup. Add a layer of the cream mixture, then drizzle with Biscoff spread. - Repeat Layers
Continue layering cookie crumbs, cream filling, and Biscoff spread until the cups are full, finishing with a creamy layer on top. - Add Toppings
Garnish with crushed cookies, whipped cream, and a final drizzle of Biscoff spread for a stunning finish. - Chill Before Serving
Refrigerate for at least 2 hours to allow the layers to set and flavors to meld beautifully.
Tips for Perfect Dessert Cups
Use Room Temperature Ingredients
Softened cream cheese blends more smoothly and prevents lumps in your filling.
Don’t Skip Chilling Time
Chilling helps the dessert firm up and enhances the flavor. It’s worth the wait.
Layer Neatly for Presentation
Use a spoon or piping bag for clean, defined layers—especially if using clear cups.
Adjust Sweetness
If you prefer a less sweet dessert, reduce the powdered sugar slightly or add a pinch of salt to balance the flavors.
Creative Variations
One of the best things about this recipe is how versatile it is. Here are some fun ways to customize your dessert cups:
Chocolate Biscoff Cups
Add a layer of chocolate ganache between the cream and Biscoff layers for a richer flavor.
Banana Biscoff Delight
Slice fresh bananas and add them between layers for a fruity twist.
Coffee-Infused Version
Mix a teaspoon of instant coffee into the cream filling for a subtle mocha flavor.
Mini Party Cups
Serve in small shot glasses for bite-sized desserts perfect for parties and events.
Serving Suggestions
These No-Bake Biscoff Dessert Cups are incredibly versatile when it comes to serving:
- Serve chilled for the best texture
- Pair with coffee or tea for an afternoon treat
- Present in glass jars or elegant dessert cups for special occasions
- Add a dusting of cocoa powder for a sophisticated finish
They’re perfect for birthdays, holidays, or even as a quick weeknight dessert.
Fun Facts About Biscoff
Biscoff cookies originated in Europe and are known for their unique caramelized flavor and crunchy texture. The spread version has gained global popularity, often compared to peanut butter but with a sweeter, spiced profile.
The name “Biscoff” comes from a combination of “biscuit” and “coffee,” highlighting its traditional pairing with a warm cup of coffee.
Storage Tips
- Store in the refrigerator for up to 3 days
- Cover tightly with plastic wrap or lids to maintain freshness
- Avoid freezing, as the cream texture may change
Why This Recipe Works
This dessert combines three essential elements:
- Crunch: The buttery cookie base
- Creaminess: The whipped cream and cream cheese filling
- Richness: The signature Biscoff spread
The balance of textures makes every bite satisfying, while the no-bake method keeps it simple and stress-free.
Conclusion
These No-Bake Biscoff Dessert Cups are proof that you don’t need complicated techniques or hours in the kitchen to create something truly special. With their rich flavor, creamy texture, and stunning presentation, they’re the kind of dessert that looks as good as it tastes.
Whether you’re making them for guests or treating yourself, this recipe is guaranteed to deliver delicious results every time. Once you try them, they’ll quickly become a staple in your dessert rotation.
No-Bake Biscoff Dessert Cups
Ingredients
Equipment
Method
- Mix crushed cookies with melted butter.
- Beat cream cheese, sugar, and vanilla until smooth.
- Whip cream to stiff peaks and fold into mixture.
- Layer crumbs, cream, and Biscoff spread in cups.
- Repeat layers and finish with topping.
- Chill for at least 2 hours before serving.