Oven-Baked Cheesy Tacos: Crispy, Melty, and Irresistibly Easy
If you love tacos but want something even more comforting and crowd-pleasing, Oven-Baked Cheesy Tacos are about to become your new favorite recipe. These tacos combine seasoned meat, gooey melted cheese, and crispy shells — all baked together in the oven for a perfectly satisfying bite. Unlike traditional stovetop tacos, baking them allows the flavors to meld beautifully while creating an irresistible crunch.
Whether you’re cooking for a busy weeknight dinner, hosting friends for game night, or preparing a fun family meal, this recipe is quick, customizable, and incredibly delicious. Best of all, you can make multiple tacos at once with minimal effort, making it perfect for feeding a crowd.
In this complete guide, you’ll learn everything you need to know about making oven-baked tacos — from ingredient selection to expert tips, variations, and serving ideas.
Why You’ll Love Oven-Baked Cheesy Tacos
There are countless reasons why this recipe stands out:
- Hands-off cooking: The oven does most of the work.
- Extra crispy shells: Baking creates a satisfying crunch.
- Perfectly melted cheese: Every bite is rich and gooey.
- Family-friendly: Even picky eaters love them.
- Easy to customize: Swap proteins, cheeses, and toppings.
- Great for meal prep: Make ahead and reheat easily.
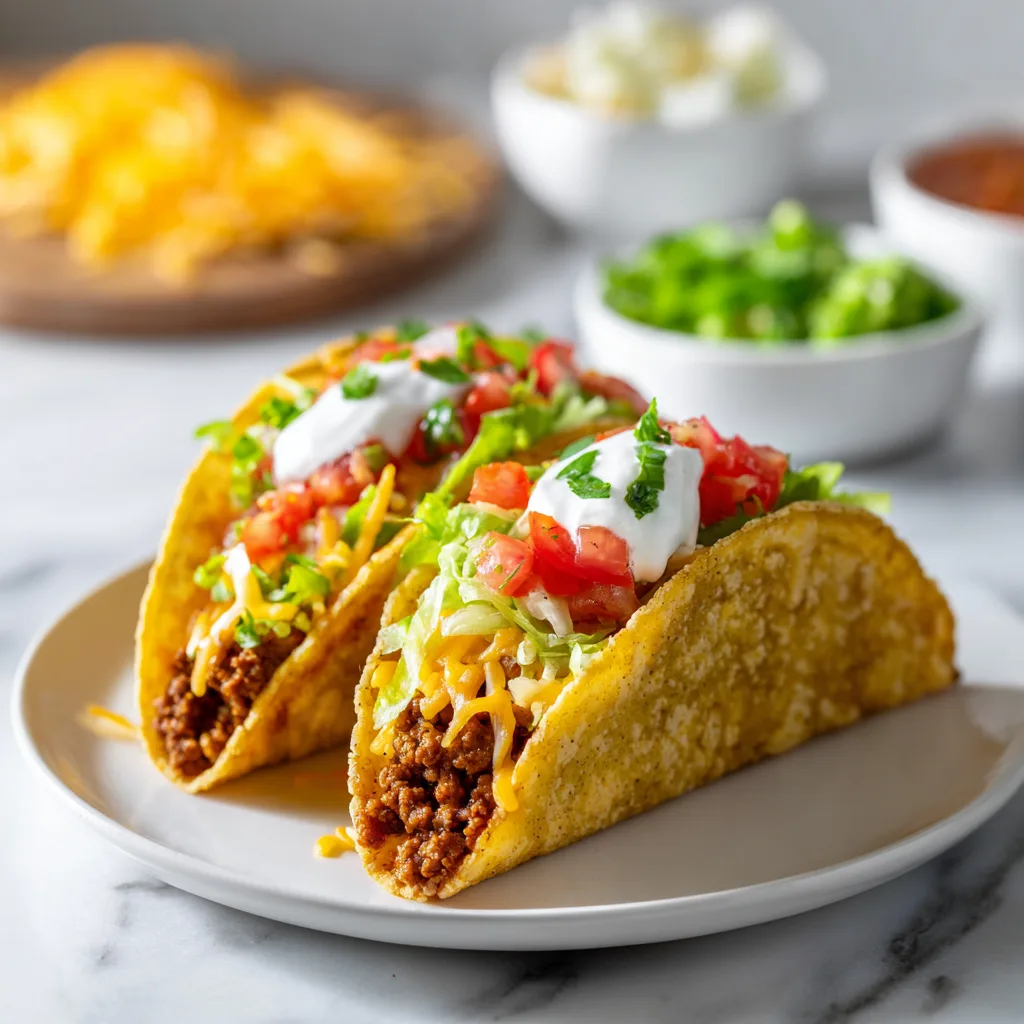
The combination of textures — crunchy shell, juicy filling, and melted cheese — creates a restaurant-quality experience right at home.
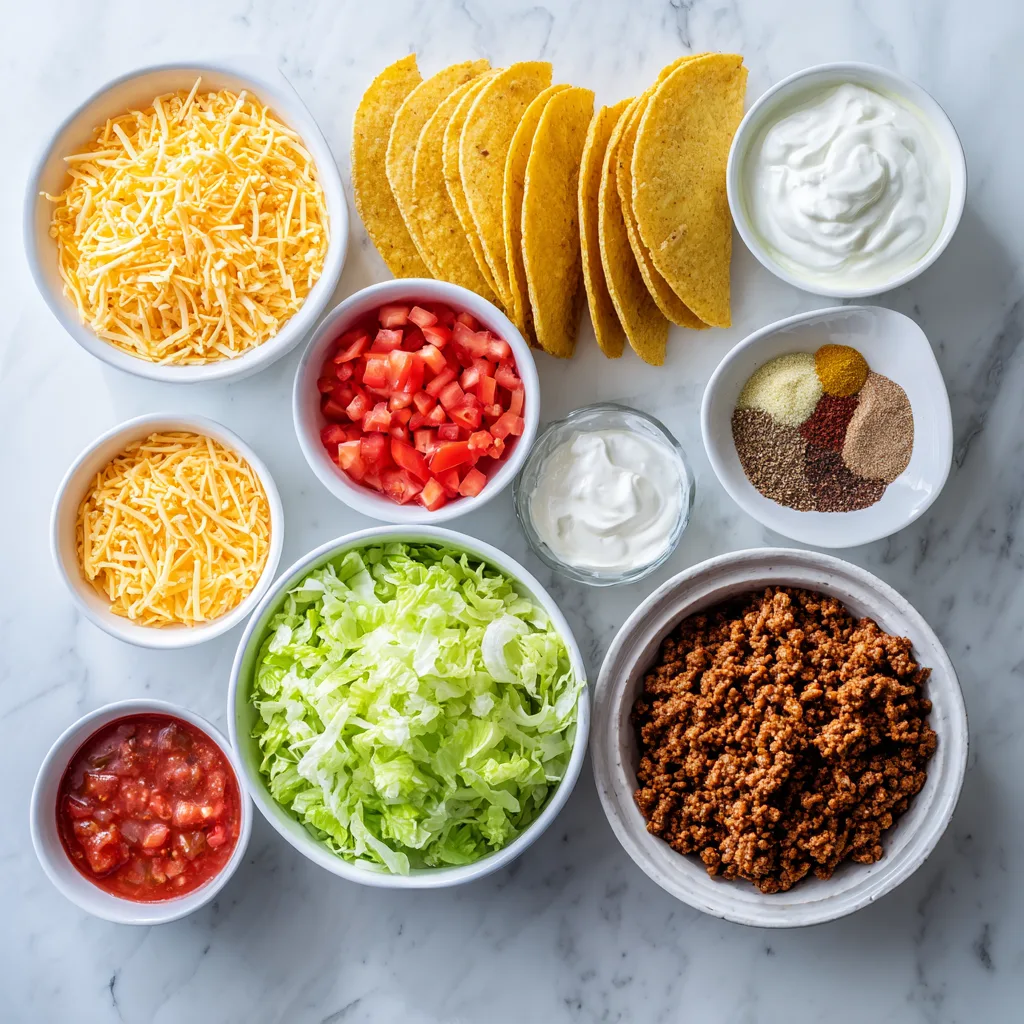
Ingredients
- 12 taco shells (hard or soft street-style tortillas)
- 1 lb (450 g) ground beef
- 1 small onion, finely chopped
- 2 cloves garlic, minced
- 1 packet taco seasoning (or homemade seasoning)
- ½ cup tomato sauce or salsa
- 2 cups shredded cheese (cheddar, Monterey Jack, or Mexican blend)
- 1 cup shredded lettuce
- 1 cup diced tomatoes
- ½ cup sour cream
- ¼ cup chopped fresh cilantro (optional)
- 1 tablespoon olive oil
- Salt and pepper to taste
- Lime wedges for serving
Instructions
- Preheat the oven to 375°F (190°C). Line a baking sheet with parchment paper or lightly grease it.
- Cook the beef filling. Heat olive oil in a skillet over medium heat. Add chopped onion and cook until soft, about 3–4 minutes. Stir in garlic and cook for another 30 seconds.
- Brown the meat. Add ground beef and cook until fully browned, breaking it apart with a spoon. Drain excess fat if needed.
- Season the filling. Stir in taco seasoning and tomato sauce or salsa. Simmer for 3–5 minutes until thick and flavorful. Season with salt and pepper to taste.
- Prepare the taco shells. Arrange taco shells upright on the baking sheet. If using soft tortillas, lightly warm them first so they don’t crack when folded.
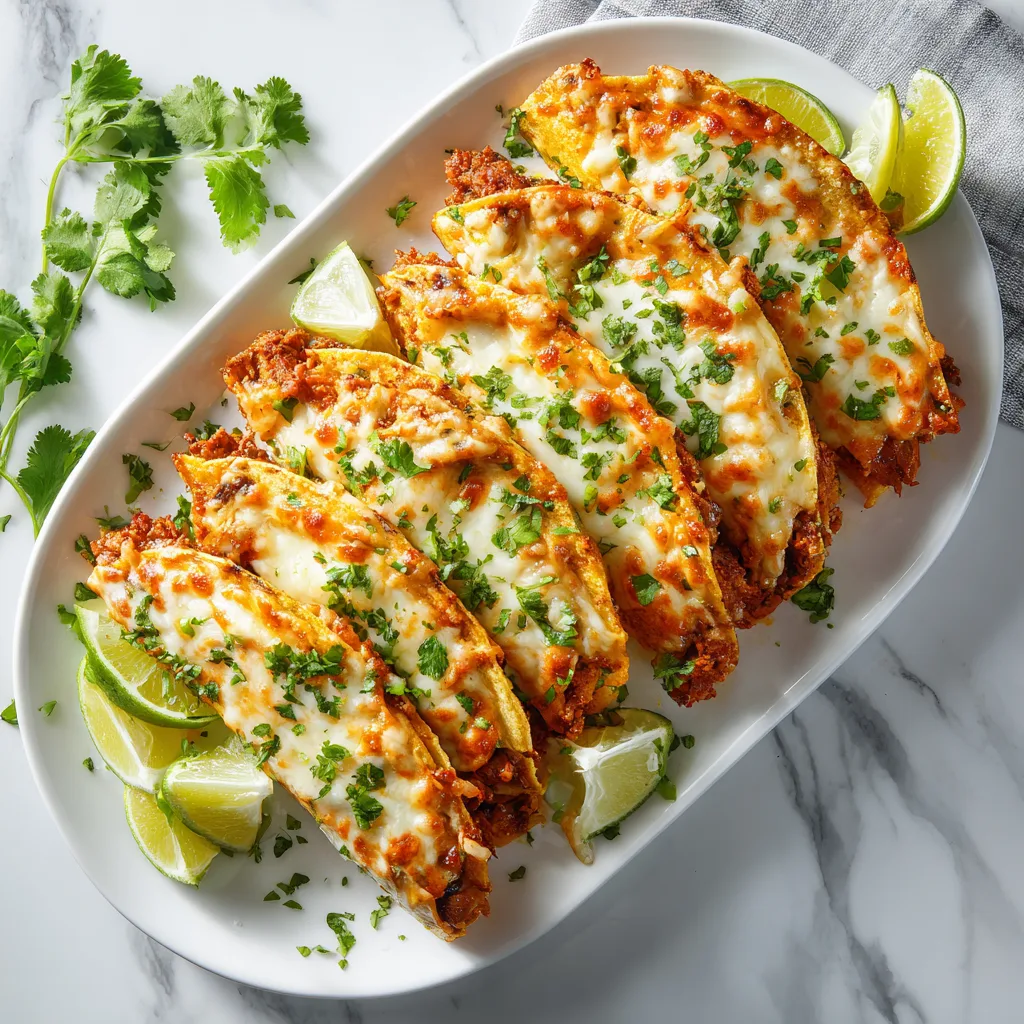
- Fill the tacos. Spoon the beef mixture evenly into each shell. Sprinkle a generous amount of shredded cheese over the top.
- Bake. Place the tray in the oven and bake for 10–12 minutes, or until the cheese is melted and the shells are lightly crispy.
- Add fresh toppings. Remove from the oven and top with lettuce, tomatoes, sour cream, and cilantro.
- Serve immediately with lime wedges and your favorite sides.
Homemade Taco Seasoning (Optional)
If you prefer homemade seasoning, combine:
- 1 teaspoon chili powder
- ½ teaspoon cumin
- ½ teaspoon paprika
- ¼ teaspoon garlic powder
- ¼ teaspoon onion powder
- ¼ teaspoon oregano
- Salt and pepper to taste
This simple blend gives you control over flavor and sodium levels.
Tips for Perfect Oven-Baked Tacos
1. Don’t Overfill
Too much filling can make shells soggy. Keep portions moderate for the best texture.
2. Use Quality Cheese
Freshly shredded cheese melts better than pre-packaged shredded varieties.
3. Crisp the Shells First
For extra crunch, bake empty shells for 3–4 minutes before filling.
4. Add Cheese Twice
Place a small amount of cheese under the filling and more on top for ultimate meltiness.
5. Serve Immediately
These tacos taste best fresh out of the oven while crispy and hot.
Delicious Variations
One of the best things about baked tacos is how customizable they are.
Chicken Baked Tacos
Swap ground beef for shredded rotisserie chicken mixed with taco seasoning and salsa.
Vegetarian Tacos
Use black beans, lentils, or sautéed vegetables like bell peppers and zucchini.
Spicy Tacos
Add diced jalapeños, hot sauce, or pepper jack cheese for heat.
Breakfast Tacos
Fill with scrambled eggs, cheese, and breakfast sausage or bacon.
Low-Carb Option
Use low-carb tortillas or lettuce wraps instead of traditional shells.
Serving Suggestions
Oven-baked tacos pair perfectly with classic sides and fresh flavors:
- Mexican rice or cilantro lime rice
- Refried beans or black beans
- Corn salad or grilled corn
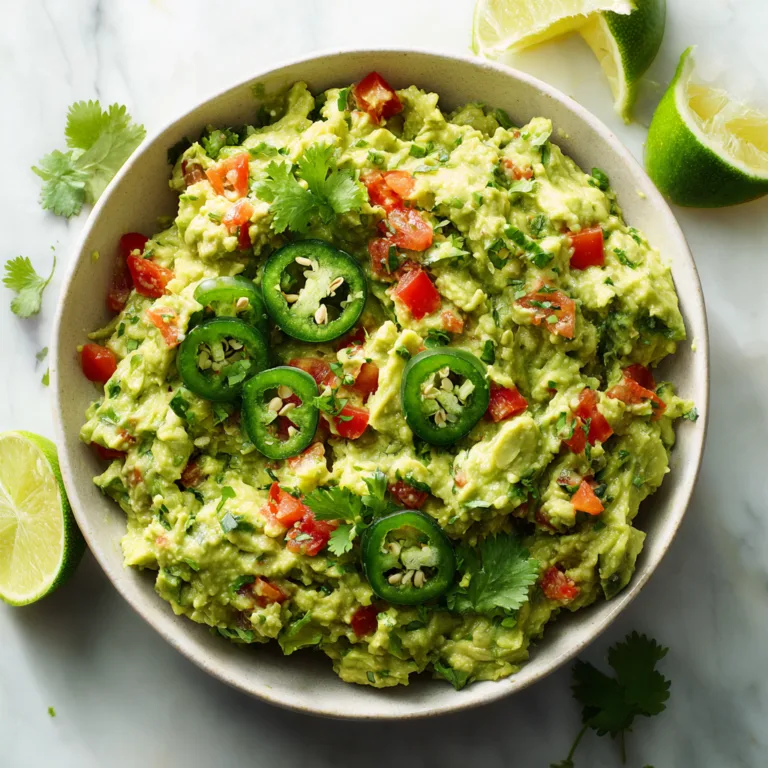
- Guacamole and tortilla chips
- Fresh fruit salad
- Margaritas or sparkling lime water
For parties, create a taco bar with multiple toppings so everyone can customize their meal.
Make-Ahead and Storage
Make Ahead
You can prepare the beef filling up to 2 days in advance and store it in the refrigerator. Assemble and bake when ready to serve.
Refrigeration
Store leftover tacos in an airtight container for up to 3 days.
Reheating
Reheat in the oven at 350°F (175°C) for 8–10 minutes to restore crispiness. Avoid microwaving if possible, as it softens the shells.
Freezing
You can freeze assembled (unbaked) tacos for up to 2 months. Bake directly from frozen, adding a few extra minutes to cooking time.
Nutritional Benefits
While tacos are often considered indulgent, they can also provide balanced nutrition:
- Protein: Ground beef and cheese provide essential amino acids.
- Calcium: Cheese supports bone health.
- Fiber: Adding beans or vegetables increases fiber content.
- Vitamins: Fresh toppings like lettuce and tomatoes add nutrients.
For a lighter version, use lean ground turkey, reduced-fat cheese, and plenty of vegetables.
Fun Facts About Tacos
Tacos are one of the most versatile foods in the world. Their portable nature and endless filling options make them popular across cultures. Baking tacos is a modern twist that adds convenience and a unique texture while keeping the beloved flavors intact.
Why Baking Tacos Is Better for Crowds
When cooking for multiple people, stovetop tacos can be time-consuming. Baking allows you to prepare many tacos simultaneously with consistent results. It also keeps everything warm until serving, making it ideal for gatherings, parties, and family dinners.
Common Mistakes to Avoid
- Skipping the preheat step
- Using too much liquid in the filling
- Overbaking until shells burn
- Adding cold toppings too early before serving
Avoiding these mistakes ensures perfect tacos every time.
Final Thoughts
Oven-Baked Cheesy Tacos are the ultimate comfort food — crispy, cheesy, flavorful, and incredibly easy to make. Whether you’re feeding your family on a busy weeknight or entertaining guests, this recipe delivers maximum flavor with minimal effort.
Once you try baking your tacos, you may never go back to traditional methods again.
Oven-Baked Cheesy Tacos
Ingredients
Equipment
Method
- Preheat oven to 375°F (190°C) and prepare a baking sheet.
- Cook onion and garlic in a skillet with oil until softened.
- Add ground beef and cook until browned. Drain excess fat.
- Stir in taco seasoning and tomato sauce. Simmer until thickened.
- Arrange taco shells on baking sheet and fill with beef mixture.
- Top with shredded cheese and bake 10–12 minutes until melted.
- Remove from oven and add fresh toppings before serving.