Easy Sourdough Starter: Simple Homemade Wild Yeast for Perfect Artisan Bread
There’s something magical about creating bread completely from scratch using nothing more than flour, water, time, and patience. An Easy Sourdough Starter is the heart of traditional artisan baking, allowing you to cultivate natural wild yeast that transforms ordinary flour into flavorful, airy loaves with beautiful texture and tangy depth.
For beginner bakers, making a homemade sourdough starter may seem intimidating at first, but it’s surprisingly simple. Once you understand the process, you’ll realize that sourdough starter is essentially a living culture that thrives with regular feeding and care. In just a few days, your kitchen becomes home to naturally occurring yeast and beneficial bacteria that can raise bread without commercial yeast.
This beginner sourdough recipe is designed to make the process approachable and stress-free. Whether you dream of baking rustic country loaves, chewy pizza crusts, fluffy pancakes, or tender sourdough biscuits, a healthy starter is the key ingredient that unlocks endless baking possibilities.
Unlike store-bought yeast packets, a natural yeast starter develops flavor over time. The longer you maintain your starter, the more unique and complex its taste becomes. Some bakers even name their starters because they become part of the family kitchen tradition for years.
If you’ve been wanting to try sourdough baking but felt overwhelmed by complicated instructions, this Easy Sourdough Starter guide walks you through every step in a beginner-friendly way.
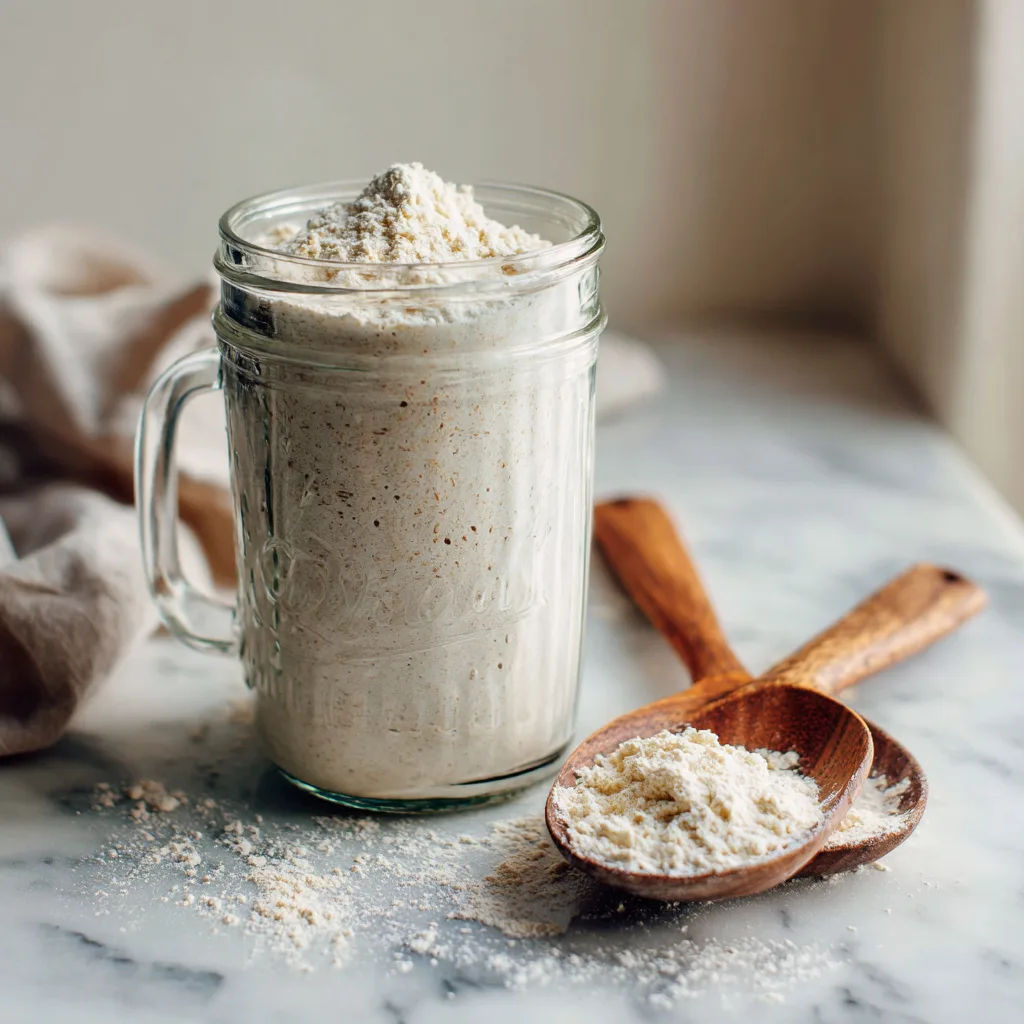
What Is a Sourdough Starter?
A sourdough starter is a fermented mixture of flour and water that captures wild yeast and beneficial bacteria from the environment. As the mixture ferments, the natural yeast multiplies and creates gases that help bread rise naturally.
The bacteria also create lactic acid, giving sourdough bread its signature tangy flavor while improving texture and shelf life. Traditional sourdough baking has been used for thousands of years, long before packaged yeast existed.
The beauty of homemade sourdough starter lies in its simplicity. You only need two ingredients:
- Flour
- Water
That’s it.
With regular feeding, the starter becomes active, bubbly, and strong enough to leaven bread dough naturally.
Why You’ll Love This Easy Sourdough Starter
There are countless reasons home bakers fall in love with sourdough baking:
- Simple ingredients
- No commercial yeast required
- Rich, complex flavor
- Better texture in baked goods
- Fun kitchen project for beginners
- Long-lasting and reusable
- Great for artisan bread recipes
- Versatile for sweet and savory baking
Once your starter is active, you can use it for homemade bread, waffles, crackers, pizza dough, cinnamon rolls, muffins, and much more.
Ingredients
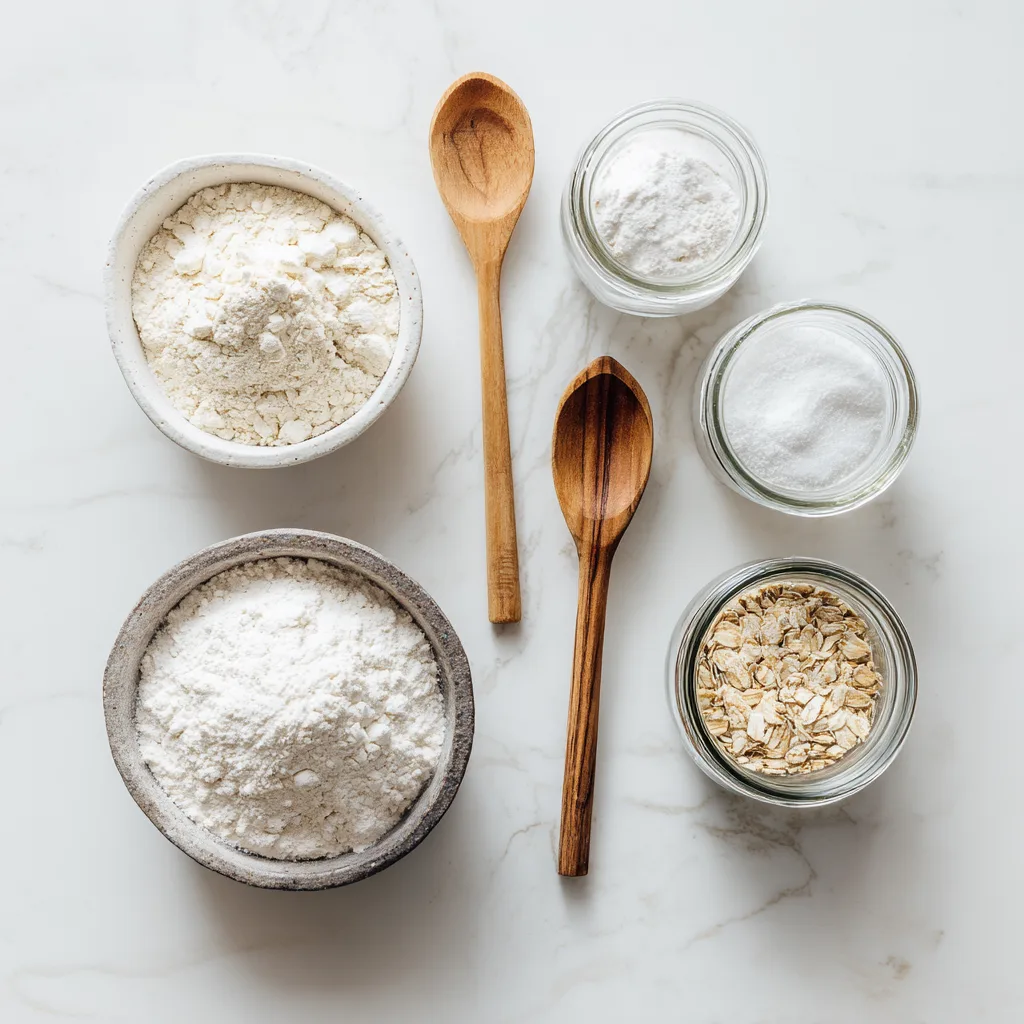
- 1 cup all-purpose flour
- 1/2 cup whole wheat flour
- 3/4 cup filtered water, room temperature
For Daily Feedings
- 1 cup all-purpose flour
- 1/2 cup filtered water
Why Whole Wheat Flour Helps
Whole wheat flour contains more natural nutrients and wild yeast than refined flour, which helps kickstart fermentation. Many beginner sourdough recipes use a blend of whole wheat and all-purpose flour during the first few days because it encourages stronger activity.
Once your starter is healthy and bubbly, you can maintain it using only all-purpose flour if preferred.
Equipment Needed
- Large glass jar or container
- Wooden spoon or silicone spatula
- Kitchen scale (optional but helpful)
- Clean kitchen towel or loose lid
- Rubber band or marker to track growth
Glass containers work best because they allow you to easily monitor bubbles and rising activity.
Instructions
- Combine the flour and water in a clean glass jar. Stir until no dry flour remains and the mixture forms a thick batter.
- Cover loosely with a towel or lid. Leave the jar at room temperature for 24 hours in a warm area of your kitchen.
- After the first day, you may notice a few bubbles or a mild sour aroma. Discard about half of the mixture.
- Feed the remaining starter with 1 cup all-purpose flour and 1/2 cup filtered water. Stir thoroughly until smooth.
- Cover loosely again and let sit for another 24 hours.
- Repeat the discard and feeding process daily for 5 to 7 days.
- By days 4 through 6, the starter should become noticeably bubbly and begin doubling in size several hours after feeding.
- Your Easy Sourdough Starter is ready when it consistently doubles within 4 to 6 hours of feeding and smells pleasantly tangy.
- Store the active starter in the refrigerator if not using immediately. Feed weekly to maintain strength.
Understanding the Feeding Process
One of the most confusing parts for beginners is the “discard” process. Removing part of the starter before feeding keeps the culture balanced and prevents it from becoming too large.
Discarding also helps:
- Maintain healthy yeast activity
- Prevent overly sour flavor
- Improve fermentation balance
- Keep feeding manageable
Don’t throw the discard away, though. Sourdough discard can be used in pancakes, waffles, muffins, crackers, and biscuits.
Signs Your Starter Is Healthy
A healthy sourdough starter should show these signs:
- Lots of bubbles throughout
- Pleasant tangy or yeasty aroma
- Doubles in size after feeding
- Thick but airy consistency
- Slight dome shape on top
Every kitchen environment is slightly different, so your timeline may vary depending on temperature and humidity.
Common Beginner Mistakes
Using Chlorinated Water
Chlorine can inhibit yeast growth. Filtered or bottled water usually works best for sourdough starters.
Cold Kitchen Temperatures
Sourdough thrives in warm environments around 70°F to 80°F. Cold kitchens slow fermentation significantly.
Sealing the Jar Tightly
The starter needs airflow. Use a loose lid or towel rather than an airtight seal.
Giving Up Too Early
Many starters go through a quiet phase around days 3 to 5. This is normal. Continue feeding consistently.
Best Flour Choices for Sourdough Starter
Different flours create different fermentation results:
Whole Wheat Flour
Excellent for strong fermentation and quick activity.
Rye Flour
Highly active and flavorful, often used by advanced bakers.
All-Purpose Flour
Easy to maintain and widely available.
Bread Flour
Provides stronger gluten development in baking recipes.
For beginners, a combination of whole wheat and all-purpose flour offers the easiest path to success.
How to Store Sourdough Starter
Once active, your starter can live in the refrigerator for weekly maintenance.
Room Temperature Storage
- Feed daily
- Best for frequent bakers
Refrigerator Storage
- Feed once weekly
- Ideal for occasional bakers
Before baking bread, feed refrigerated starter 1 to 2 times at room temperature to reactivate it fully.
How to Use Your Starter
Once mature, your Easy Sourdough Starter becomes the base for countless recipes:
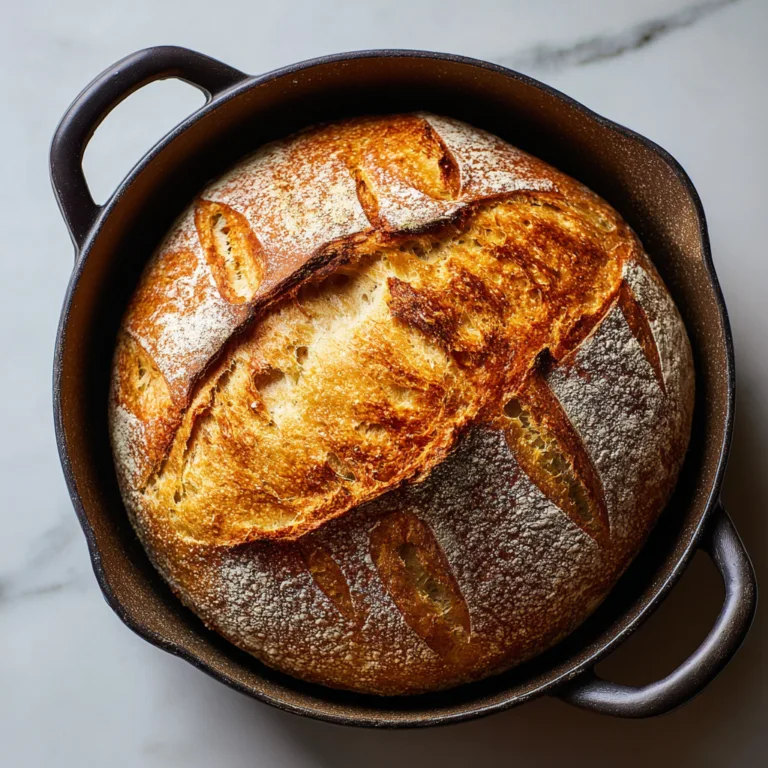
- Artisan sourdough bread
- Pizza dough
- Dinner rolls
- Bagels
- Crackers
- Pancakes
- Banana bread
- Cinnamon rolls
The flavor deepens over time, making older starters especially prized among experienced bakers.
Troubleshooting Your Starter
Starter Smells Strange
A healthy starter smells tangy, yeasty, or mildly fruity. Strong rotten odors may indicate contamination.
No Bubbles Appearing
Try:
- Warmer room temperature
- Whole wheat flour
- More consistent feedings
Liquid on Top
This liquid, called hooch, forms when the starter is hungry. Stir it in or pour it off before feeding.
Fun Facts About Sourdough
Sourdough is one of the oldest forms of bread leavening in history. Ancient civilizations relied on naturally fermented dough thousands of years ago.
During the California Gold Rush, sourdough became especially popular because miners carried starter cultures during travel. Some historic starters are even passed down through generations today.
Many bakers believe each starter develops a unique flavor profile based on local wild yeast and bacteria.
Tips for Success
- Use consistent feeding times
- Keep your jar clean
- Mark starter growth with a rubber band
- Avoid metal containers for long fermentation
- Be patient during slow activity days
- Use filtered water whenever possible
Patience is truly the secret ingredient in sourdough baking.
Variations and Additions
Once comfortable with the basics, you can experiment with:
Rye Starter
Use rye flour for a stronger fermentation profile.
Gluten-Free Starter
Use gluten-free flour blends or brown rice flour.
Hydration Adjustments
Create thicker or thinner starters depending on baking goals.
Specialty Flours
Try einkorn, spelt, or heritage grains for unique flavor.
Serving Suggestions
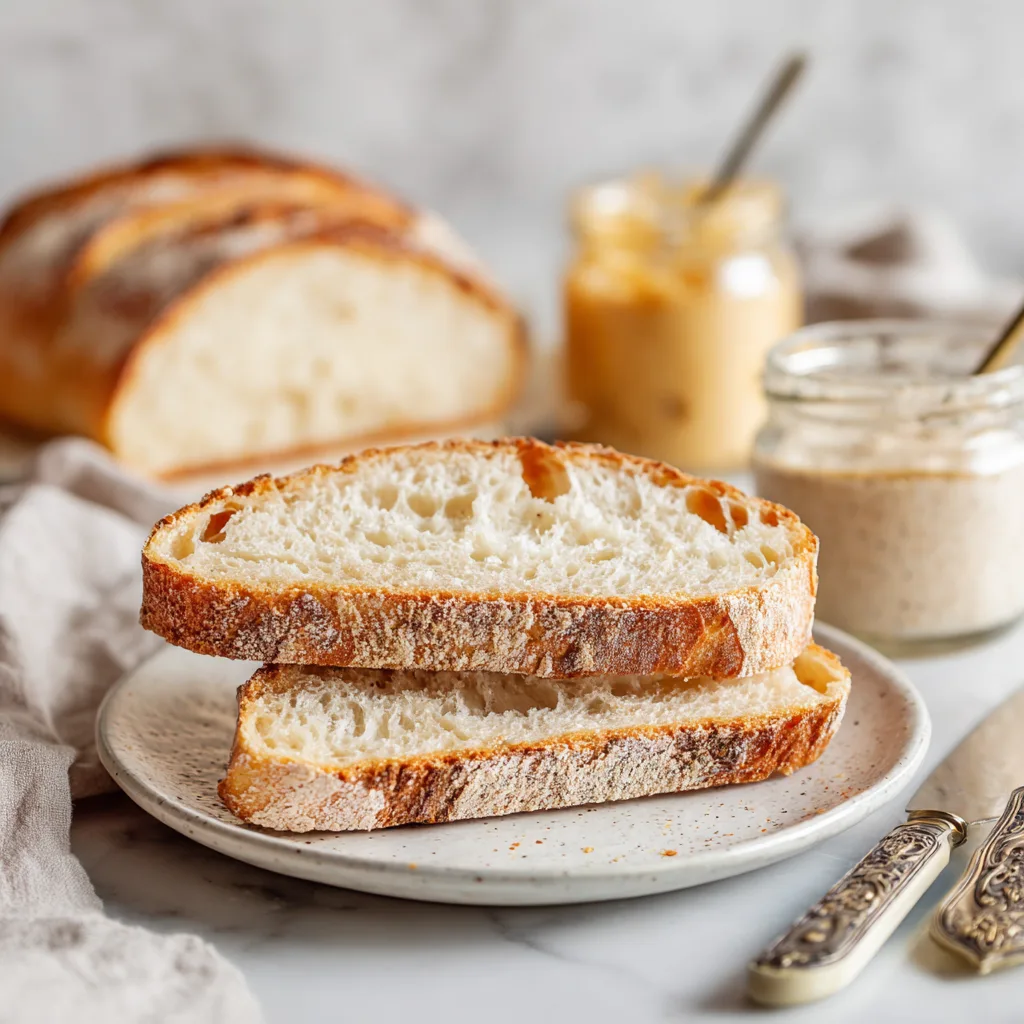
While sourdough starter itself isn’t eaten directly, the breads and baked goods made from it pair beautifully with:
- Butter and sea salt
- Olive oil dips
- Artisan cheeses
- Soups and stews
- Breakfast spreads
- Sandwich fillings
Fresh sourdough bread also freezes exceptionally well.
Final Thoughts
Making an Easy Sourdough Starter is one of the most rewarding kitchen projects for home bakers. Watching flour and water transform into a thriving natural yeast culture feels both scientific and comforting at the same time.
Although it requires patience, the process is simple and incredibly satisfying. Once your starter is healthy and active, you’ll have the foundation for endless homemade artisan baking adventures.
From crusty sourdough loaves to fluffy pancakes and chewy pizza dough, your natural yeast starter opens the door to flavorful baking traditions that have been loved for generations.
Whether you’re a complete beginner or an experienced home cook exploring fermentation, this homemade sourdough starter recipe is the perfect place to begin.
Easy Sourdough Starter
Ingredients
Equipment
Method
- Combine all-purpose flour, whole wheat flour, and water in a clean glass jar. Stir until smooth with no dry flour remaining.
- Cover loosely with a towel or lid and let sit at room temperature for 24 hours.
- Discard about half of the mixture after the first day.
- Feed the remaining starter with fresh flour and filtered water, stirring thoroughly.
- Repeat the discard and feeding process every 24 hours for 5 to 7 days.
- Watch for bubbles, rising activity, and a tangy aroma as the starter develops.
- Once the starter doubles in size within 4 to 6 hours after feeding, it is ready for baking.
- Store the active starter in the refrigerator and feed weekly to maintain activity.