Amish White Bread: Soft, Fluffy Homemade Comfort in Every Slice
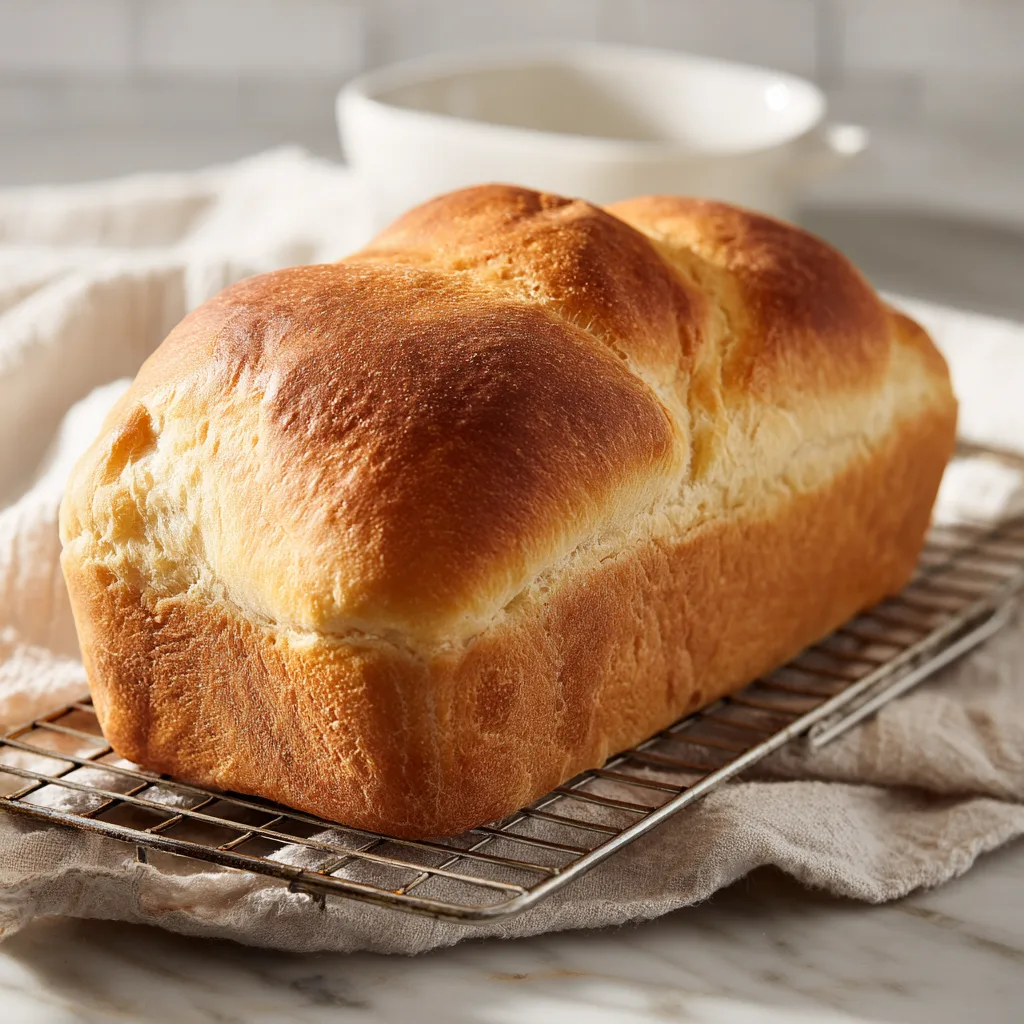
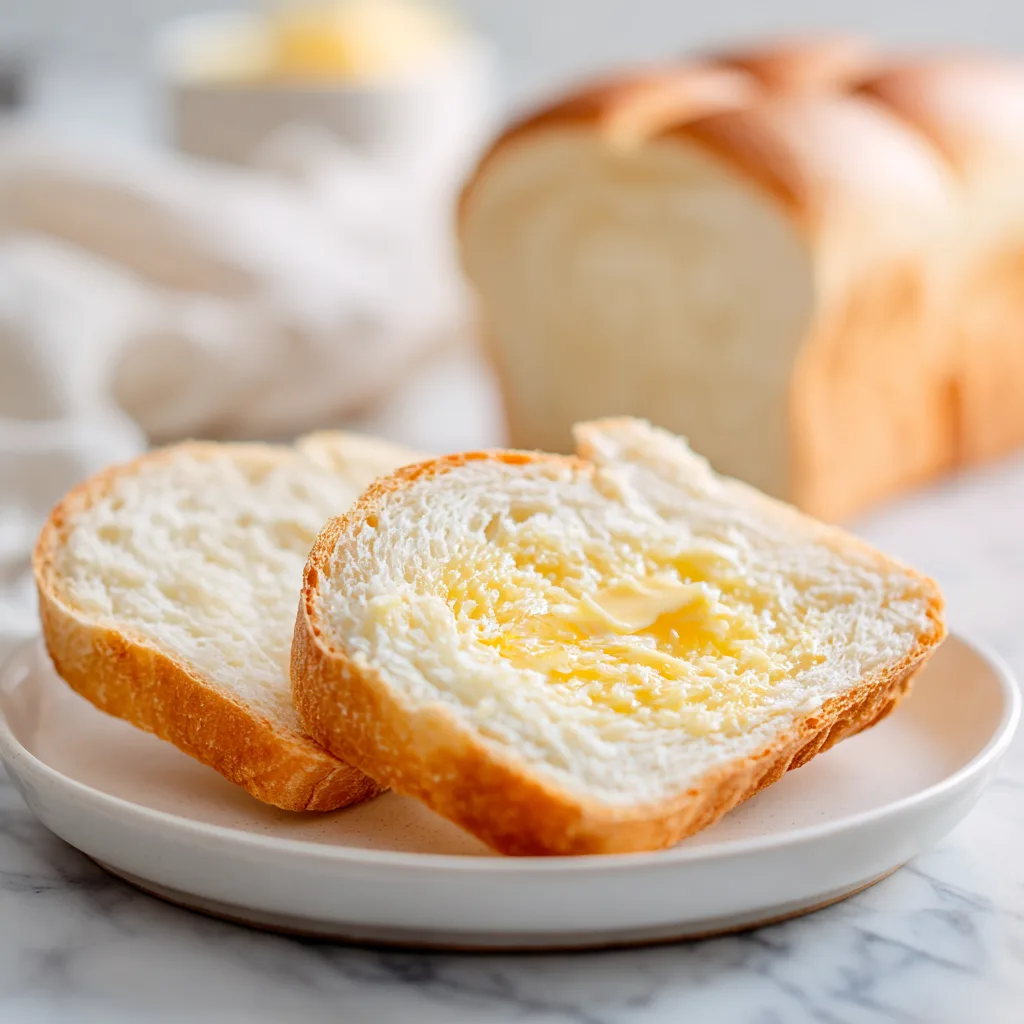
There’s something magical about baking homemade bread. The warm aroma drifting through the kitchen, the golden crust fresh from the oven, and the first buttery slice all create a comforting experience that feels timeless. Amish White Bread is one of those classic recipes that never goes out of style. Soft, fluffy, slightly sweet, and perfectly tender, this homemade bread recipe has become a staple in kitchens everywhere.
Unlike complicated artisan loaves that require special techniques and long fermentation times, Amish White Bread is wonderfully simple and beginner-friendly. The ingredients are basic pantry staples, the steps are straightforward, and the results are incredibly rewarding. Whether you want fresh sandwich bread, toast for breakfast, or a cozy side for soup and dinner, this bread delivers every time.
One of the reasons this recipe remains so popular is its versatility. The loaf is soft enough for sandwiches, sturdy enough for French toast, and delicious enough to enjoy warm with just a little butter. The slightly sweet flavor makes it appealing to both kids and adults, and the texture stays soft for days.
If you’ve never baked bread before, this is the perfect place to start. And if you’re already a seasoned baker, Amish White Bread is one of those reliable recipes you’ll come back to again and again.
Why You’ll Love This Amish White Bread Recipe
This bread recipe checks all the boxes for home bakers looking for an easy and dependable loaf.
- Soft and fluffy texture
- Beautiful golden crust
- Slightly sweet homemade flavor
- Perfect for sandwiches and toast
- Beginner-friendly yeast recipe
- Made with simple ingredients
- Freezer-friendly
- Makes two generous loaves
The dough is forgiving, easy to work with, and produces bakery-style bread right from your own kitchen.
Ingredients
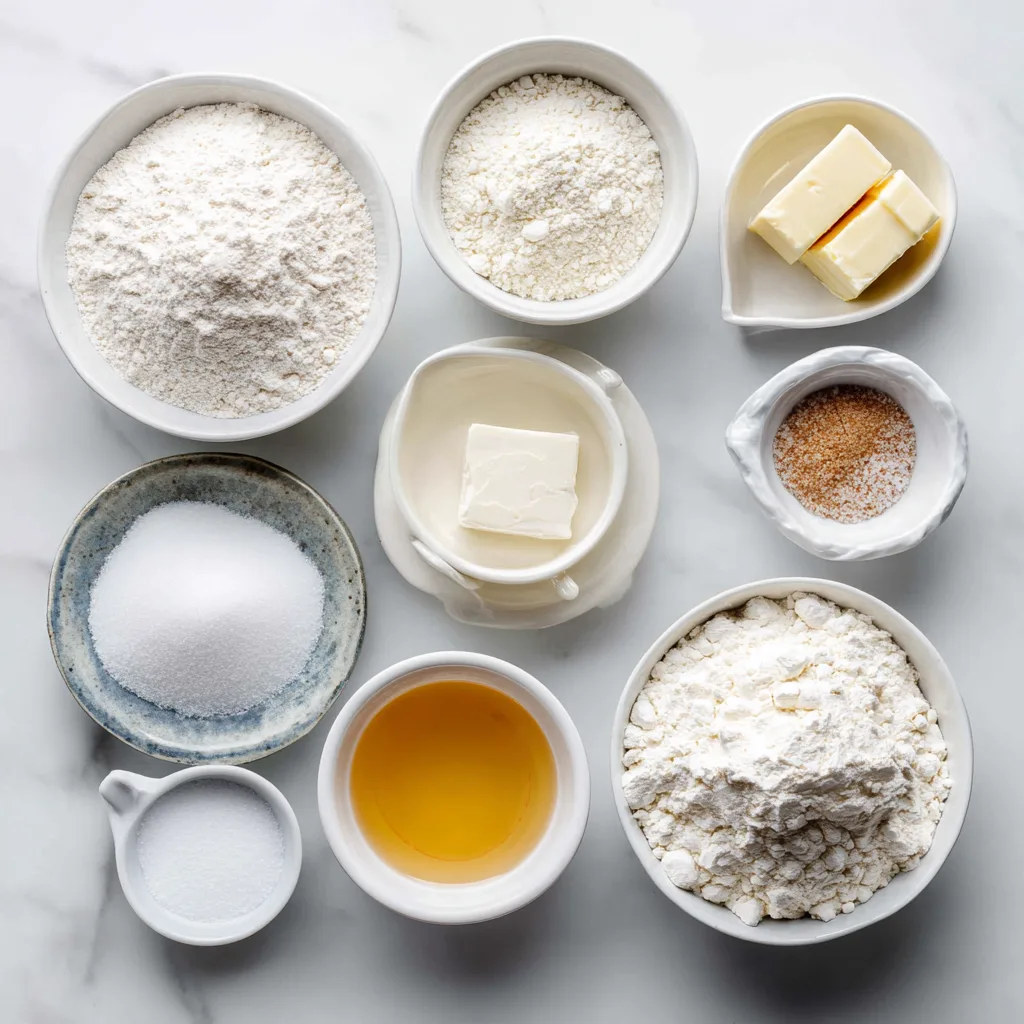
- 2 cups warm water
- 2/3 cup white sugar
- 1 1/2 tablespoons active dry yeast
- 1 1/2 teaspoons salt
- 1/4 cup vegetable oil
- 6 cups bread flour
- Butter for brushing tops (optional)
Ingredient Breakdown
Warm Water
The water should be warm to the touch but not hot. Around 105°F to 110°F is ideal for activating yeast.
Sugar
Sugar feeds the yeast and gives the bread its signature slight sweetness.
Active Dry Yeast
Yeast is what creates the fluffy rise and airy texture. Fresh yeast gives the best results.
Bread Flour
Bread flour contains more protein than all-purpose flour, creating better structure and chew.
Vegetable Oil
Oil keeps the bread soft and moist while extending freshness.
Salt
Salt enhances flavor and helps balance the sweetness.
Instructions
- In a large mixing bowl, combine warm water and sugar. Stir until dissolved.
- Sprinkle the yeast over the mixture and allow it to sit for 5 to 10 minutes until foamy.
- Add salt, vegetable oil, and half of the flour. Mix until smooth.
- Gradually add the remaining flour one cup at a time until a soft dough forms.
- Transfer the dough to a lightly floured surface and knead for 8 to 10 minutes until smooth and elastic.
- Place the dough in a lightly greased bowl, turning once to coat the surface.
- Cover with a clean kitchen towel and let rise in a warm place for about 1 hour or until doubled in size.
- Punch down the dough gently and divide it into two equal portions.
- Shape each portion into a loaf and place into greased 9×5-inch loaf pans.
- Cover again and allow the dough to rise for 30 to 45 minutes until it rises above the edges of the pans.
- Preheat the oven to 350°F (175°C).
- Bake for 25 to 30 minutes until the tops are golden brown and the loaves sound hollow when tapped.
- Remove bread from pans and cool on a wire rack.
- Brush tops with butter while warm for a softer crust and richer flavor.
Tips for Perfect Homemade Bread
Use Fresh Yeast
Expired yeast can prevent the dough from rising properly. Always check the expiration date before baking.
Don’t Add Too Much Flour
The dough should feel soft and slightly tacky, not dry. Too much flour can make bread dense.
Knead Thoroughly
Kneading develops gluten, which gives bread its structure and chewy texture.
Let the Dough Rise Fully
Patience is key. Proper rising creates lighter, fluffier bread.
Brush with Butter
Adding butter after baking keeps the crust soft and gives the loaf a beautiful finish.
Serving Suggestions
Amish White Bread is incredibly versatile and works for nearly every meal of the day.
Breakfast
- Toast with butter and jam
- Cinnamon sugar toast
- French toast
- Breakfast sandwiches
Lunch
- Turkey sandwiches
- Peanut butter and jelly
- Grilled cheese
- Tuna melts
Dinner
- Served alongside soup
- Garlic toast
- Bread and butter with pasta
- Side for roast chicken or stew
Fresh homemade bread also makes excellent croutons and bread pudding.
Delicious Variations
Honey Amish Bread
Replace part of the sugar with honey for deeper sweetness and flavor.
Whole Wheat Bread
Swap 2 cups of bread flour with whole wheat flour for added nutrition.
Cinnamon Raisin Bread
Add raisins and cinnamon sugar for a sweet breakfast loaf.
Herb Bread
Mix dried herbs like rosemary or thyme into the dough for savory flavor.
Garlic Butter Bread
Brush warm bread with garlic butter for an irresistible side dish.
Storage Tips
Room Temperature
Store bread in an airtight bag or bread box for up to 4 days.
Refrigerator
Refrigeration can dry bread out, so room temperature storage is preferred.
Freezing
Wrap loaves tightly and freeze for up to 3 months. Thaw at room temperature before serving.
Common Bread Baking Mistakes
Dense Texture
Usually caused by too much flour or insufficient kneading.
Bread Didn’t Rise
The yeast may have been old, or the water temperature may have been incorrect.
Dry Bread
Overbaking can remove too much moisture.
Tough Crust
Brush with butter immediately after baking for a softer finish.
A Little Amish Baking Tradition
Amish cooking traditions focus on simplicity, comfort, and homemade goodness. Bread baking has long been a central part of Amish kitchens because it provides affordable, hearty nourishment for families.
This style of white bread became especially popular because it uses simple ingredients while producing dependable results. Unlike crusty artisan bread, Amish White Bread is designed to stay soft and versatile, making it ideal for everyday meals.
Its slightly sweet flavor reflects classic country-style baking traditions that prioritize comfort and practicality.
Why Homemade Bread Is Better
There’s something special about making bread from scratch. Beyond the incredible flavor and aroma, homemade bread allows you to control the ingredients and avoid unnecessary preservatives.
Freshly baked bread also tastes noticeably softer and richer than many store-bought loaves. Plus, the process of kneading dough and watching it rise can be relaxing and rewarding.
Once you bake your own Amish White Bread, it may become a permanent part of your kitchen routine.
Frequently Asked Questions
Can I use all-purpose flour?
Yes, though bread flour gives the loaf a slightly chewier and sturdier texture.
Can I make this recipe without a stand mixer?
Absolutely. The dough can easily be mixed and kneaded by hand.
How do I know the bread is fully baked?
The loaf should sound hollow when tapped on the bottom.
Can I freeze the dough?
Yes. Freeze after shaping and thaw before the second rise.
Why is my bread dense?
Too much flour or under-risen dough are common causes.
Final Thoughts
Amish White Bread is one of the most comforting homemade recipes you can bake. With its soft texture, golden crust, and classic flavor, this bread is perfect for everyday meals, sandwiches, toast, and family gatherings.
The recipe is simple enough for beginners yet satisfying enough for experienced bakers who love reliable homemade bread. Every warm slice delivers cozy, old-fashioned comfort that never goes out of style.
Whether you serve it fresh from the oven with butter or use it for sandwiches throughout the week, Amish White Bread is the kind of timeless recipe every kitchen needs.
Amish White Bread
Ingredients
Equipment
Method
- In a large bowl, combine warm water and sugar. Stir until dissolved.
- Sprinkle yeast over the mixture and let stand 5 to 10 minutes until foamy.
- Add salt, oil, and half the flour. Mix until smooth.
- Gradually add remaining flour until a soft dough forms.
- Knead dough on a floured surface for 8 to 10 minutes until elastic.
- Place dough in a greased bowl, cover, and let rise until doubled, about 1 hour.
- Punch down dough and divide into two portions. Shape into loaves and place into greased loaf pans.
- Cover and let rise again for 30 to 45 minutes until dough rises above the pans.
- Preheat oven to 350°F (175°C).
- Bake 25 to 30 minutes until golden brown.
- Remove from pans and cool on a wire rack. Brush with butter if desired.